index
Step 1: Create a ChirpStack Application
- Log in to the ChirpStack server using your account and password.
- Go to the Application section.
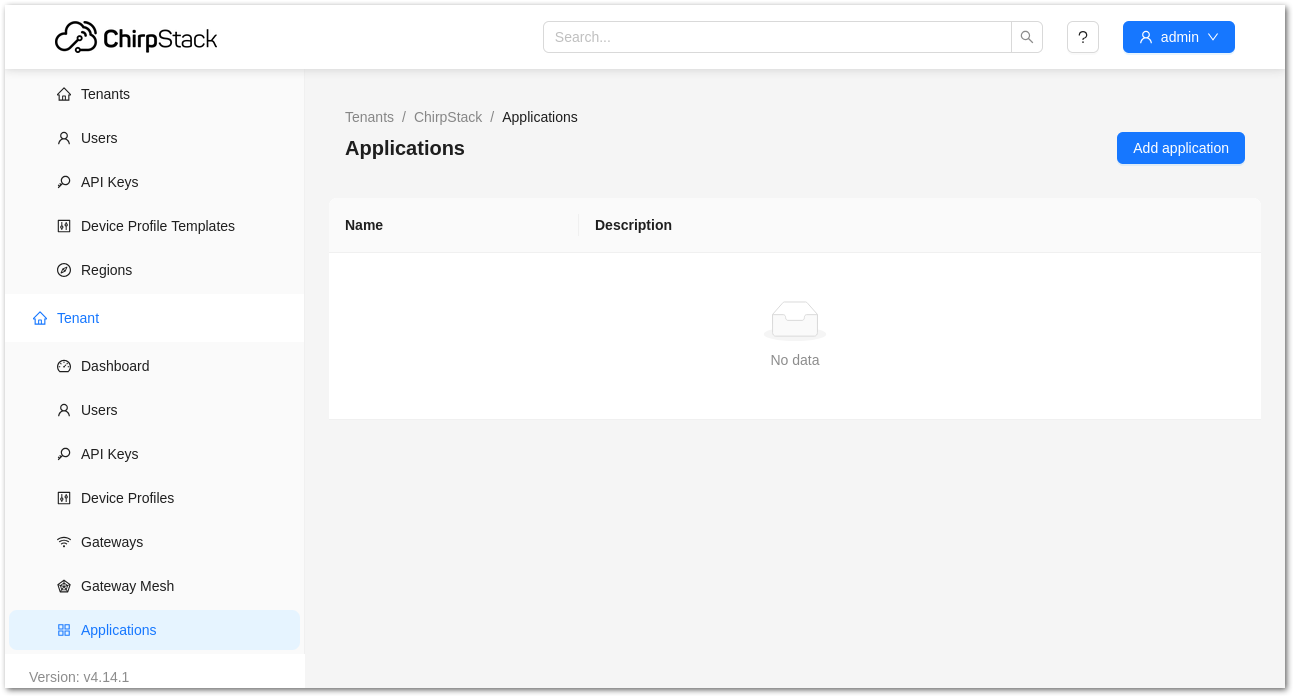 Figure 1: Application section
- By default, you should create a new application, although you can reuse existing ones. For this setup, create a new Application by clicking on the CREATE button and filling in the required parameters.
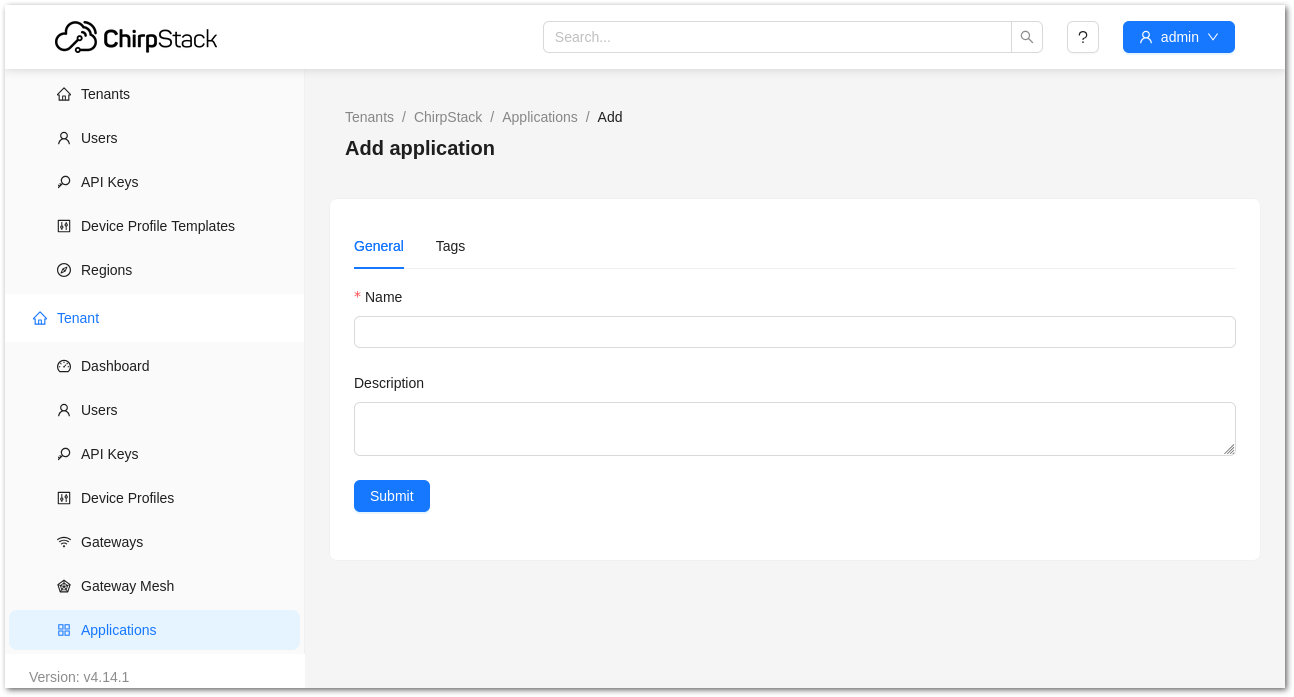 Figure 1: Creating a new application
For this example, create an Application named rak_node_test.
ChirpStack supports multiple system configurations, although only one is enabled by default.
- Service profile: This field allows you to select the system profile.
- Payload codec: This field determines the parsing method for payload data, such as parsing LPP format data.
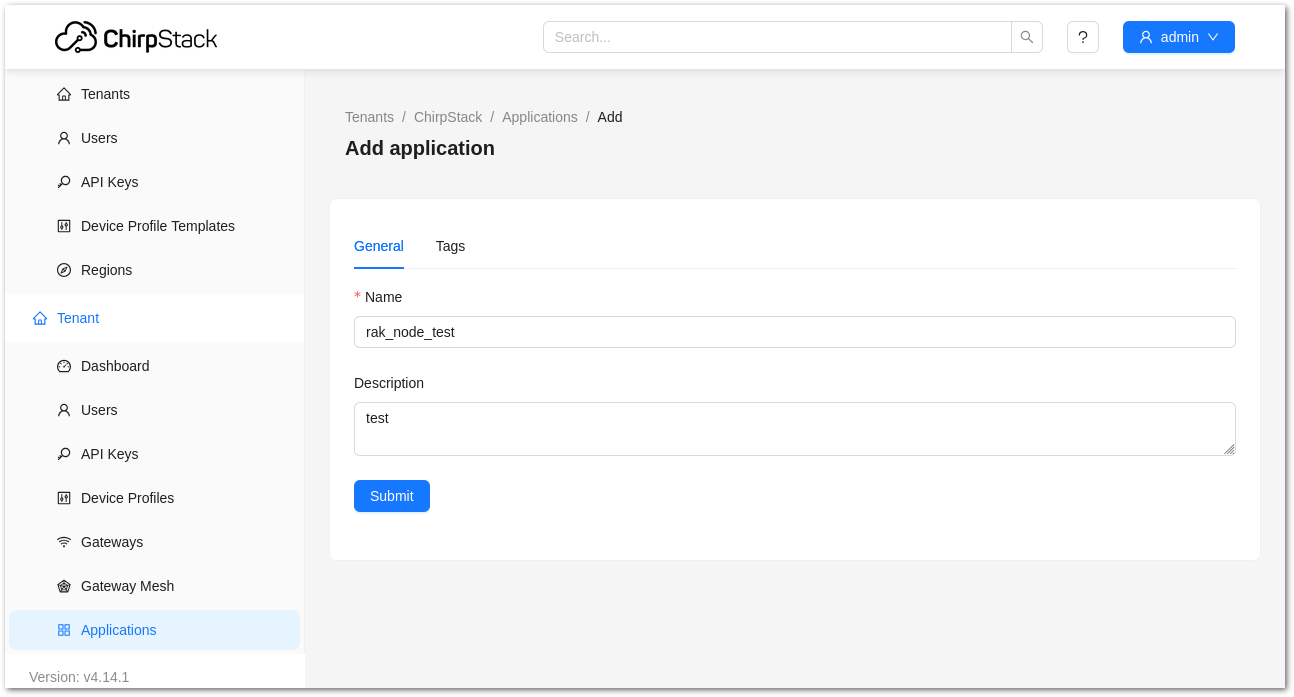 Figure 1: Filling in the parameters of an application
Step2: Register an End Device
- Choose the Application created in the previous step, then select the DEVICES tab.
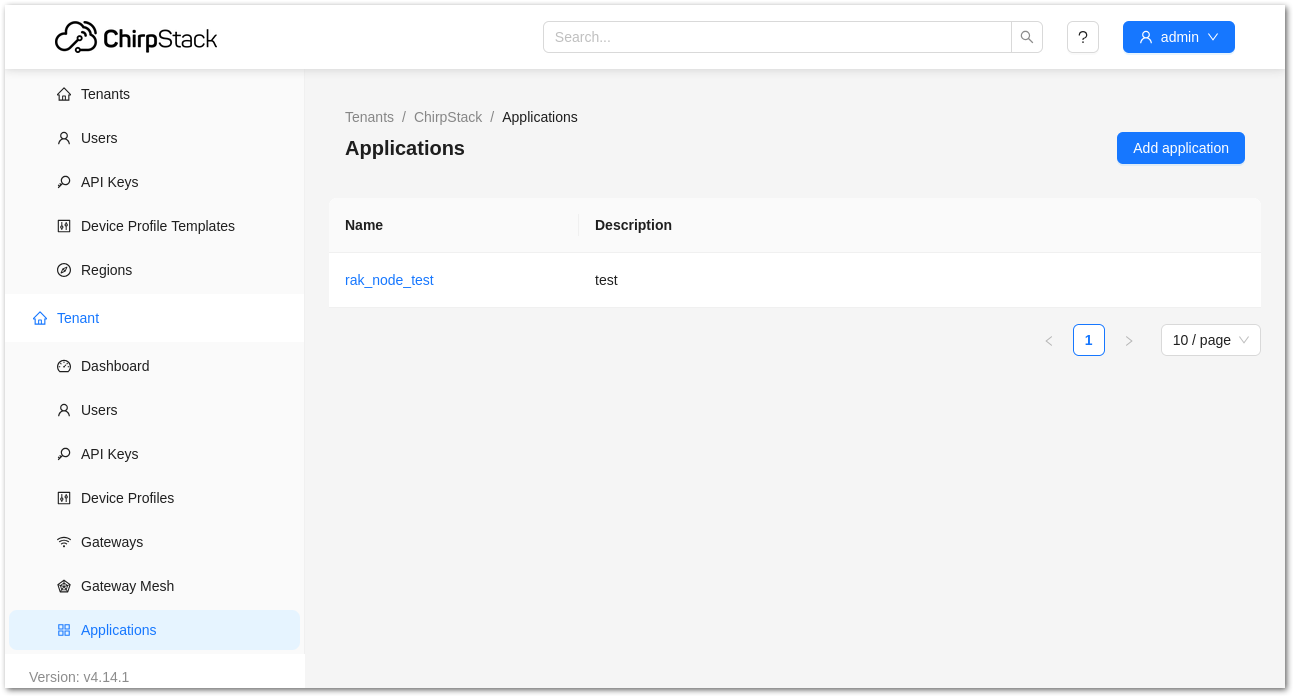 Figure 1: List of applications created
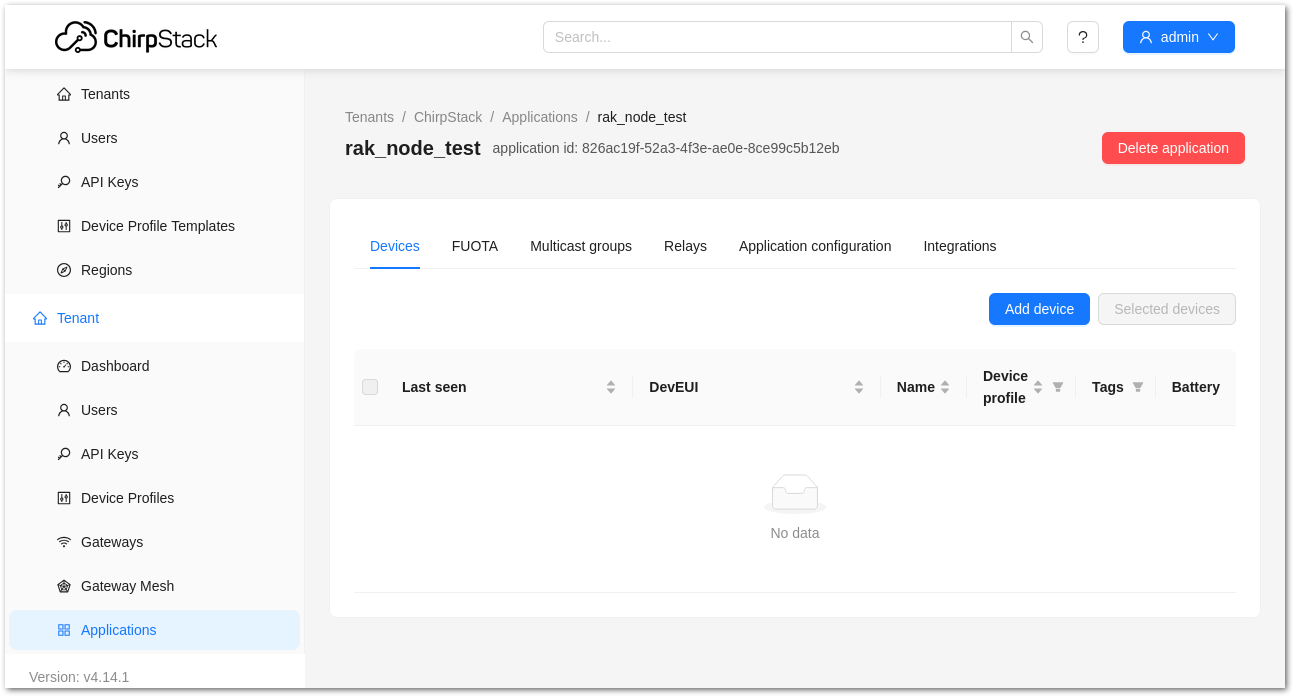 Figure 1: Device tab of an application
- Inside the DEVICE tab, create a new device (LoRaWAN node) by clicking on the + CREATE button.
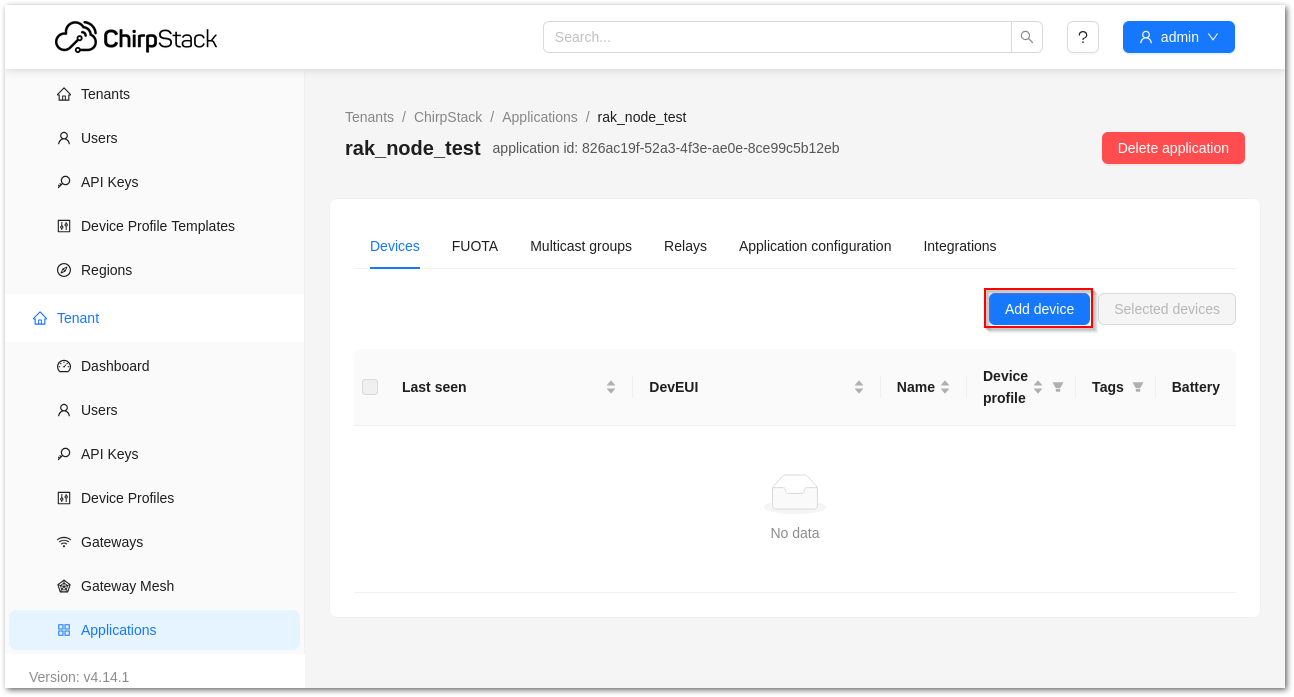 Figure 1: Add a new device
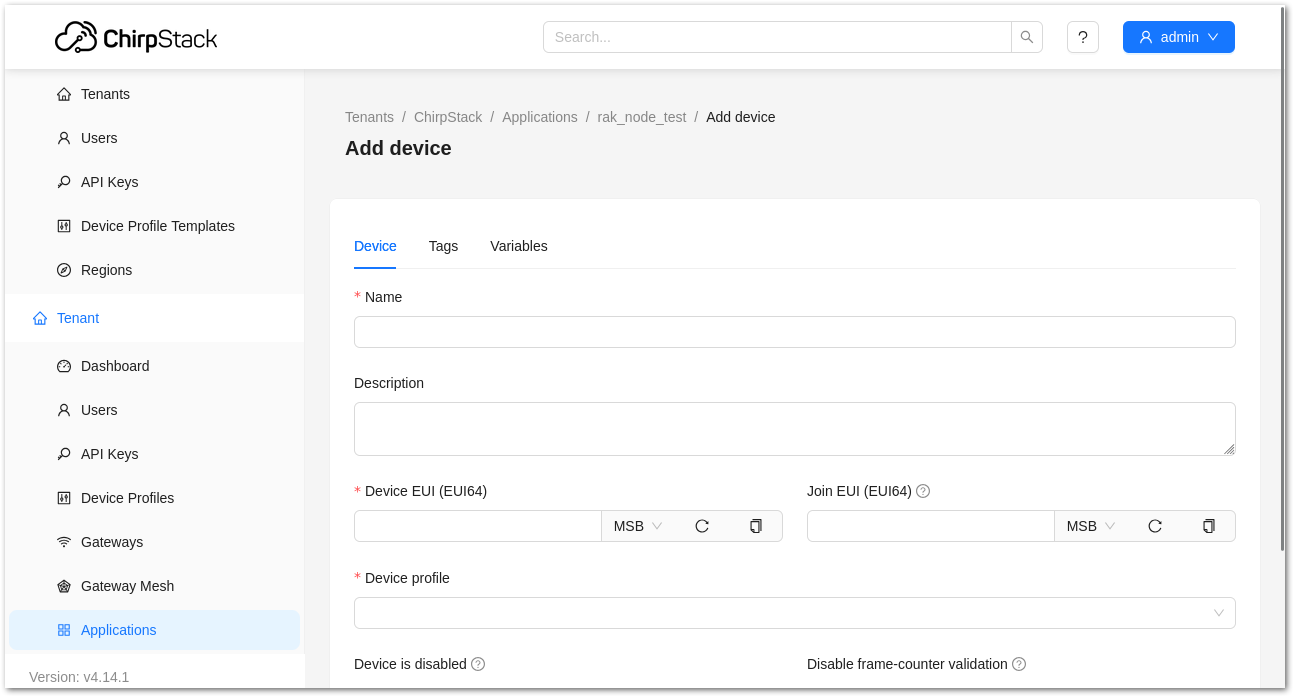 Figure 1: Chirpstack adding node into the RAK end device
- Once the node is created, fill in the necessary data. You can generate a Device EUI automatically by clicking the load icon, or you can manually enter the correct Device EUI in the edit box.
Fill in the parameters requested:
- Device name and Device description: These are descriptive texts about your device.
- Device EUI: This interface allows you to generate a Device EUI automatically by clicking the generate icon. You can also add a specific Device EUI directly in the form.
- Device Profile:
- If you want to join in OTAA mode, select DeviceProfile_OTAA.
- If you want to join in ABP mode, select DeviceProfile_ABP.
Device profiles DeviceProfile_OTAA and DeviceProfile_ABP are only available if you are using the built-in ChirpStack LoRaWAN Server of RAK Gateways.
If you have your own Chirpstack installation, set up the device profile with LoRaWAN MAC version 1.0.4 and LoRaWAN Regional Parameters revision B to make it compatible with RAK end device.
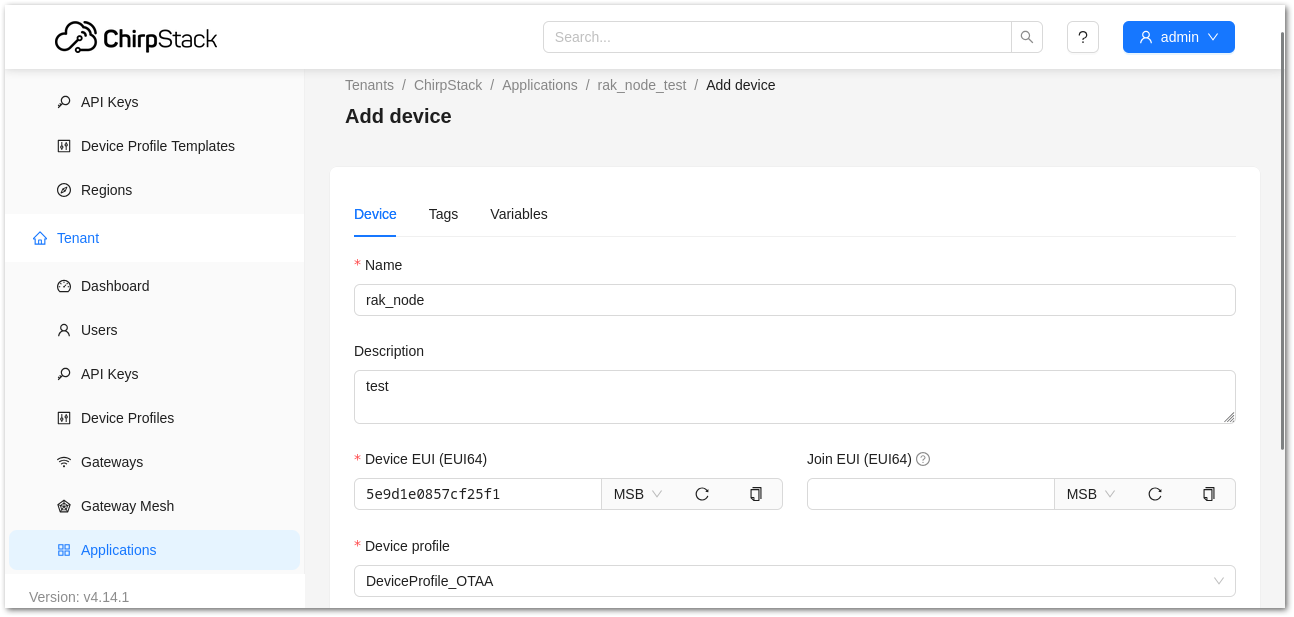 Figure 1: Generate a new Device EUI
Step 3: Configure Device Credentials
After registering the module on ChirpStack, configure the corresponding credentials according to the selected activation method, as described in the following sections.
OTAA Device
- If you selected DeviceProfile_OTAA during device registration, configure the Application Key for the device.
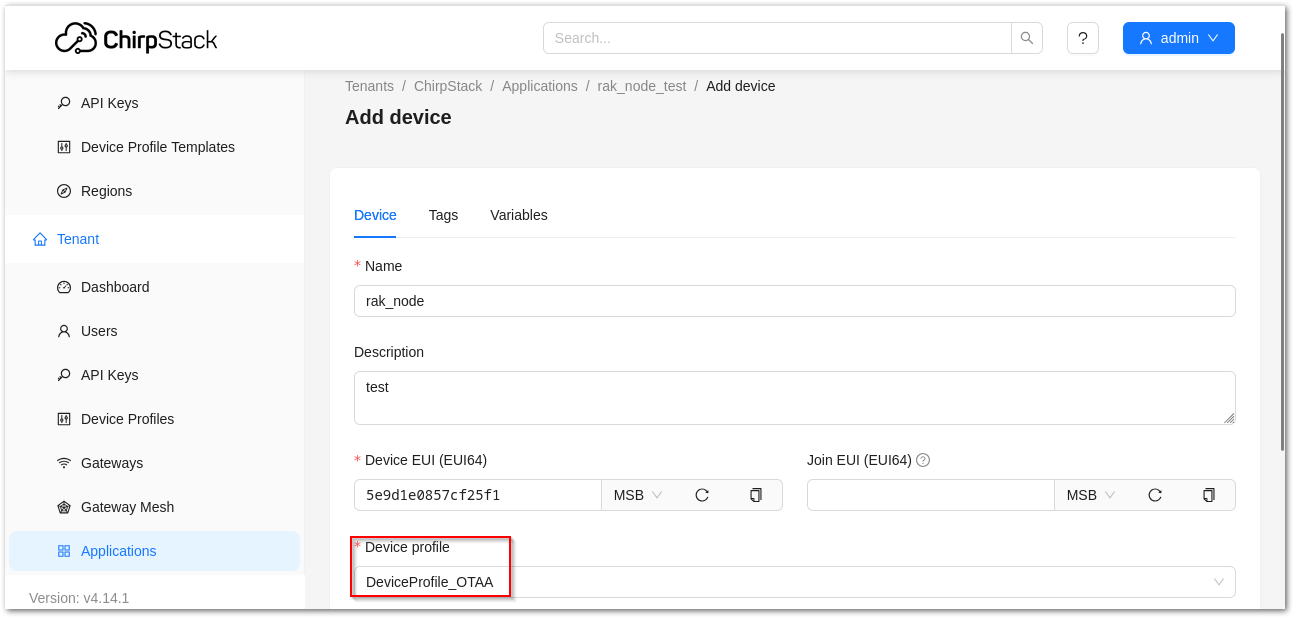 Figure 1: Chirpstack OTAA activation
- The previously created Application Key can be entered here, or a new one can be generated automatically by clicking the Refresh icon.
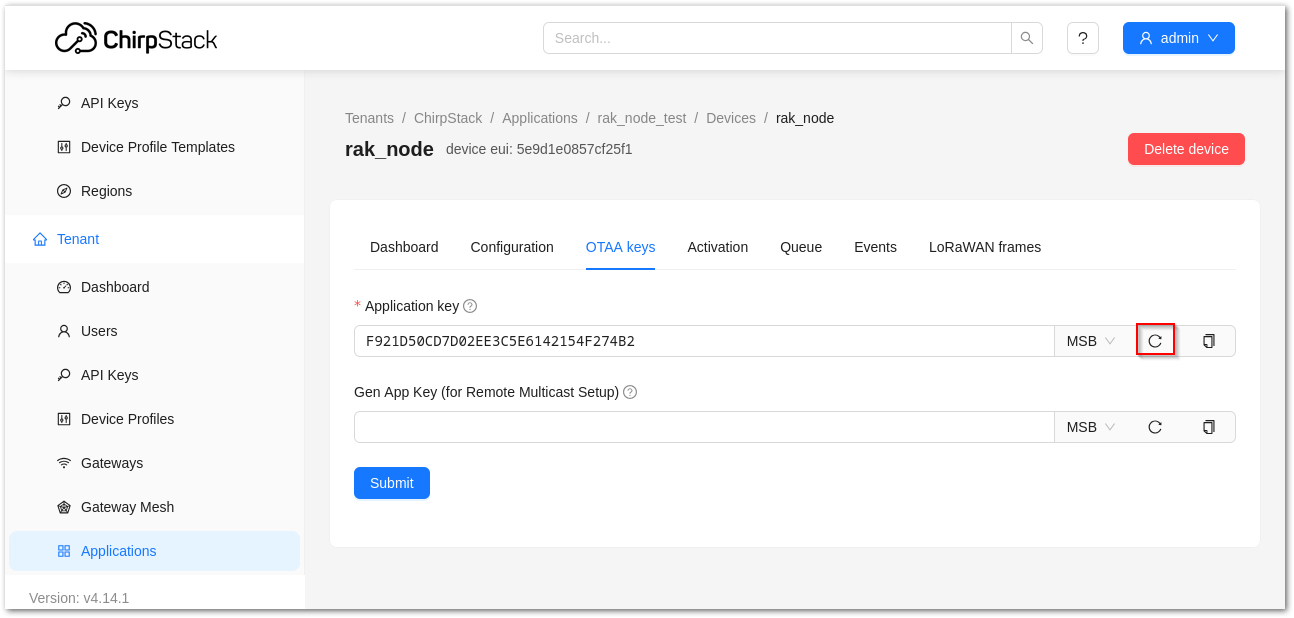 Figure 1: Chirpstack OTAA Set Application Keys
- Once the Application Key is added to the form, the process can be finalized by clicking on the SET DEVICE-KEYS button. A new device should be listed in the DEVICES tab. The most important parameters, such as the Device EUI, are shown in the summary.
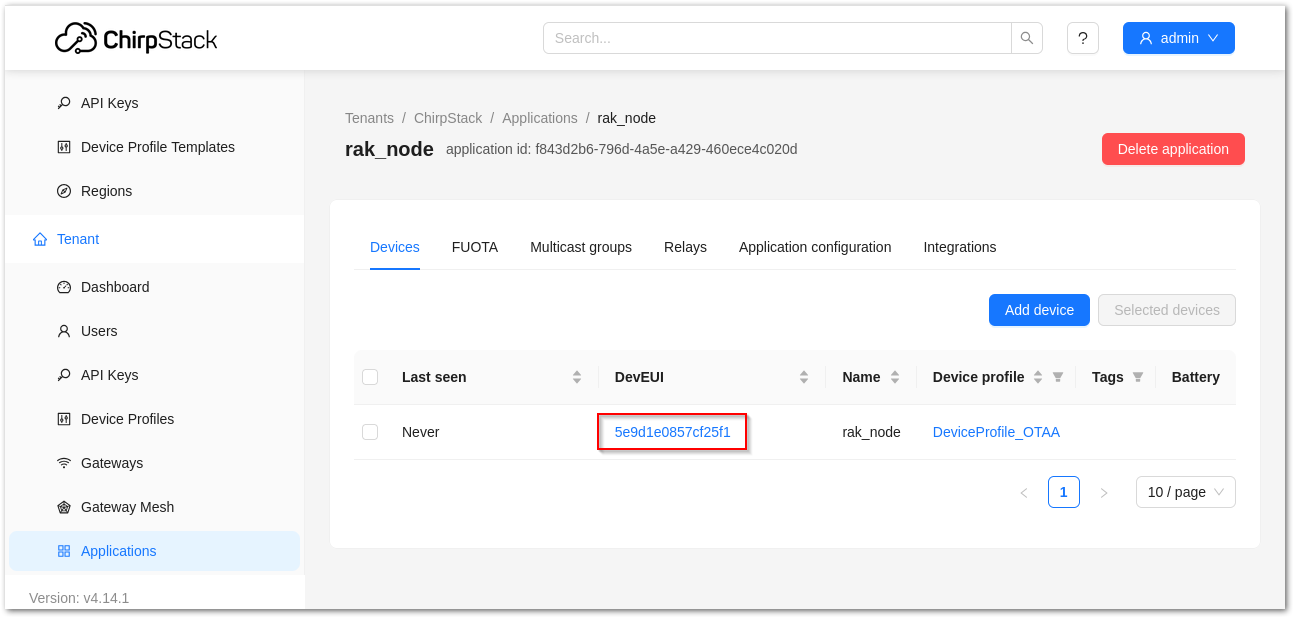 Figure 1: Chirpstack OTAA list of the device in the Device Tab
- To end the process, it is a good practice to review that the Application Key is properly associated with this device. The Application Key can be verified in the KEYS(OTAA) tab.
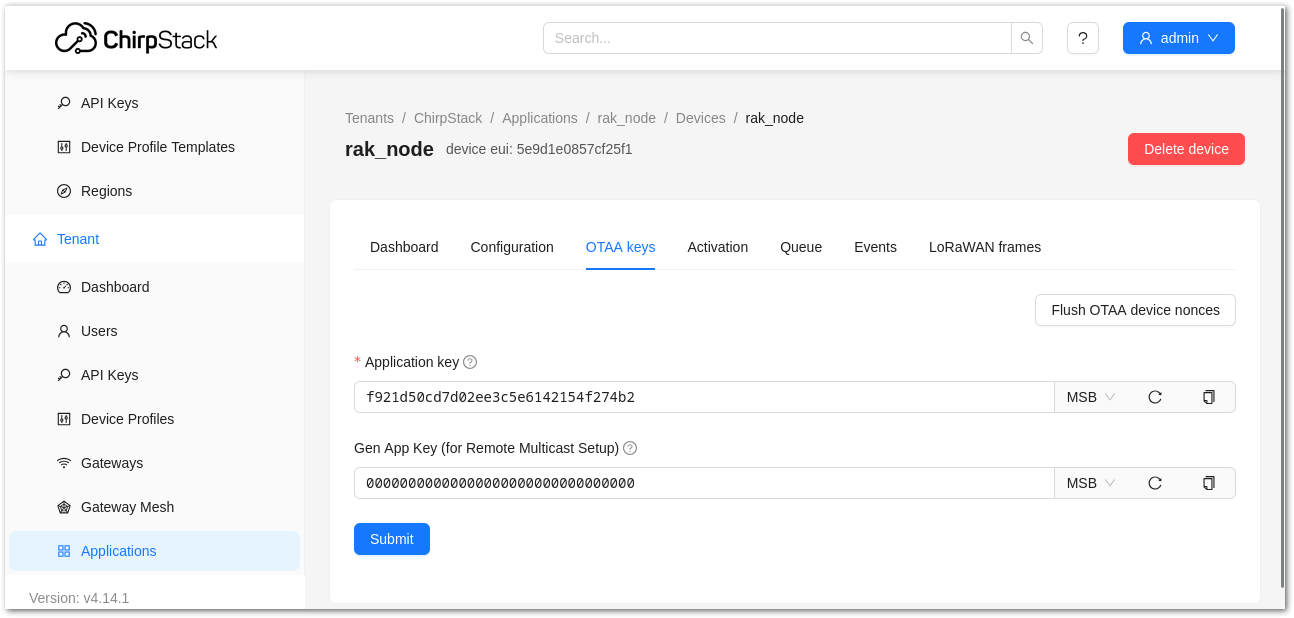 Figure 1: Application key associated with the new device
Standard OTAA mode requires the Device EUI, Application Key, and Application EUI, but in ChirpStack’s implementation, only the Device EUI and the Application Key are mandatory. The Application EUI is not required and not recorded in the Application tab. Nevertheless, you can reuse the Device EUI as the Application EUI during the configuration on the side of the node.
ABP Device
- If you select DeviceProfile_ABP during device registration, the ChirpStack platform will assume that this device will join the LoRaWAN network using the ABP mode.
Check Disable counting frame verification. During testing, if the module is restarted, the frame counting number will also be reset to zero. This can lead to synchronization issues with the ChirpStack server, which may interpret it as a replay attack. While it's safe to disable this feature for testing purposes, remember to activate it in a production environment.
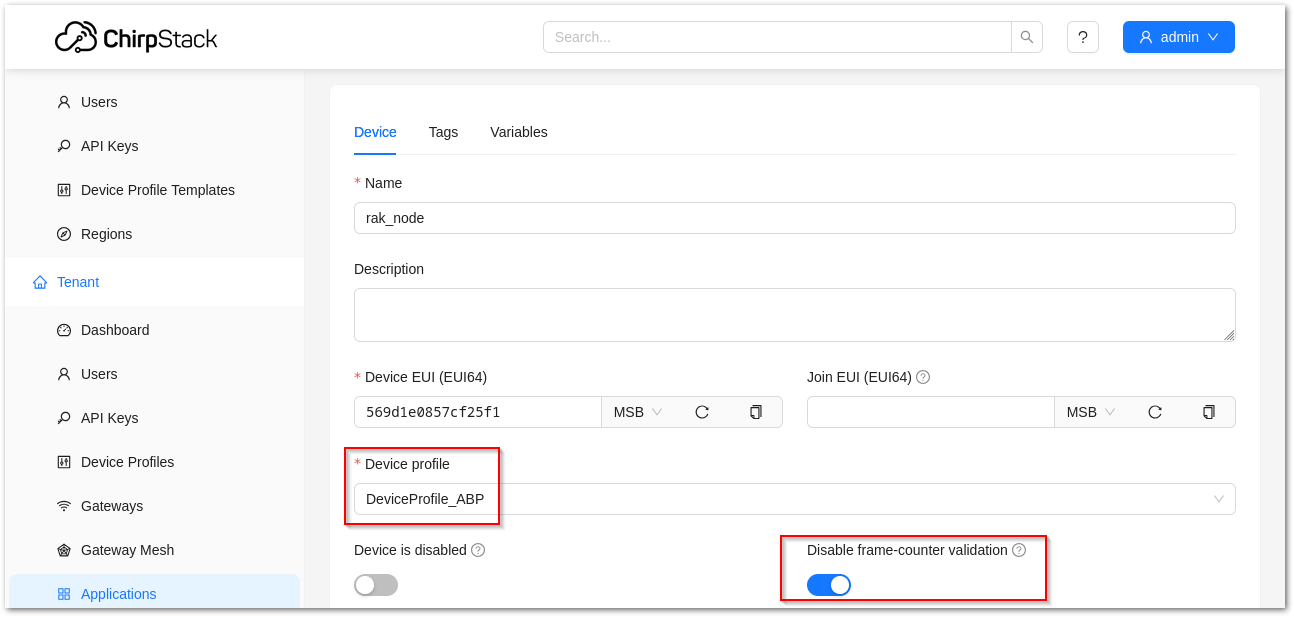 Figure 1: ChirpStack console, configuring a device
-
After selecting the ABP mode, the following parameters appear in the Activation tab:
-
Device Address
-
Network Session Key
-
Application Session Key
-
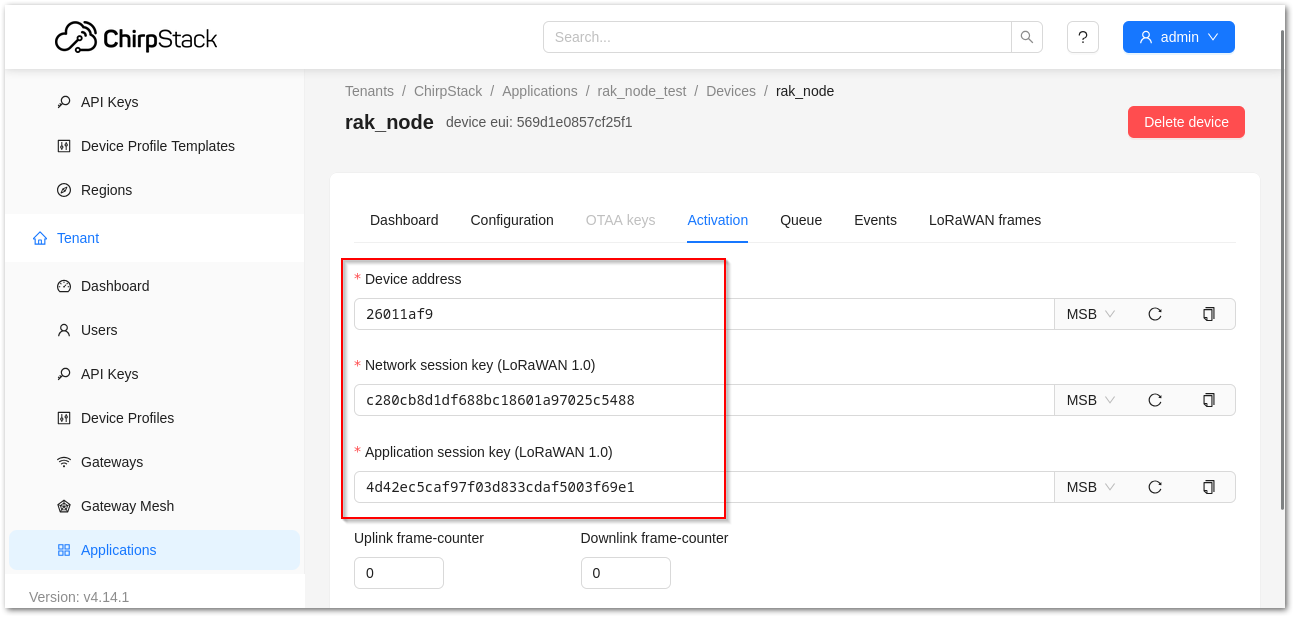 Figure 1: Chirpstack ABP activation parameters needed
- The parameters can either be generated as random numbers by the platform or set with user-defined values. Once these parameters are filled in correctly, the process is completed by clicking on the ACTIVATE DEVICE button.


