RAK2270 Quick Start Guide
Prerequisites
What Do You Need?
Before going through each and every step in the guide of the RAK2270 Sticker Tracker, make sure to prepare the necessary items listed below:
- RAK2270 Sticker Tracker
- A device with a camera
- An account on Trackpac RAK
The RAK2270 does not have an integrated GPS. The accuracy of the location will be determined by the redundancy of Helium hotspots in the surrounding area. To learn more about trilateration, refer to Trackpac Medium.
Product Configuration
Onboard the RAK2270 to the RAK Trackpac
- Log in to the Trackpac RAK platform. If you do not yet have a Trackpac RAK account, follow these steps to create one:
- Go to Trackpac RAK and click Sign up.
- You can also register with your Google account by clicking the Continue with Google button.
 Figure 1: Sign up to RAK Trackpac
- After logging into the Trackpac RAK platform, click the Scan QR Code button.
 Figure 1: RAK Trackpac Dashboard
- Allow camera access if requested, then scan the QR code of your RAK2270.
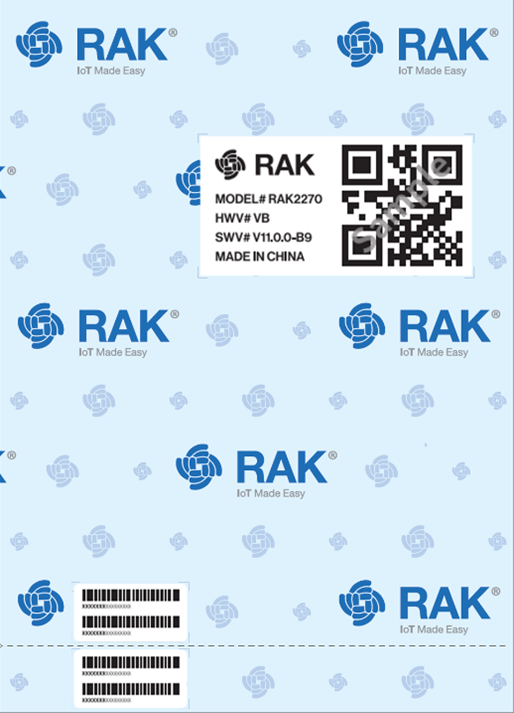 Figure 1: Scan the QR Code
- Your RAK2270 sticker should be successfully listed and onboarded in the dashboard's Stickers field.
 Figure 1: Sticker Dashboard
Power On the RAK2270
After adding the RAK2270 to the Trackpac RAK platform, you can now power it on whenever you want. To do this, peel off the bottom part of the sticker.
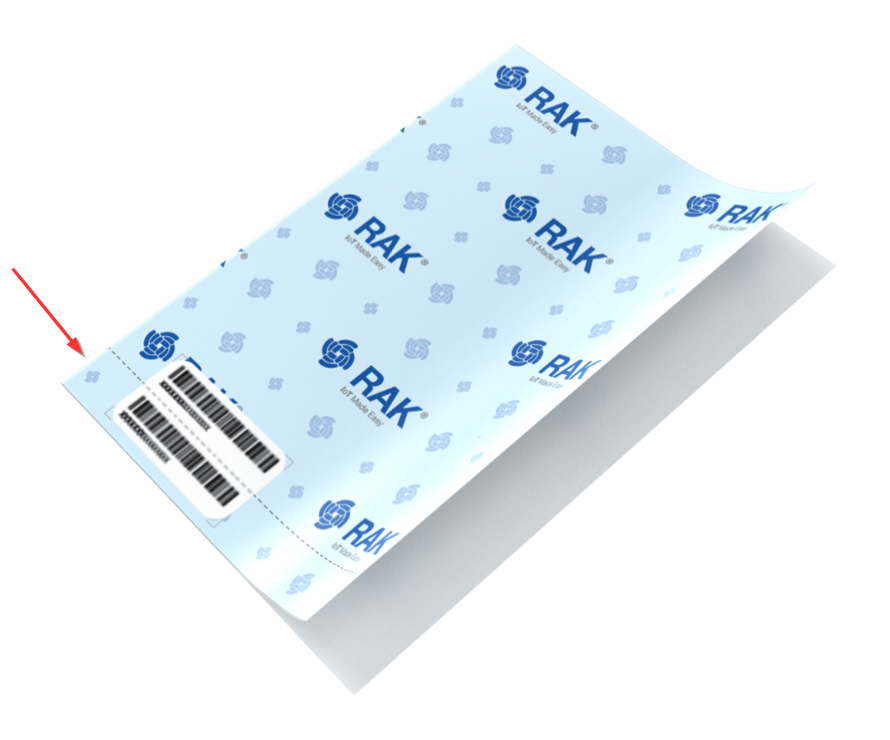 Figure 1: Power on the Sticker Tracker
Customize Data Visualization
Once the RAK2270 is onboarded, you can customize how you visualize the data.
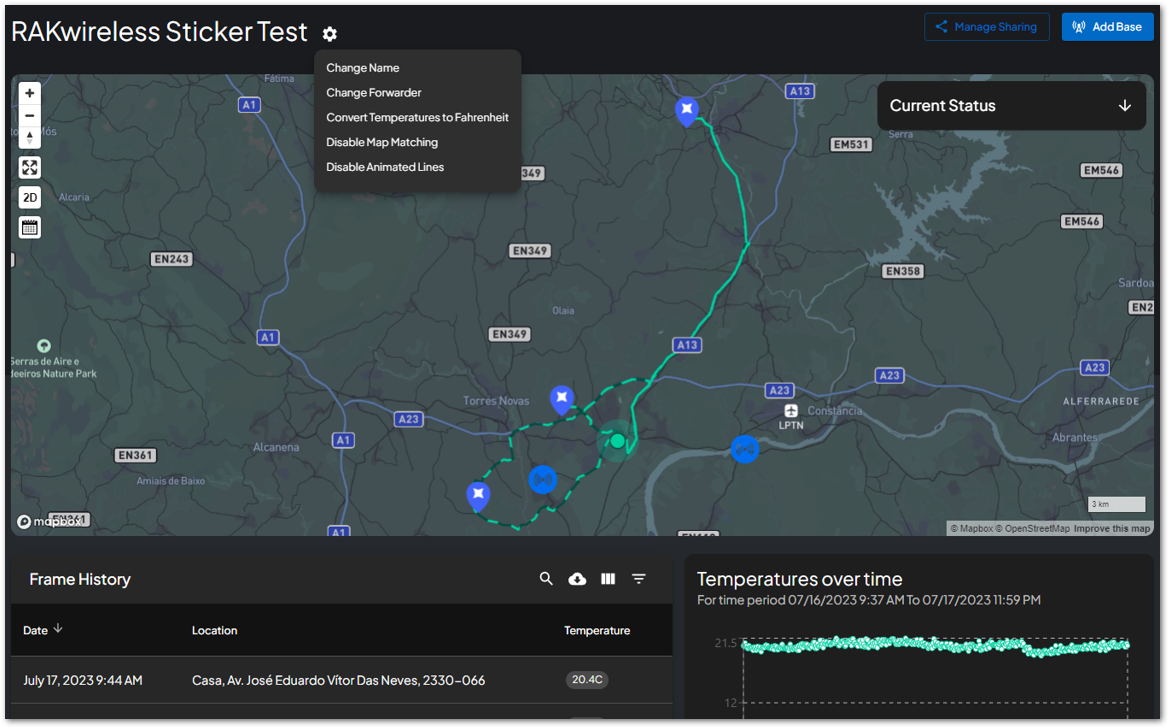 Figure 1: RAK2270 Data Visualization
You can customize the following:
- Change Name
- Change Forwarder
- Convert Temperatures to Fahrenheit
- Disable Map Matching
- Disable Animated Lines
- View in 2D or 3D
- Set Date and Time Range
Add a Base
Adding a base stops drift when static and allows you to set up alerts when a tag enters or exits a base.
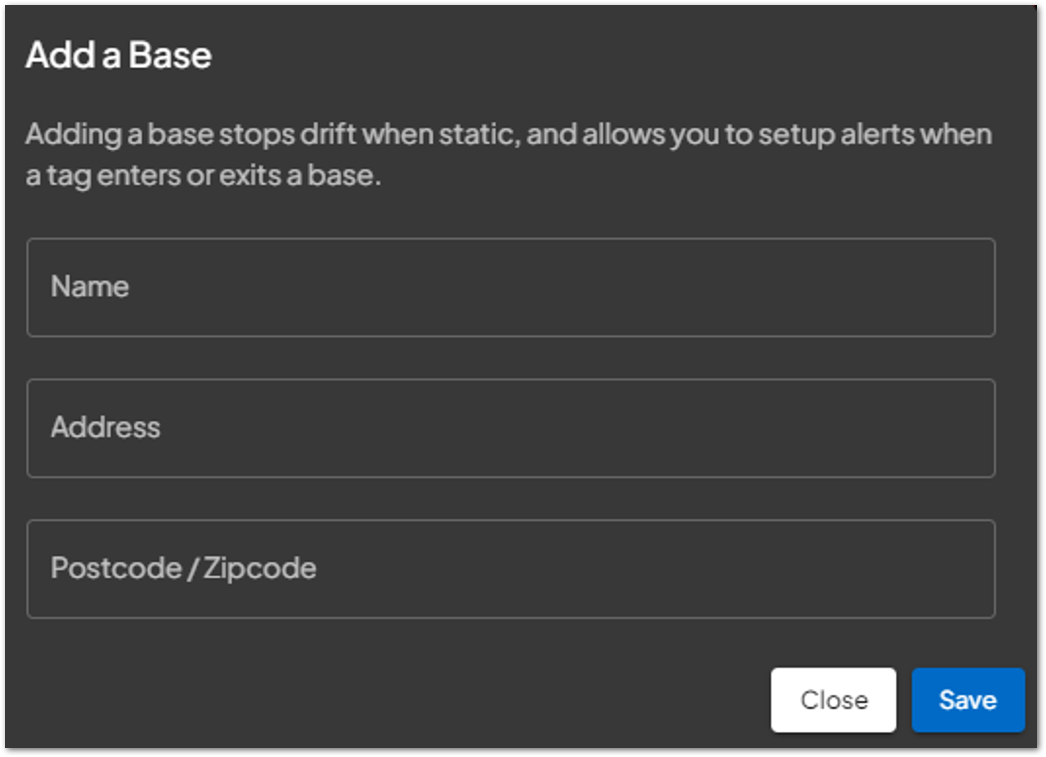 Figure 1: Adding a Base
Create Alert
Alerts are triggered when the value of a tag exceeds or falls below a predefined threshold, such as battery or temperature.
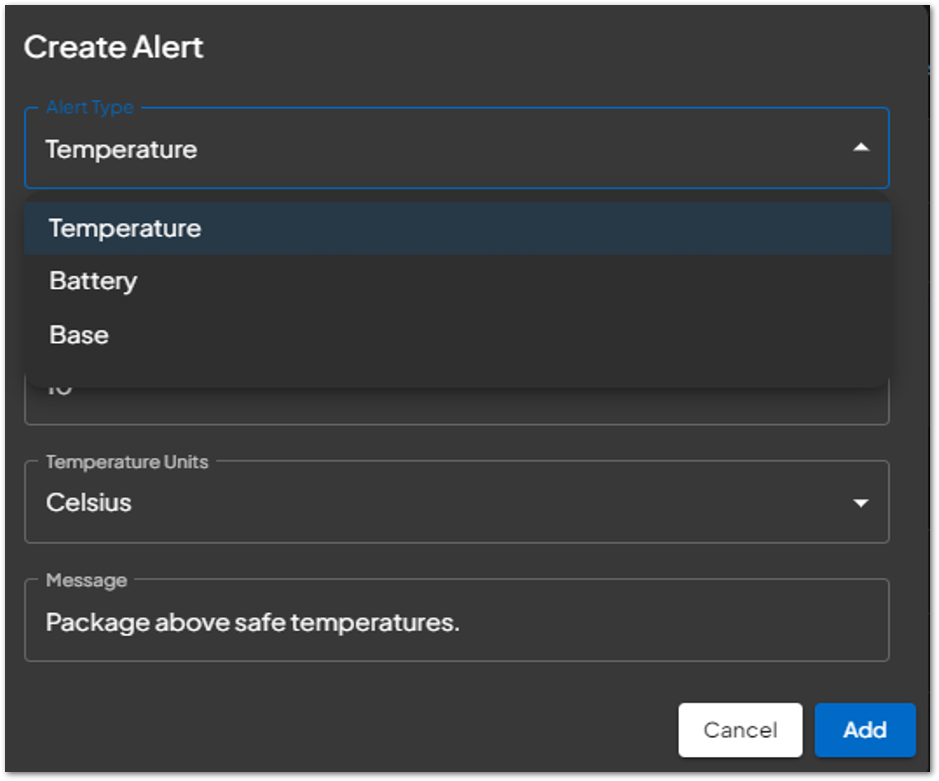 Figure 1: Create an Alert
Add Contact
Manage your contacts for receiving SMS and email alerts.
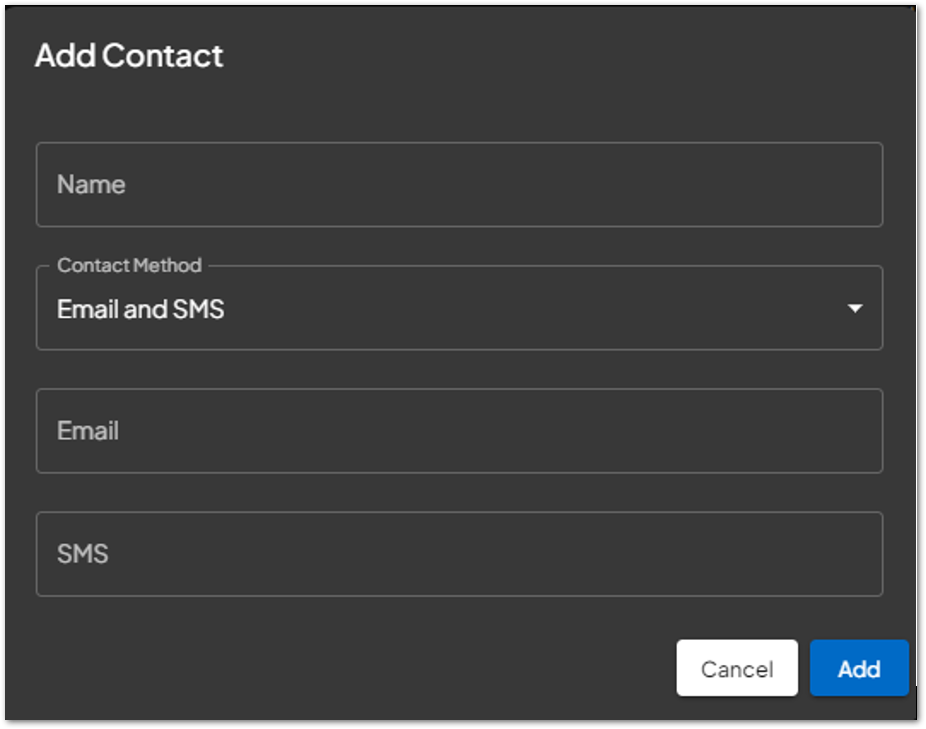 Figure 1: Add a Contact