index
This tutorial illustrates how to configure and connect your RAK Gateway with WisGateOS 2 to a LoRaWAN Network Server by using the Basics Station protocol. For this example, it willS be shown how to connect the gateway to TTNv3.
LoRa Basics Station is an implementation of a LoRa packet forwarder. This protocol simplifies the management of large-scale LoRaWAN Networks. More information about the Basics Station protocol can be found in the explanatory document provided by Semtech.
Register the Gateway in TTN
- Log in first and head on to TTNv3 website. If you already have a TTN account, you can use your The Things ID credentials to log in.
 Figure 1: The Things Stack login page
This tutorial is for the EU868 Frequency band.
- To register a commercial gateway, choose Register a gateway (for new users that do not already have a registered gateway) or go to Gateways > + Register gateway (for users that have registered gateways before).
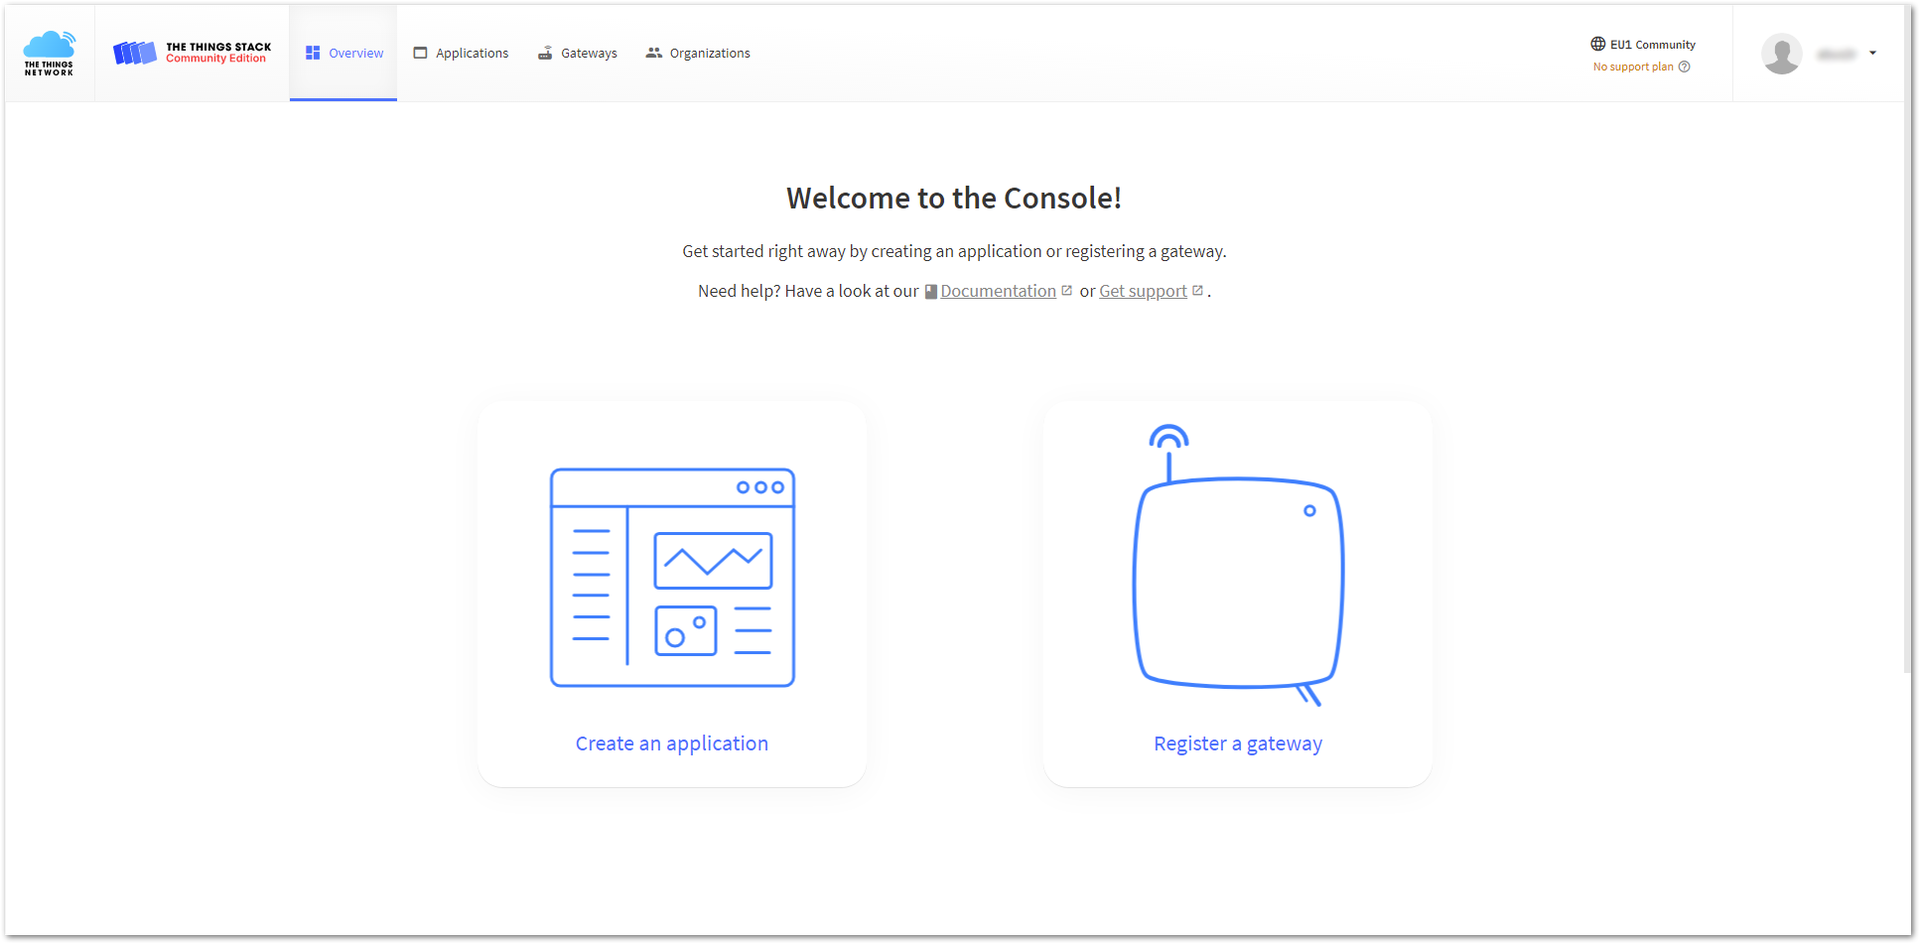 Figure 1: Console Page after a successful login
-
You will be redirected to the Register gateway page.
-
In the Gateway EUI field, type the EUI of the gateway. The gateway's EUI can be found either on the sticker on the casing or by going to the Dashboard > Overview page via the Web UI. Instructions on how to access your gateway via Web UI can be found in the product's Quick Start Guide.
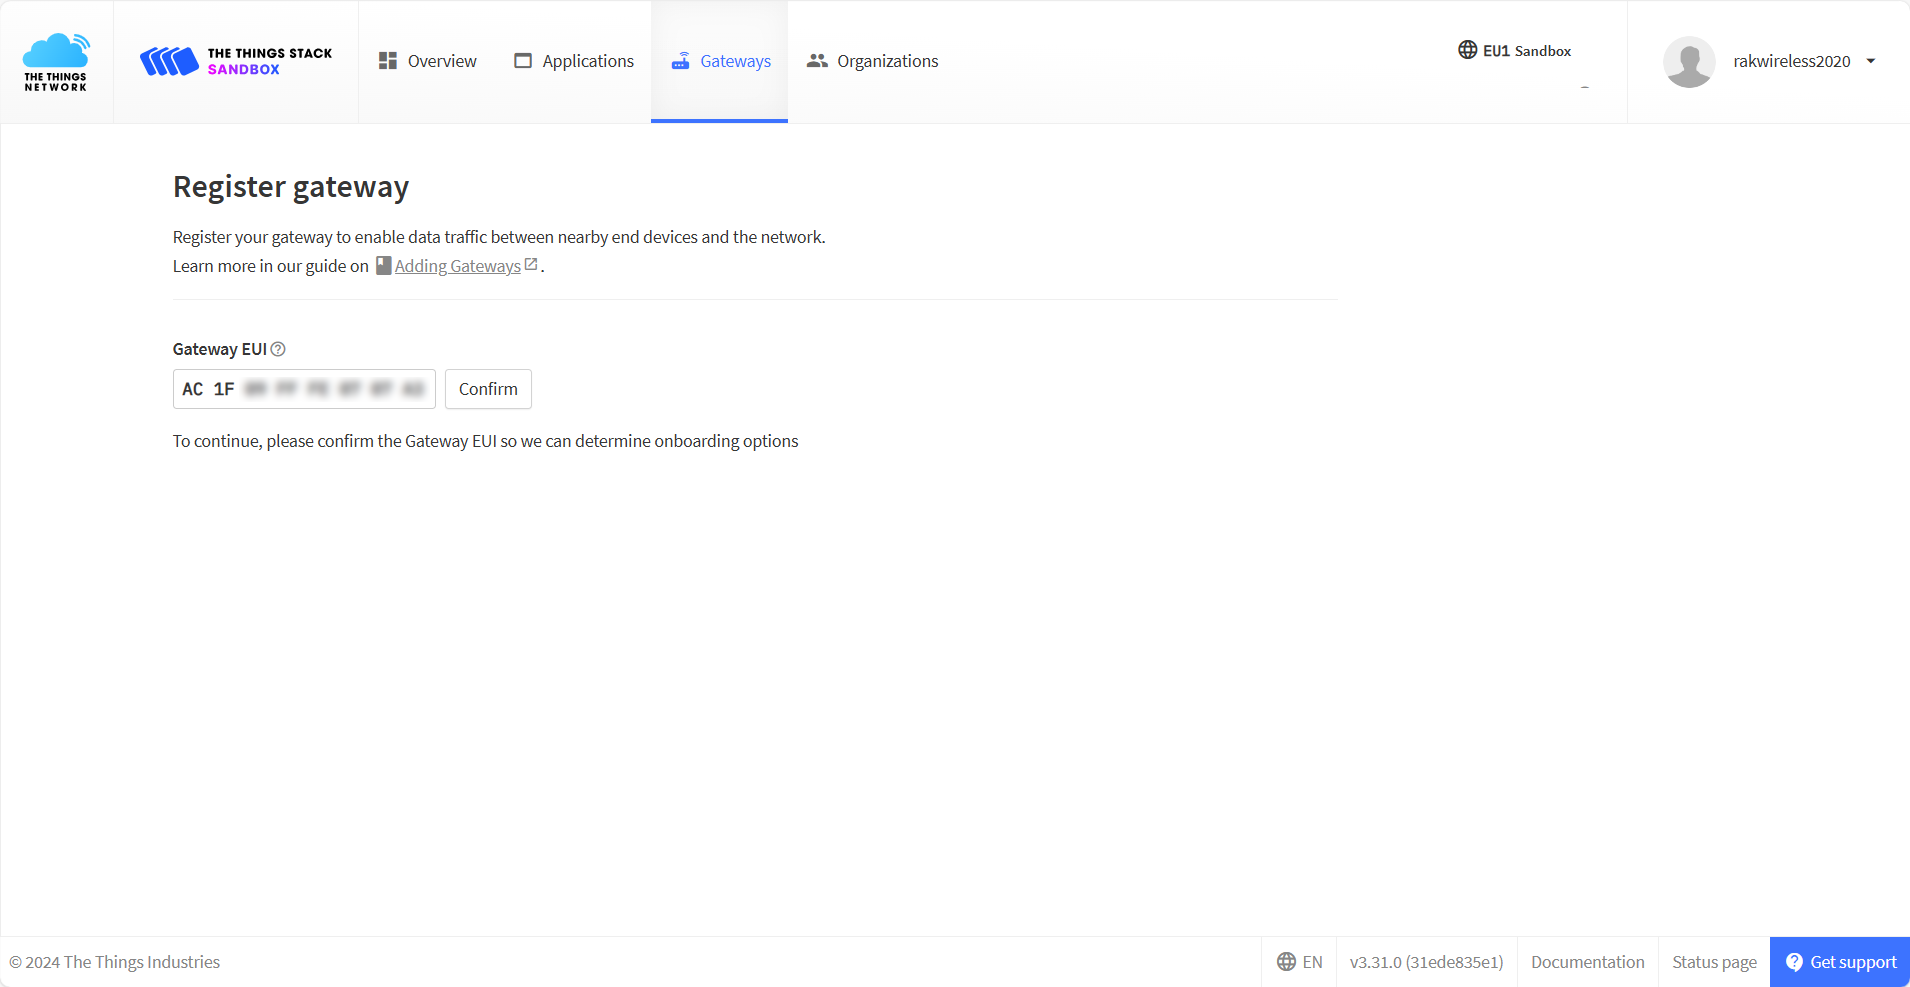 Figure 1: Register gateway
- After typing the EUI, click Confirm. Additional fields will pop up. Fill in the following information:
- Gateway ID – This will be the unique ID of your gateway in the Network. An ID based on the EUI is automatically generated. You can change it if you need. Note that the ID must contain only lowercase letters, numbers, and dashes (-).
- Gateway name – Optionally, you can type a name for your gateway.
- Frequency plan - The frequency plan used by the gateway.
- The other settings are optional and can be changed to satisfy your requirements.
- For this tutorial, we will use Europe 863-870 MHz (SF12 for RX2).
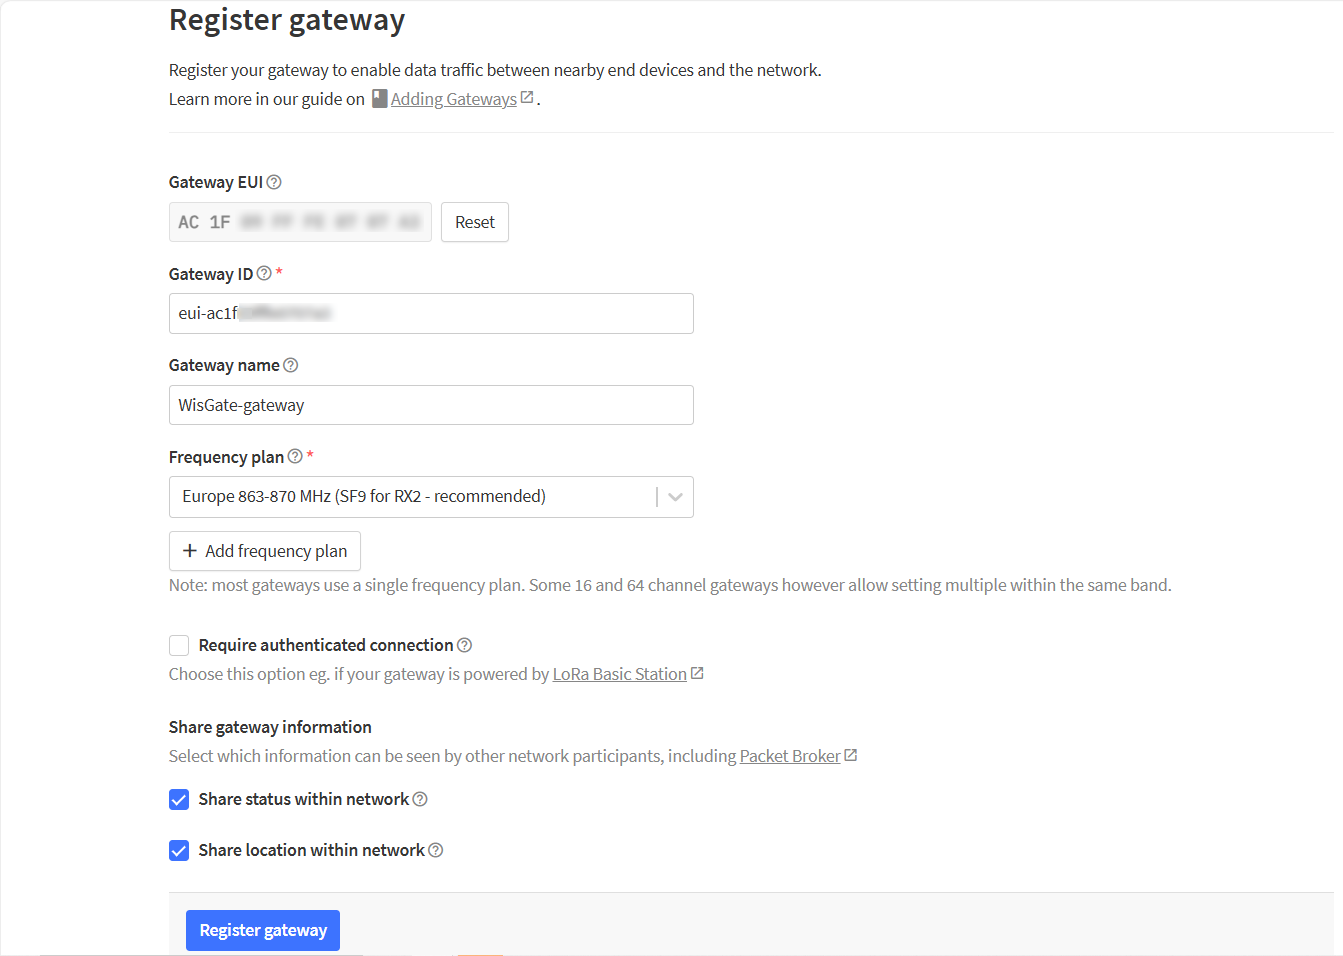 Figure 1: Adding a gateway
- To register your gateway, click Register gateway.
 Figure 1: Successfully added a gateway
Generate the Token in TTN
TTNv3 supports TLS server authentication and Client token, which requires a trust file and a key file to configure the gateway to successfully connect it to the network.
- To generate a key file, from the Overview page of the registered gateway navigate to API keys.
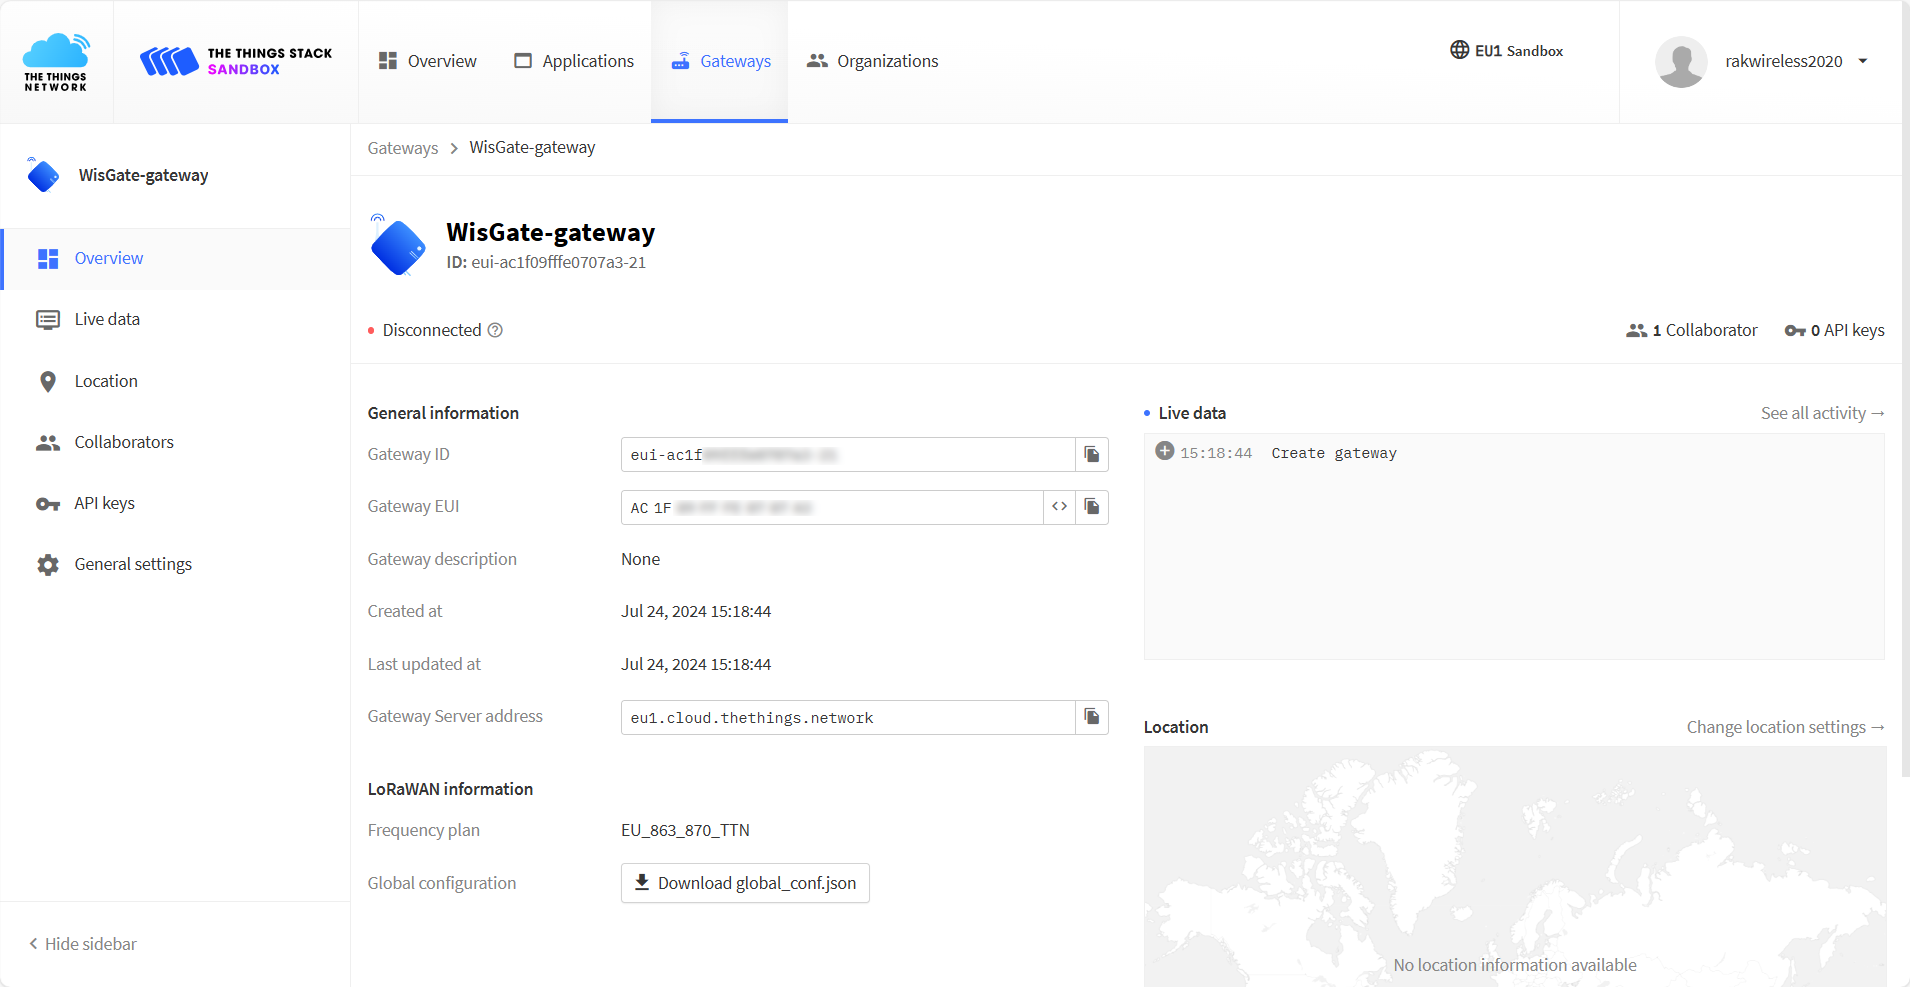 Figure 1: Overview page
- On the API keys page, choose + Add API key.
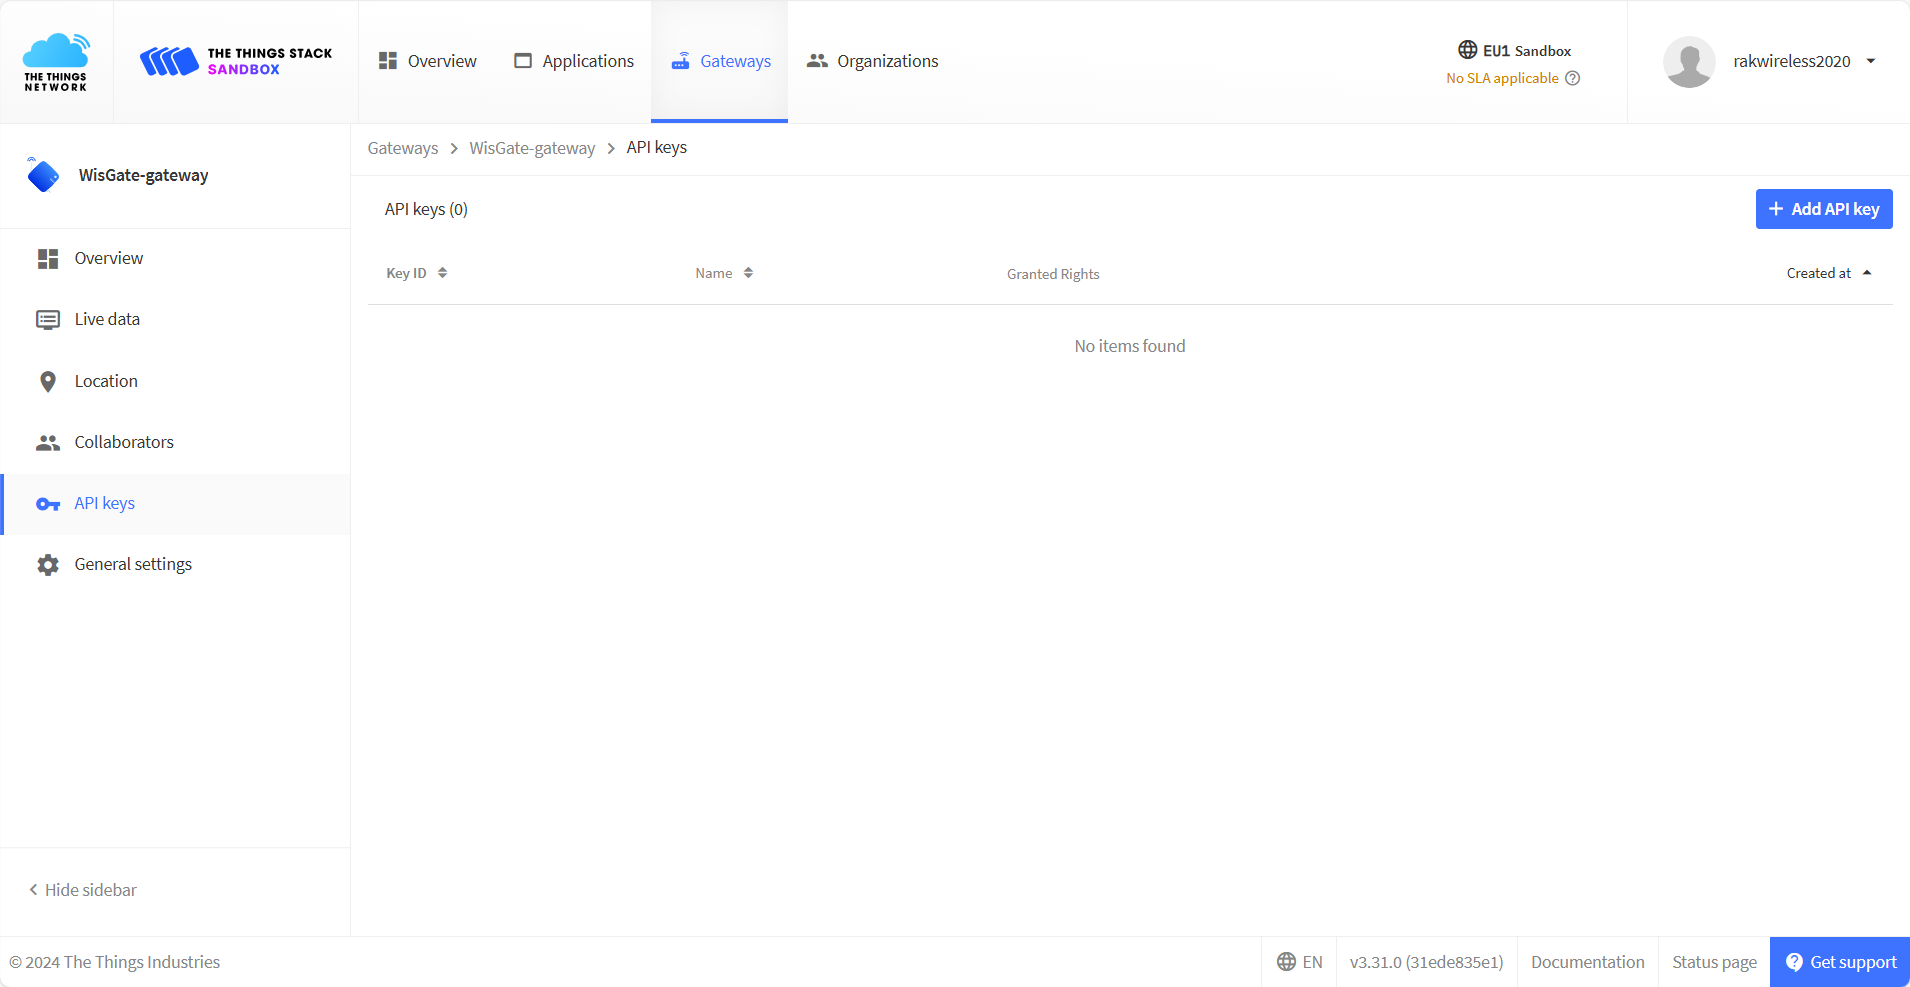 Figure 1: API key page
- In the Name field, type the name of your key (for example - mykey). Choose Grant individual rights and select Link as Gateway to a Gateway for traffic exchange, i.e. write uplink and read downlink.
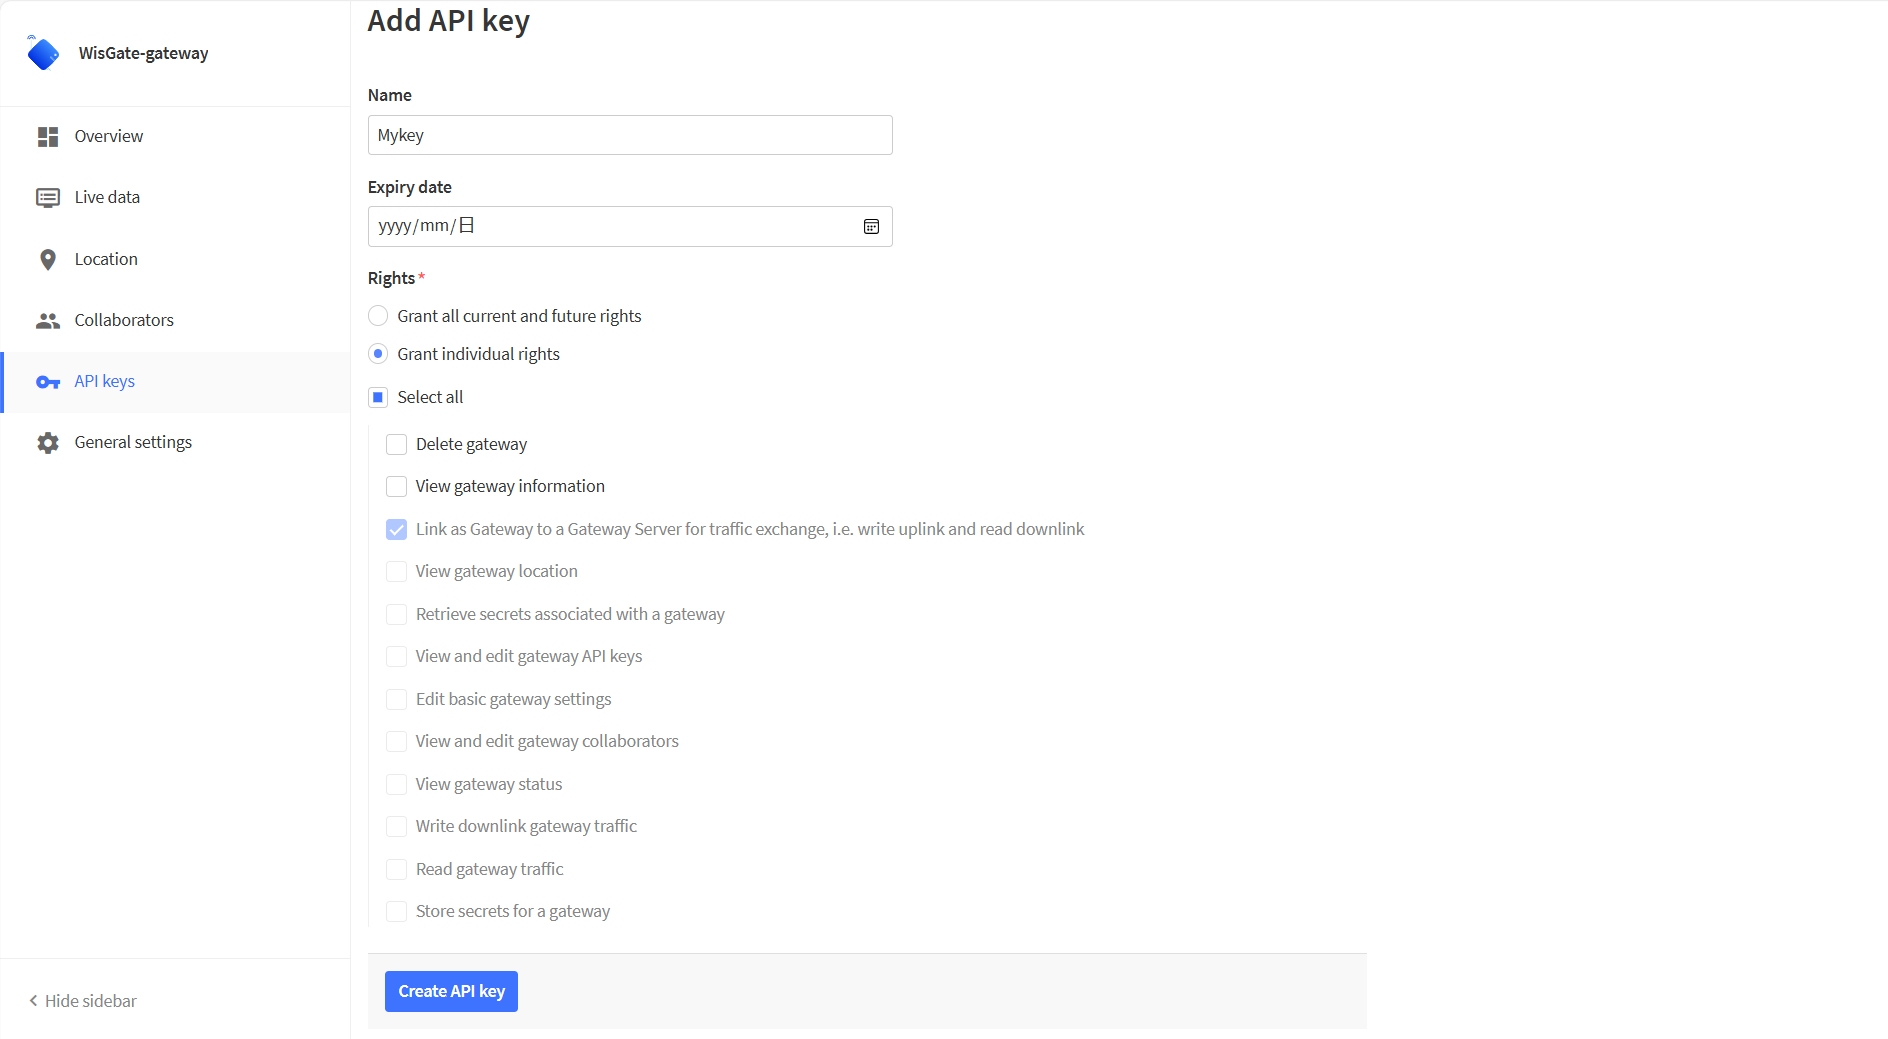 Figure 1: Generating an API key
- To generate the key, choose Create API key. The following window will pop up, telling you to copy the key you just generated.
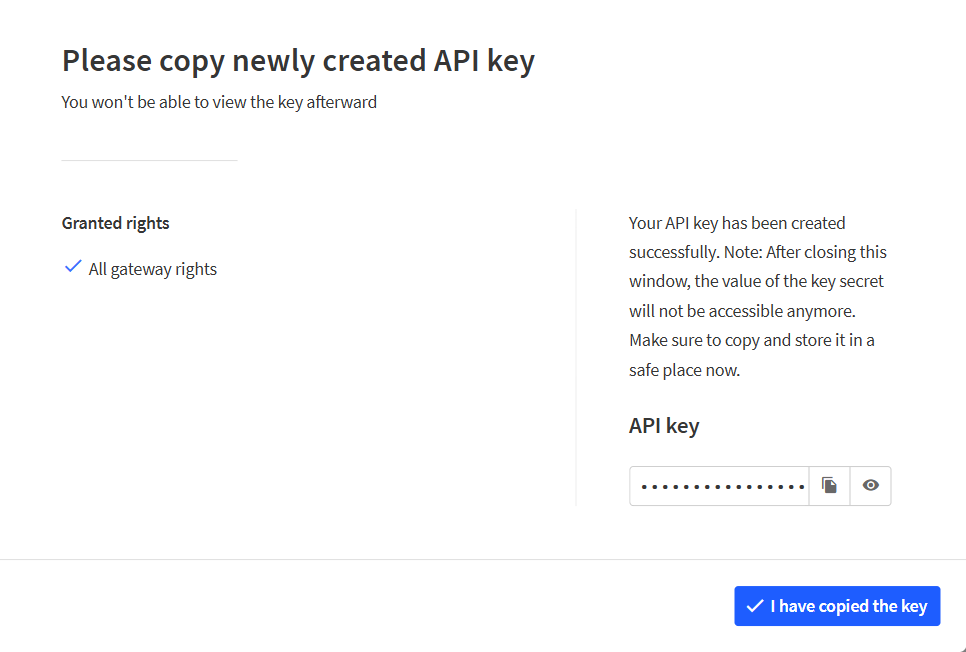 Figure 1: Copying the generated key
Copy the key and save it in a .txt file (or other), because you won’t be able to view or copy your key after that.
- Click I have copied the key to proceed.
Configure the Gateway in TTN
-
To configure the gateway, access it via the Web UI. To learn how to do that, refer to the Quick Start Guide for each gateway.
-
Navigate to LoRa > Configuration > Work mode and select Basics station.
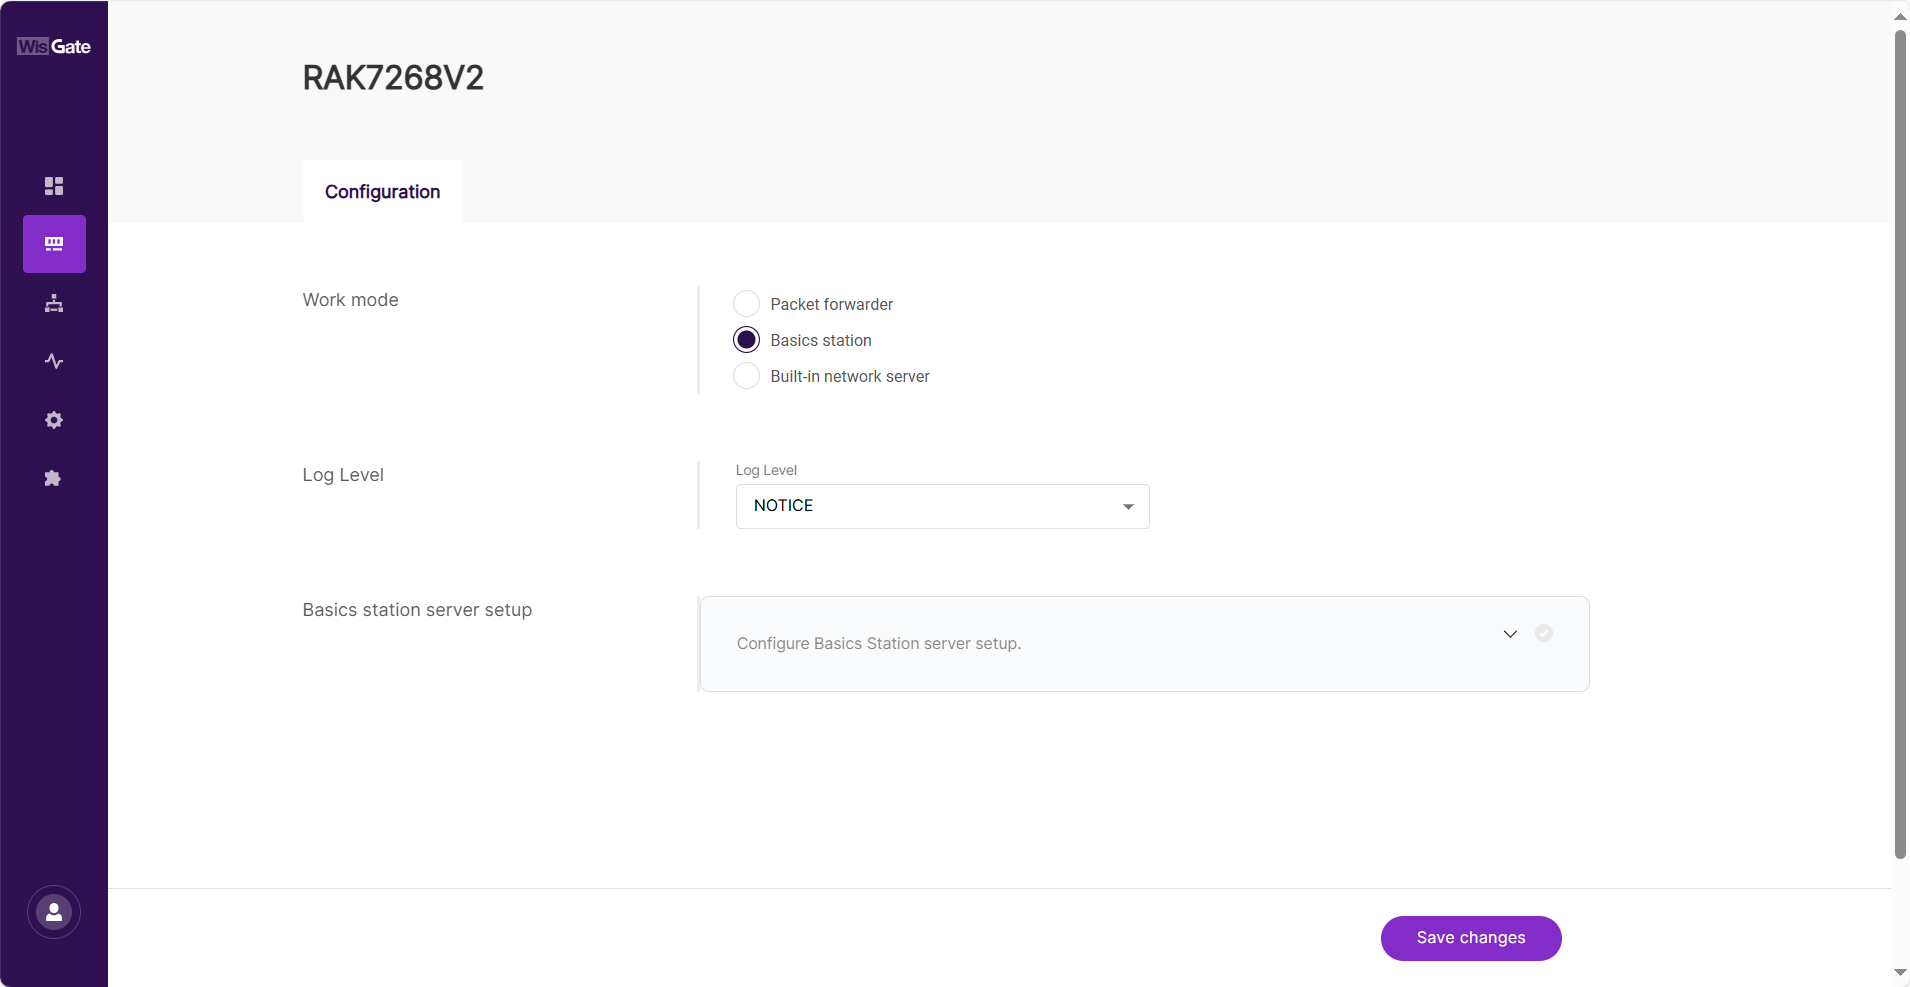 Figure 1: Changing the working mode
- Expand the Basics Station settings by clicking Configure Basics Station server setup.
 Figure 1: Expanded Basics Station settings
- To connect the gateway to TTNv3, configure the following parameters:
- Basics Station Server Type – For server type, choose LNS Server.
- Server URL – This is the link to The Things Stack server. Note that, for this tutorial, the gateway is connected to the European cluster. For Europe fill in the following:
wss://eu1.cloud.thethings.network
- Server Port – The LNS Server uses port 8887. Type in 8887.
- Authentication Mode – Choose TLS server authentication and Client token. When selected, the Trust (CA Certificate) and Client token fields will show up.
- Trust (CA Certificate) – For trust, upload the Let’s Encrypt ISRG ROOT X1 Trust certificate by clicking choose file. The file with the certificate can be downloaded directly.
- Client Token - This is the generated API key.
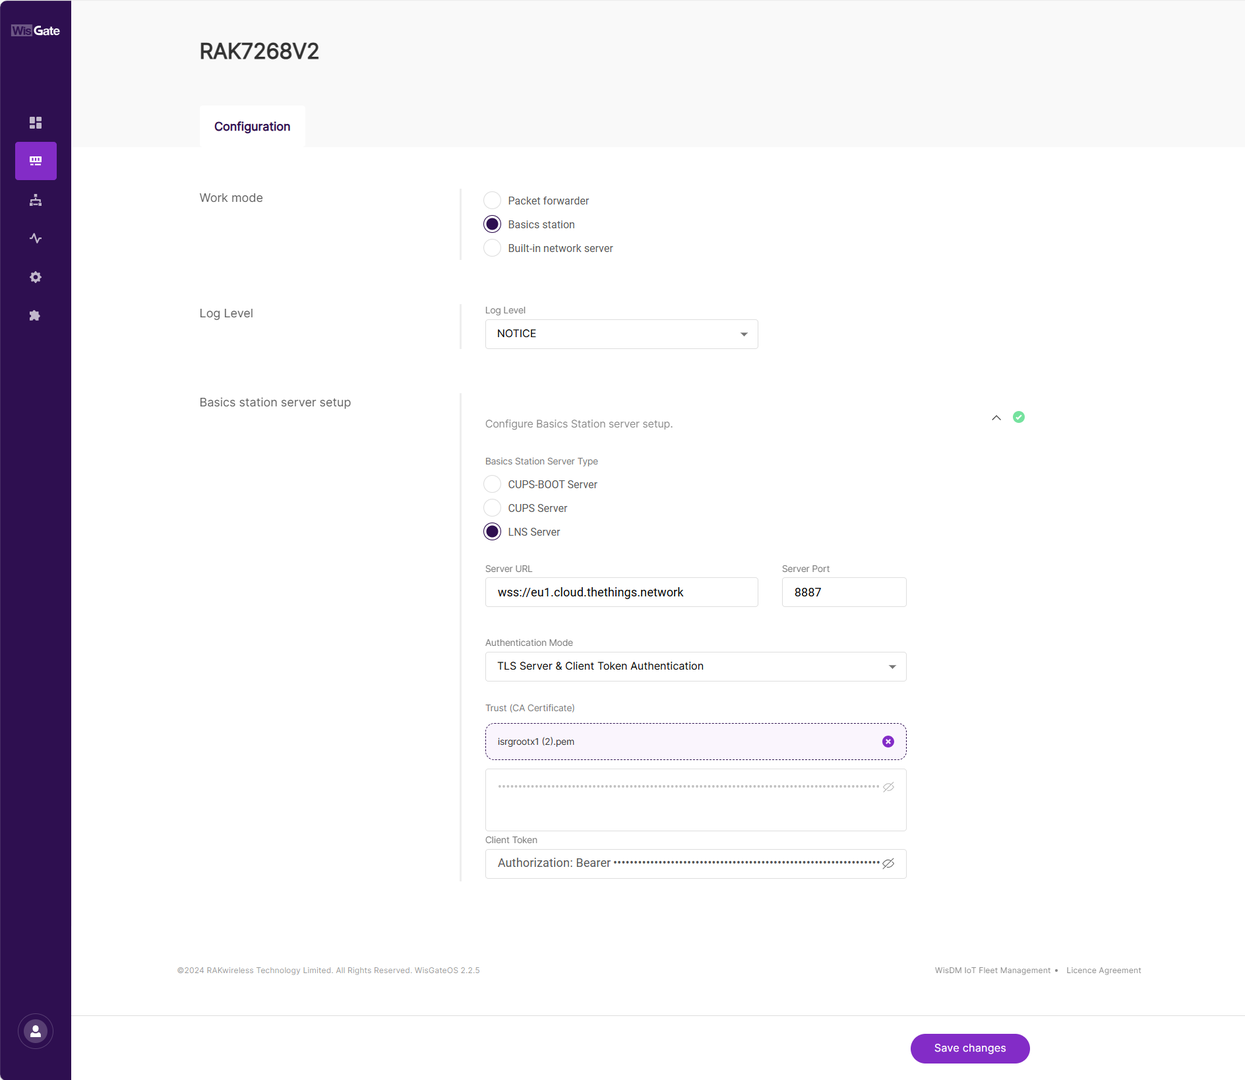 Figure 1: Basics Station settings
- To save the changes, click Save Changes.
If everything is set correctly, you can see the gateway is connected to TTNv3.
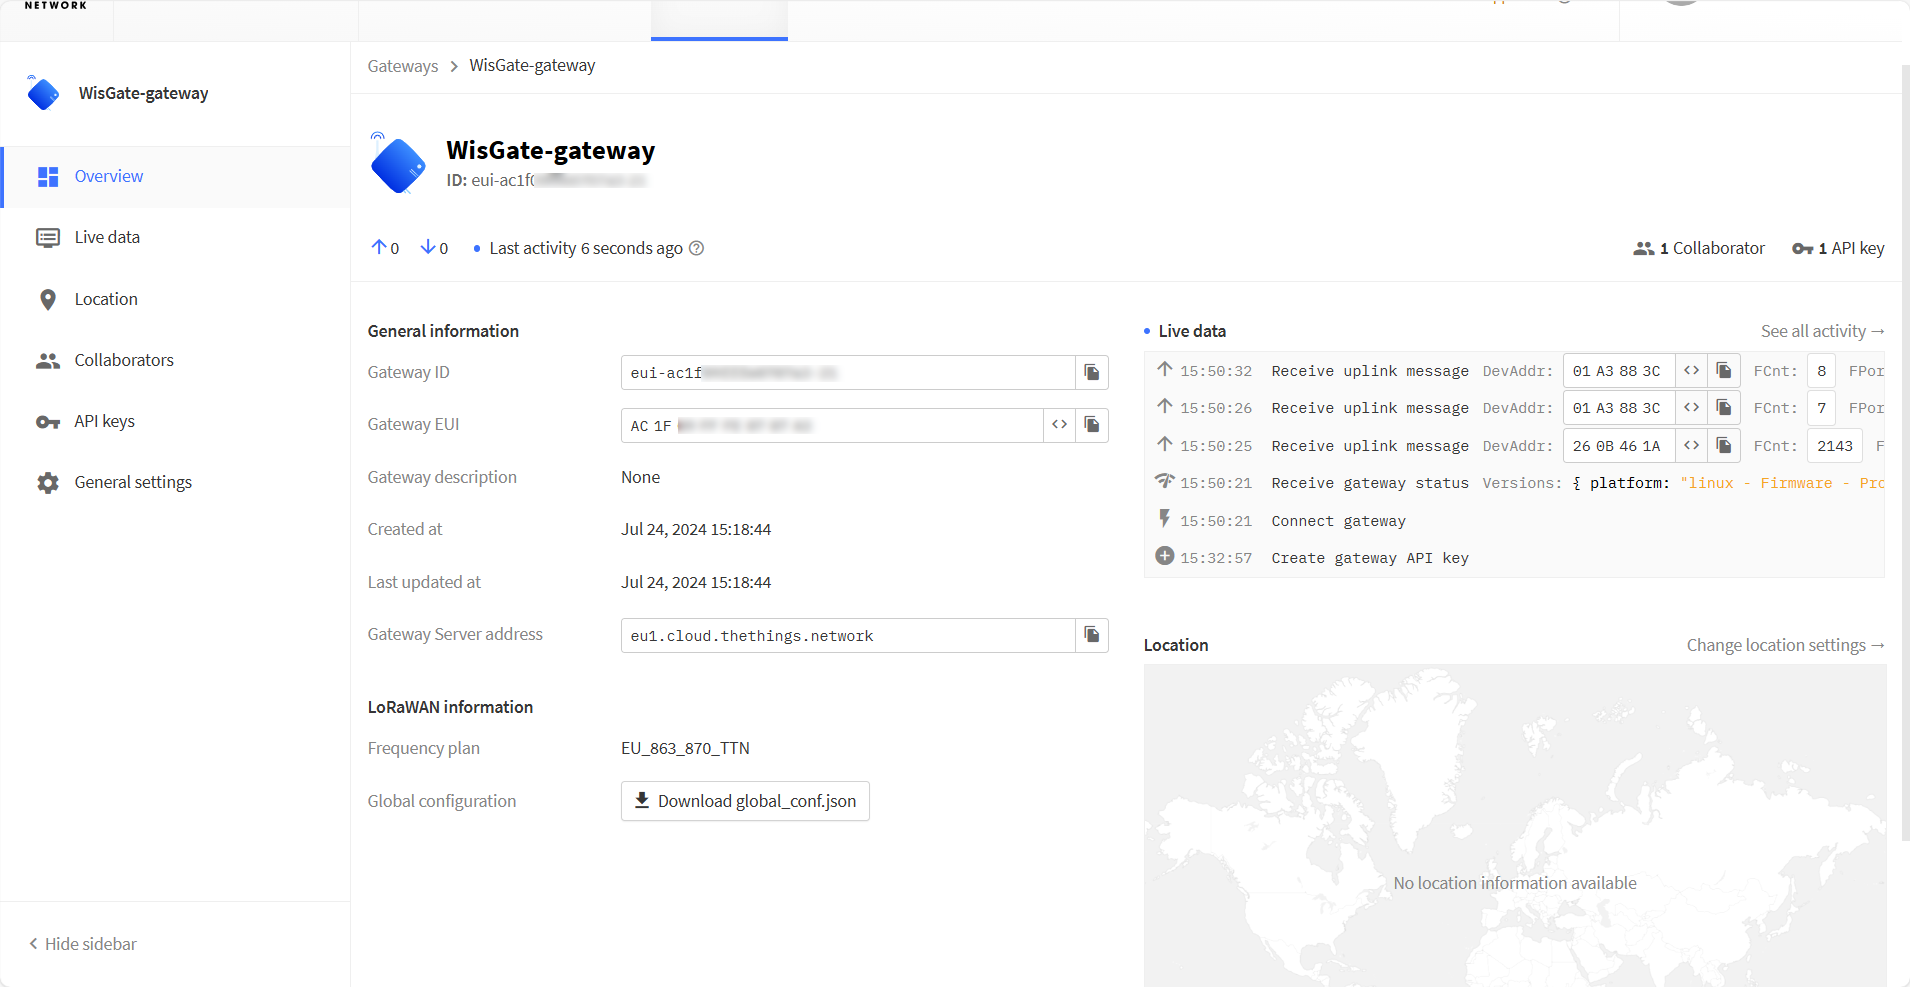 Figure 1: Successful connection