WisMesh TAP V2 Quick Start Guide
The WisMesh TAP V2 is an all-in-one Meshtastic node with on-screen keyboard that allows sending messages over the Meshtastic network without using a phone. It supports the Meshtastic UI (MUI), includes an SD Card for the MUI's map function, and features a buzzer to announce incoming messages.
This guide covers the basic information for the RAKwireless Meshtastic devices that are not covered by the Meshtastic documentation.
To get familiar with the MUI, please check the MESHTASTIC UI documentation provided by Meshtastic.
For detailed instructions on how to configure the devices for the Meshtastic network, follow the Meshtastic Getting Started guide.
You may also check the Meshtastic Basic Device Setup Guide:
To be sure to run the latest version of the Meshtastic firmware, it is recommended to download the latest Meshtastic firmware and upload it to the RAKwireless device for compatibility with the Meshtastic network.
This device requires a specific Meshtastic firmware that supports the TFT display and the touchscreen.
- WisMesh TAP V2 - The firmware for this device has not yet been released in the official Meshtastic Channel. Check with Meshtastic for the correct file:
firmware-rak_wismesh_tap_v2-tft-w.x.yy.zzzzzzz.bin
Prerequisite
Before going through each and every step on using WisMesh TAP V2, make sure to prepare the necessary items listed below:
Hardware
- WisMesh TAP V2
- USB Cable
Software
The WisBlock Core module of the WisMesh TAP V2 comes pre-flashed with the Meshtastic firmware.
The MUI offers the complete setup directly on the device using its touchscreen. Refer to the Meshtastic UI documentation provided by Meshtastic for the setup details.
Alternative you can use the applications provided by Meshtastic to setup the device. Listed below are several applications for the configuration:
These applications are optional. Device setup can be completed entirely through the MUI.
Product Configuration
Hardware Setup
The WisMesh TAP V2 comes fully assembled with a internal battery. However, it is recommended to fully recharge the battery before switching the device on. It supports Li-Ion batteries, 5 V (e.g. from solar panel) supply, a 320x240 TFT touchscreen, and an on-screen keyboard. Internally, it has a SD Card and a buzzer for notifications.
WisMesh TAP V2 also includes all GPIOs on pin headers, an integrated GNSS location chip, and a 3-axis acceleration sensor.
Based on the WisBlock Modular system, this device consists of:
- RAK19007 WisBlock Base Board
- RAK3312 WisBlock Core with Espressif ESP32-S3 and integrated Semtech SX1262 LoRa transceiver
- RAK12501 WisBlock GNSS location sensor
- RAK1904 WisBlock 3-Axis acceleration sensor
- RAK14017 WisBlock TFT LCD display module with integrated SD Card slot and buzzer (Not sold yet).
Charging and Debugging via USB-C
The WisMesh TAP V2 has a USB-C connector for recharging the device.
Recharge the Battery
To recharge the device, plug a USB-C cable to the WisMesh TAP V2 and plug it into a 5 V / 2 A USB wall charger. Charging via a computer USB port is not recommended due to the potential low current output.
Antenna Installation
Attach the LoRa antenna to the antenna connector on the WisMesh TAP V2. Make sure the connector is properly aligned and tightened securely.
The BLE/WiFi antenna and GNSS antenna are already connected inside the enclosure.
Software Setup
To ensure you are running the latest version of the Meshtastic firmware, download the latest Meshtastic firmware and upload it to your RAKwireless device to make it compatible with the Meshtastic network.
The firmware for this device is not yet released in the official Meshtastic Channel. Check with Meshtastic for the firmware-rak_wismesh_tap_v2-tft-w.x.yy.zzzzzzz.bin
The WisMesh TAP V2 comes pre-flashed with the Meshtastic firmware. If you encounter any issues, update the device with the latest Meshtastic firmware. For instructions, see: Flash ESP32 devices on Meshtastic.org.
To configure the WisMesh TAP V2 for the Meshtastic network, follow the Meshtastic Configuration Guide.
Using the Touchscreen
Using the Touch Screen
The Meshtastic UI includes a navigation panel on the left side of the screen. Each icon in this panel provides quick access to specific functions.
- Messaging Icon: Open the messaging screen.
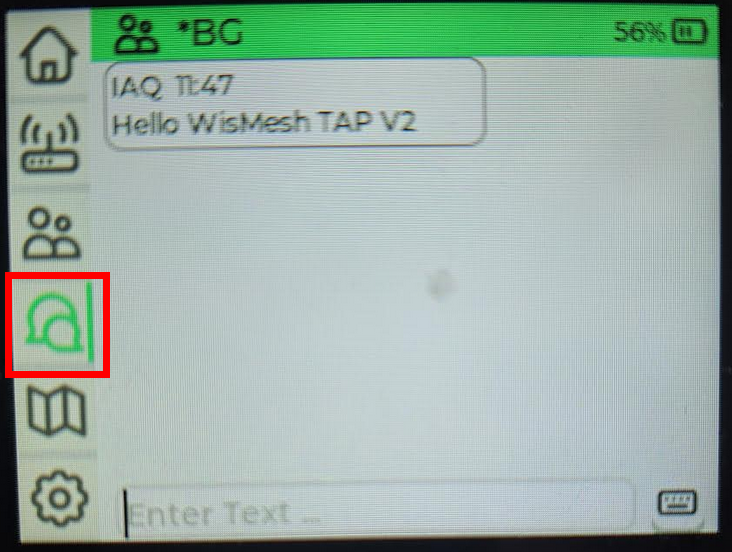 Figure 1: WisMesh TAP V2 chat
- Map Icon: Display the device location and nearby Meshtastic nodes.
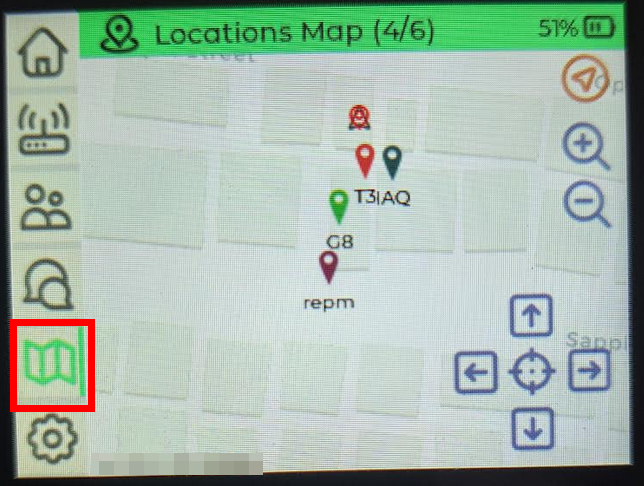 Figure 1: WisMesh TAP V2 map
For a detailed guide on using the Meshtastic UI, refer to the official MESHTASTIC UI documentation.