Settings
General Settings
The General Settings tab provides options to modify the gateway's name, configure system logs, synchronize time via an NTP server, and reboot the device.
Change the Gateway Name
The default gateway name can be updated to improve identification within a network.
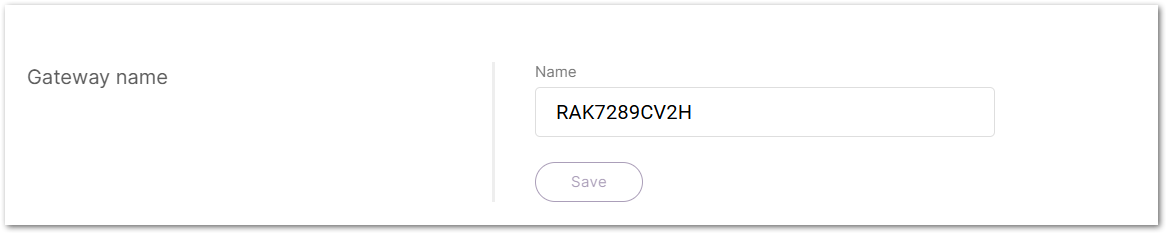 Figure 1: Changing the gateway name
- Navigate to Settings > General settings.
- Enter the desired name in the Name field.
- Click Save to apply the change.
Configure the System Log
The System Log settings allow you to manage log storage and send logs to an external log server for monitoring, troubleshooting, and long-term analysis. The use of System Log includes the following aspects:
- Configure automatic log management, visit How to Configure Automatic Log Management on RAK LoRaWAN® Gateways.
- RAK gateway automatically forwards logs to an external server, visit How to Configure an External Log Server for RAK Gateways.
- Access RAK gateway system logs via Web UI, SSH, or WisDM, visit How to Access System Logs on RAK LoRaWAN® Gateways.
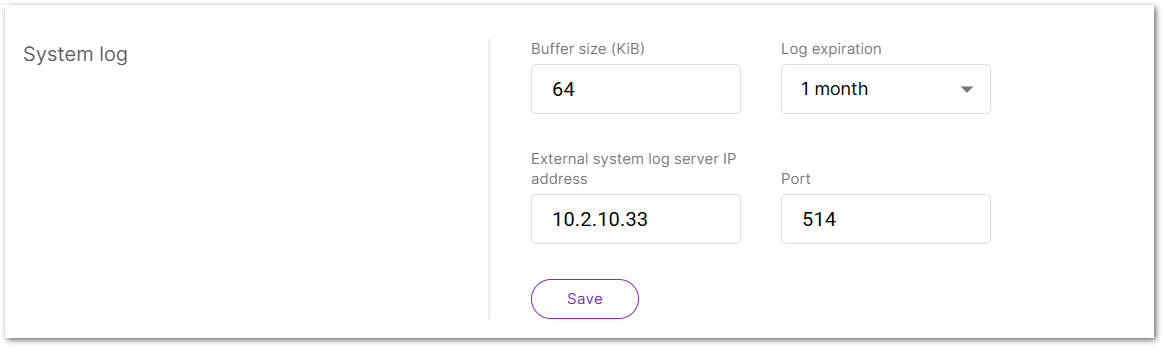 Figure 1: Configure the System Log
- Navigate to Settings > General settings.
- Set Log Buffer Size: Enter the maximum log buffer size (in KiB) in the Buffer size (KiB) field (e.g., 64 KiB).
- Choose Log Retention Period: Select a duration from the Log expiration dropdown:
- 14 days
- 1 month
- 3 months
- 6 months
- 12 months
- Configure External Log Storage (Optional):
- Enter the External system log server IP address if remote log storage is required.
- Specify the Port number used by the external log server.
- Click Save to apply changes.
Time Synchronization
The gateway supports Network Time Protocol (NTP) to maintain accurate system time.
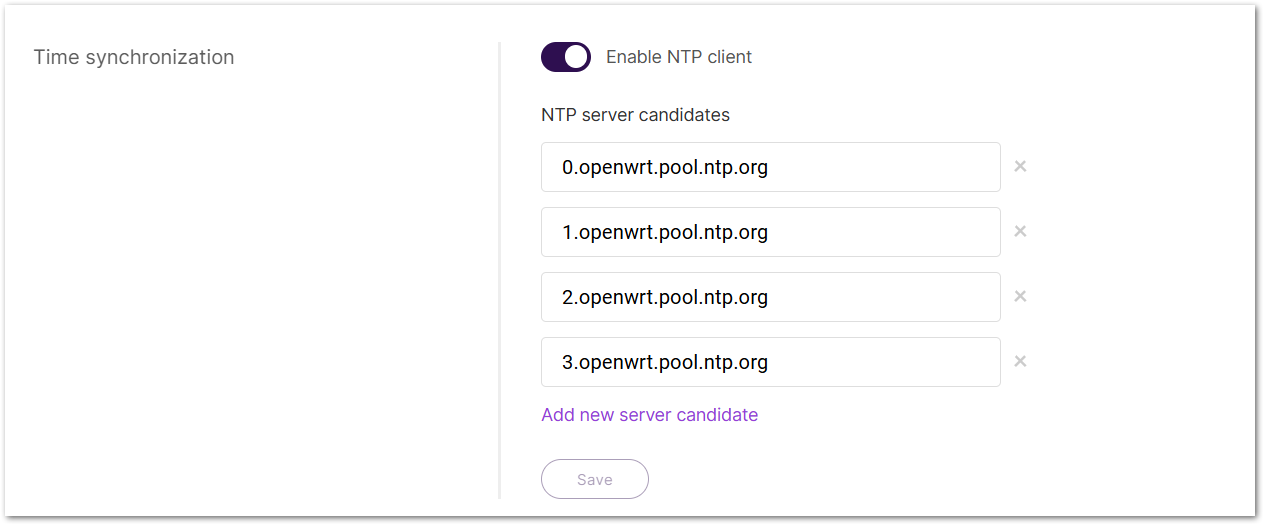 Figure 1: Time synchronization
- Navigate to Settings > General settings.
- Toggle Enable NTP client to activate time synchronization.
- Configure NTP servers in the NTP server candidates list:
- Click Add new server candidate to add an NTP server (e.g.,
pool.ntp.org). - To remove an NTP server, click the × button next to it.
- Click Add new server candidate to add an NTP server (e.g.,
- Click Save to apply the settings.
Reboot the Gateway
This option restarts the gateway. All unsaved changes will be lost during the reboot.
 Figure 1: Reboot the Gateway
- Navigate to Settings > General settings.
- Click the Reboot button.
- In the confirmation dialog, click Confirm to restart the gateway.
Backup and Restore
In this tab, you can backup, restore, or reset the gateway's settings to ensure configuration management and recovery. For more information, see How to Safeguard Your Gateway With Encrypted and Plain Backup Options in Wisgateos 2.
Backup Configuration
Creating a backup of the current gateway configuration allows restoration when necessary. For added security, the backup file can be encrypted with a password.
 Figure 1: Backup configuration
- Navigate to Settings > Backup and Restore.
- (Optional) Enable Backup Encryption:
- Check the Set password to protect the backup archive box.
- Enter a secure password to encrypt the backup file.
- Click Generate and download backup to create and download the backup archive.
- Store the backup file in a secure location for future use.
Restore Configuration
Restoring a backup reverts the gateway settings to the state saved in the selected archive.
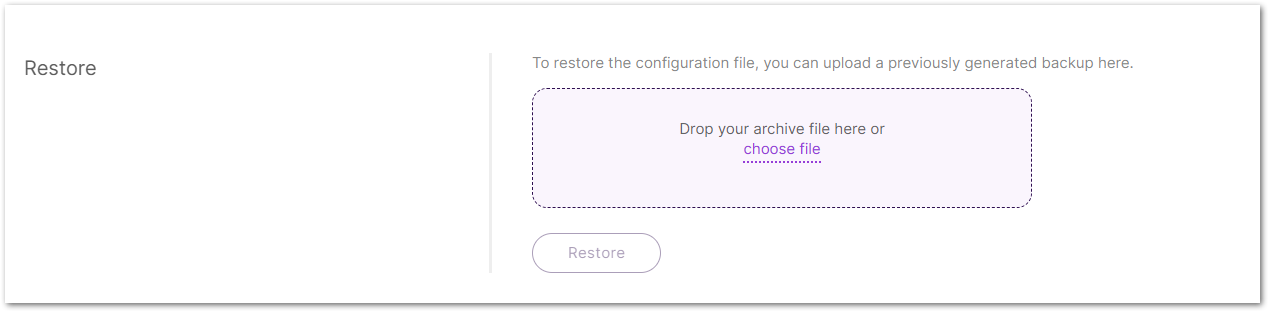 Figure 1: Restore configuration
Restoring a backup will overwrite the current settings. Make sure the correct file is used.
- Navigate to Settings > Backup and Restore.
- Click choose file or drag and drop the backup archive into the designated upload area.
- After the file is loaded, click the Restore button.
- When prompted for a password:
- Encrypted backup: Enter the correct password, then click Restore again.
- Plain backup: A password dialog still appears, but no password is required. Simply click Restore again.
- Wait for the process to complete. The gateway will automatically reboot.
warning
Do not power off the device during this time.
Reset to Factory Defaults
Resets the gateway to its original factory settings, permanently erasing all configurations.
 Figure 1: Reset to factory defaults
This action is irreversible. Ensure you have a backup before proceeding.
- Click the Reset button.
- In the confirmation dialog, click Reset to reset the gateway.
- Wait for the gateway to reboot with factory default settings.
Firmware
The Firmware tab allows you to check the current firmware version and update it when needed.
 Figure 1: Firmware tab
Before You Upgrade
Backup Before Any Upgrade
Before performing any firmware upgrade, it is highly recommended to create a full backup of your configuration. This ensures that you can restore your settings in case of unexpected issues or if a reset is needed.
For detailed steps on how to back up your configuration, refer to Backup Configuration.
Upgrade to WisGateOS 2.2.x
If you are upgrading from WisGateOS 2.1.x or earlier to version 2.2.x, please review the following important considerations:
-
Downgrading Restrictions
Once you upgrade to WisGateOS 2.2.x, you will not be able to revert to version 2.1.x using the standard downgrade (WebUI). Make sure to back up and secure all critical data before proceeding with the upgrade. Only through a recovery procedure will a downgrade be possible. You can find the steps on RAK Learn site: OpenWRT Recovery Procedure. -
Extension Signature Requirement
Starting from WisGateOS 2.2.x, all official extensions are released with valid signatures to ensure security and compatibility. However, the system still provides an option to upload custom extensions without signatures, mainly to support custom or development extensions.If your gateway was upgraded from an earlier version, previously installed unsigned extensions will continue to work and do not need to be reinstalled.
If your gateway was upgraded from an earlier version, previously installed unsigned extensions will continue to work and do not need to be reinstalled.
-
Internet Connection Requirement
An Internet connection is required during the upgrade to verify the new firmware and extension signatures. -
Dual Firmware Support
Both 2.1.x and 2.2.x will be supported, but you must use the correct extensions for each version to avoid compatibility issues.
Upgrade WisGateOS 2 Firmware
-
Download the latest firmware of the gateway and unzip it.
-
Drag and drop the
.rwifile in the Drop your RWI file here or choose file form, or click the choose file link to browse for the file.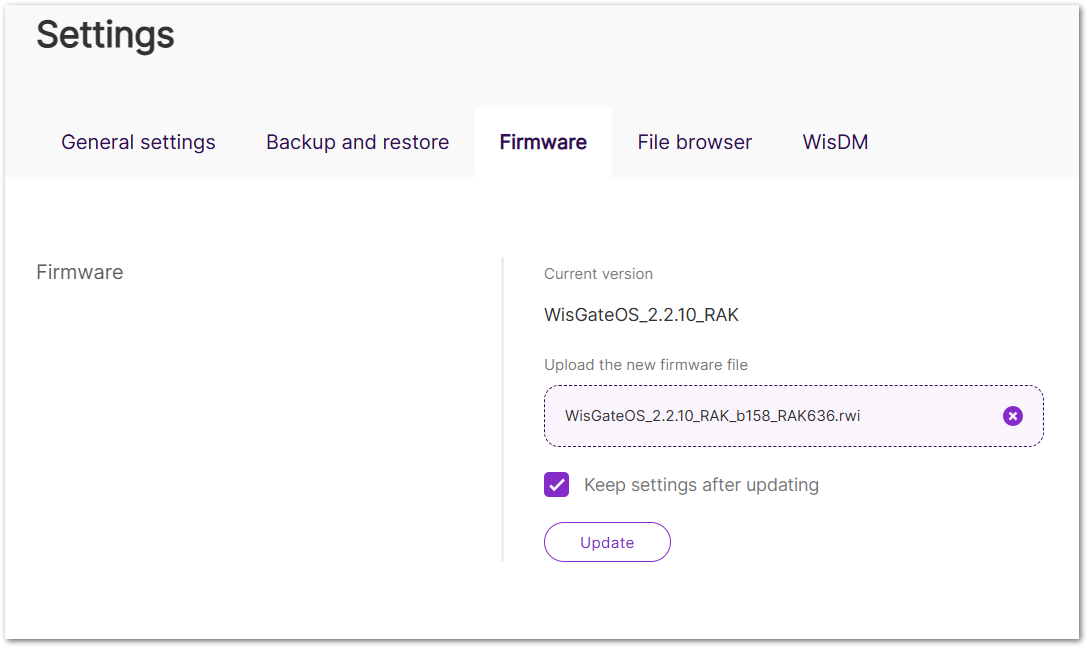 Figure 1: Upload the firmware file
 -
Check the Keep settings after updating option.
NOTEThe Keep settings after updating check box is selected by default. Unchecking it will reset the gateway to stock settings after the upgrade.
-
Click Update to initiate the flashing process.
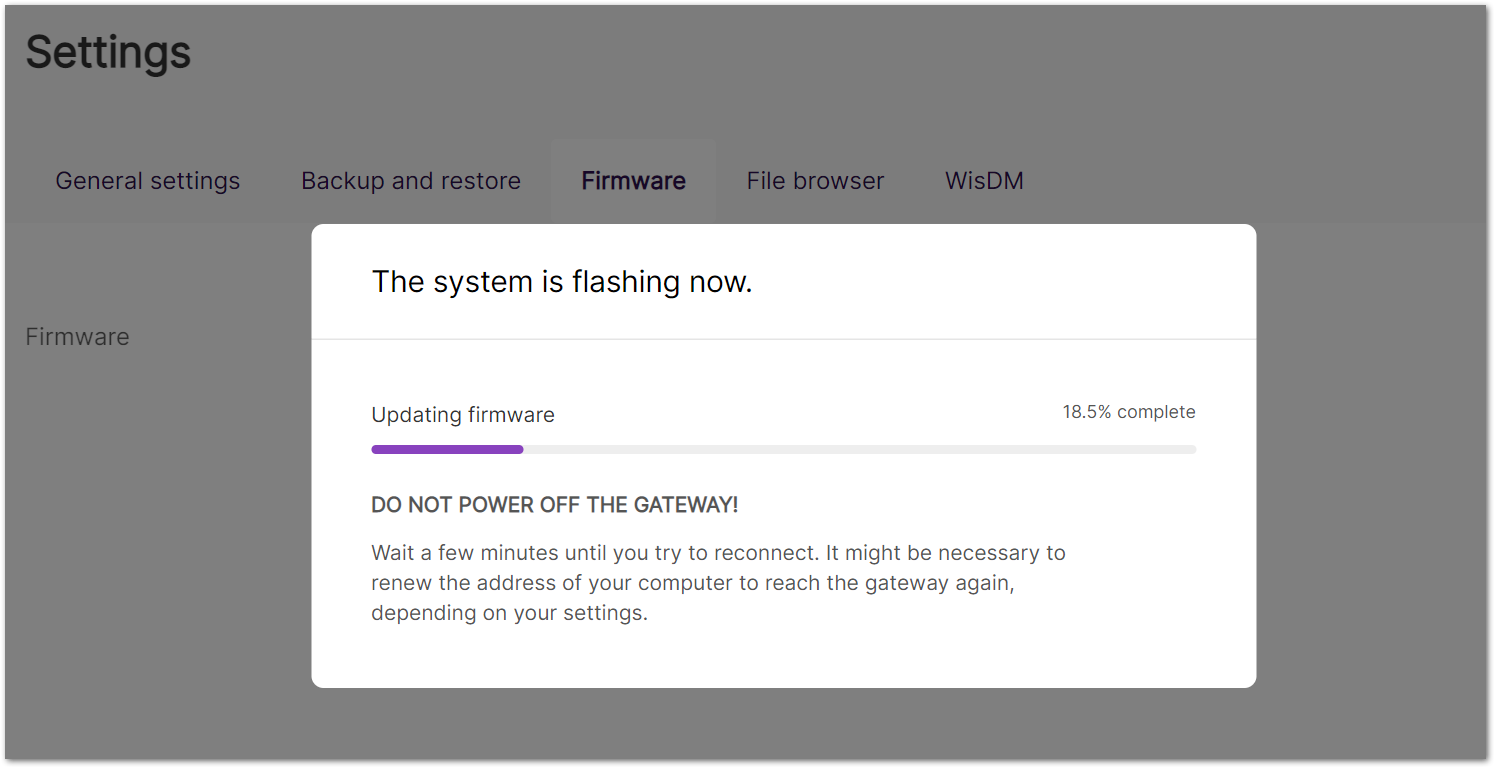 Figure 1: Upgrading
 -
After the upgrade is complete, log in to the gateway and check the Firmware tab to confirm that the installed firmware version is correct.
Troubleshoot Firmware Upgrade
If you are unable to update the firmware from the Firmware tab, it may be because the update is managed by WisDM.
 Figure 1: Firmware tab inactive
If the gateway is:
- Registered in WisDM
- Allow WisDM Integration is enabled
- Enable FOTA is turned on
The firmware update option will be locked because it is centrally managed by WisDM.
To enable manual firmware updates:
- Go to WisDM tab.
- Turn off Enable FOTA.
- Save the settings.
Once FOTA is disabled, the firmware update option in the Firmware tab will be unlocked, and you can proceed with the manual update.
When FOTA is disabled, your gateway won't receive any firmware updates from WisDM and can only be managed via the WisGateOS.
File Browser
The File Browser allows you to access the gateway’s file system directly through the Web UI, making it easy to view or download files. It provides access to system log files, firmware images, configuration data, and other stored resources.
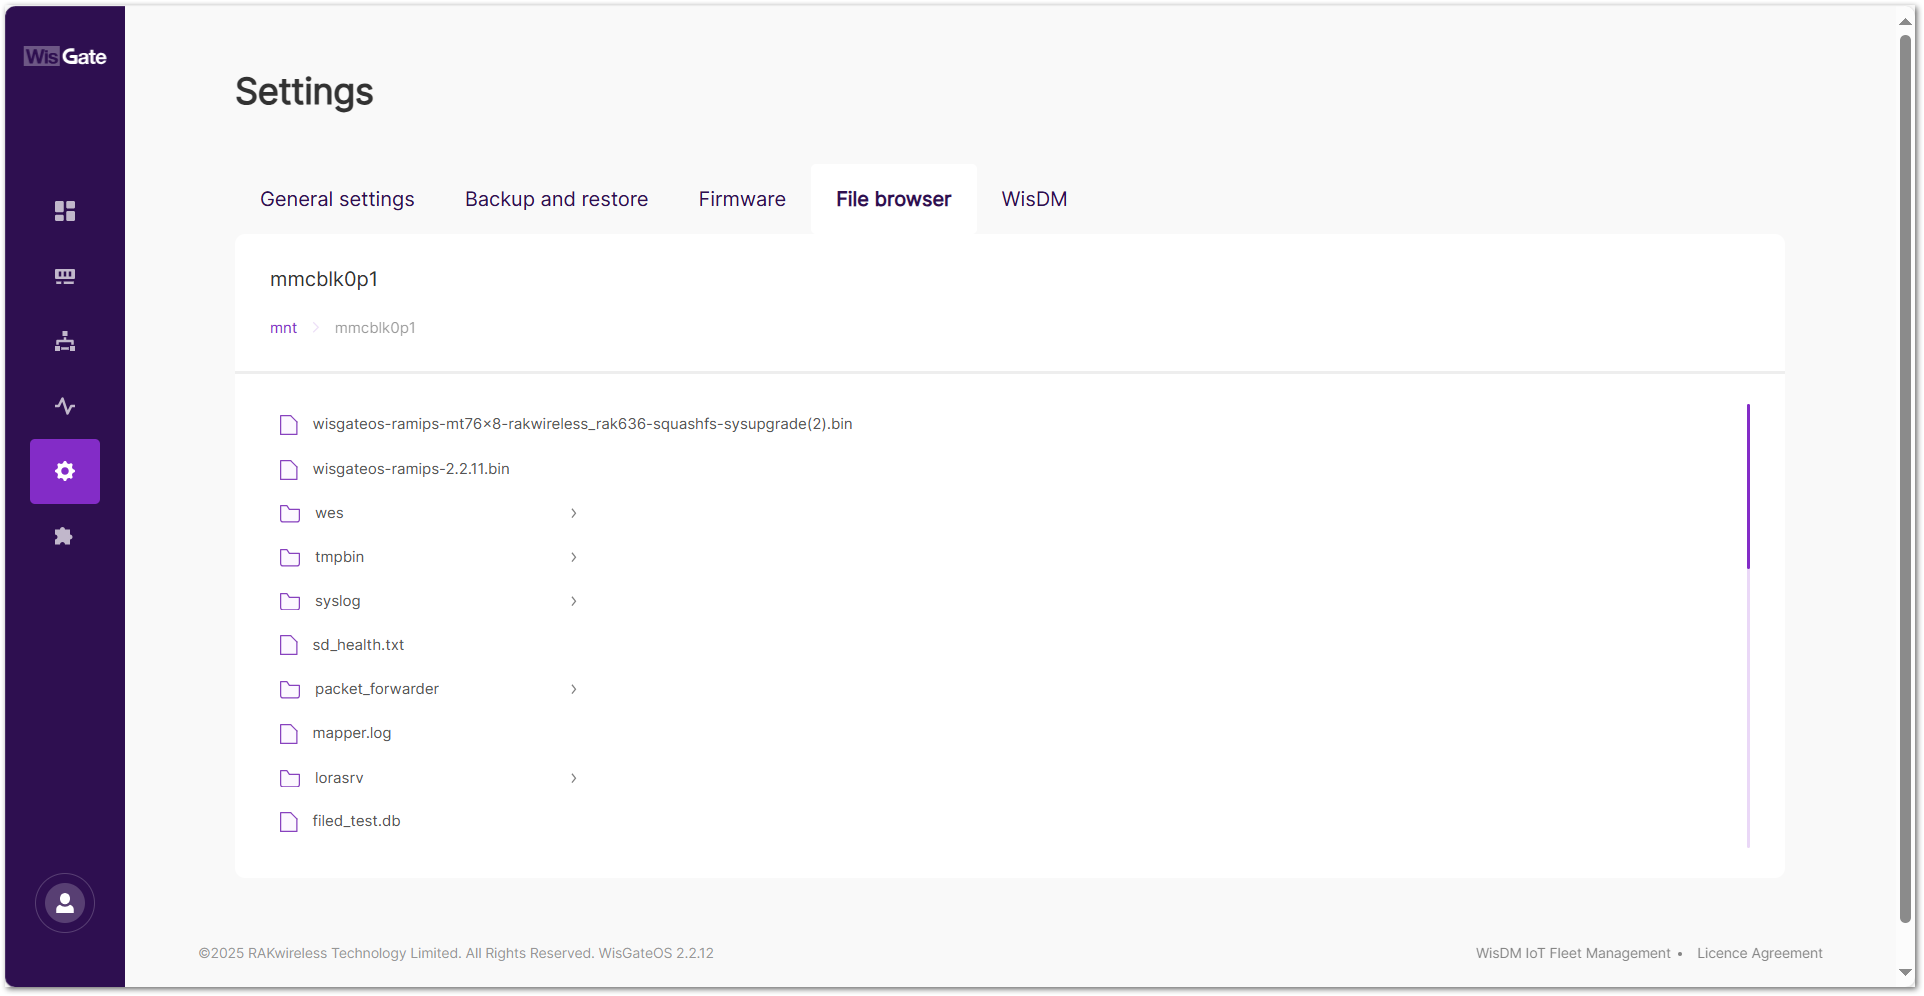 Figure 1: File browser tab
- Navigate to Settings > File Browser > mnt > mmcblk0p1.
- Select the target folder, enter it, then click and download the file.
User Preferences
The User Preferences section allows customization of personal settings, including password management, timezone, and language selection.
Access User Preferences
To modify your preferences, navigate to the User Preferences option in the bottom-left corner of the interface.
- In the bottom-left corner, choose User preferences to set your personal preferences for the gateway.
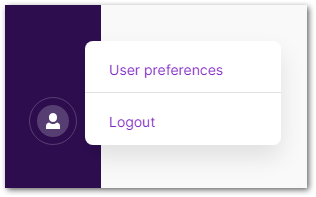 Figure 1: User button
- Selecting this option will redirect you to the User Preferences page.
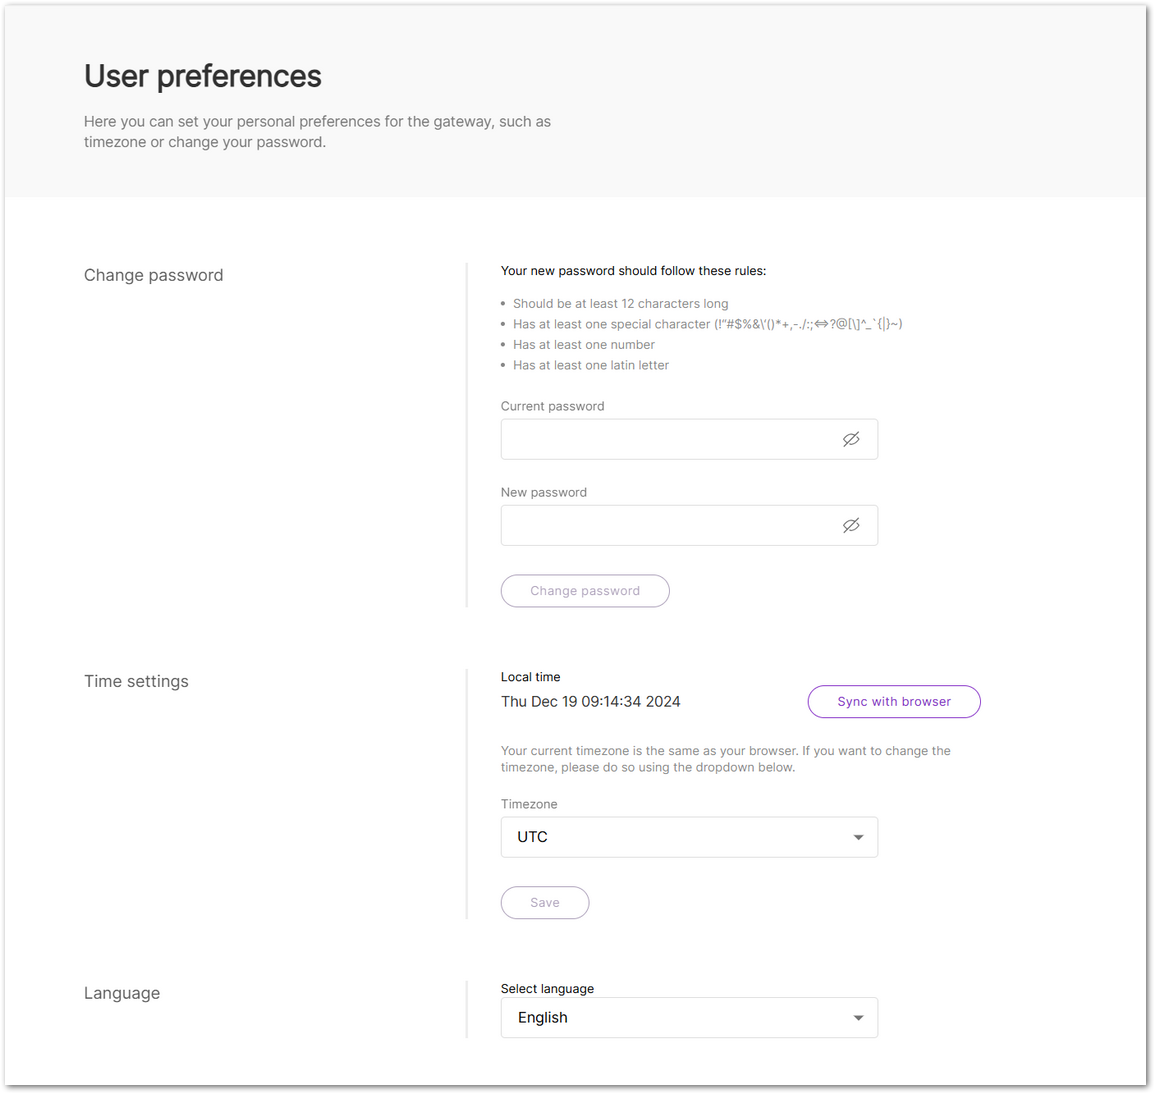 Figure 1: User preferences
Registered in WisDM
This indicator shows whether the gateway is successfully registered in WisDM, enabling full remote management capabilities.
 : The gateway is successfully registered in WisDM and can be monitored, configured, and managed remotely.
 : The gateway has not been registered in WisDM yet. Remote management and FOTA are not available until registration is completed.
- Change Password: Update your Web UI access password to meet the security requirements.
- Time Settings: Configure the gateway's local time and synchronize it with your browser if needed.
- Language: Select the system language for the Web UI.
Log Out
To log out of the Web UI, click Logout in the bottom-left corner.