RAK7243 LoRaWAN Network Server Guide
Connecting to The Things Stack (TTNv3)
The Things Network is enabling low-power devices to use long-range gateways to connect to an open-source, decentralized network to exchange data through an Application. To learn more, check The Things Network documentation.
In this section, you will learn how to connect RAK7243 WisGate Developer D3 Gateway to TTNv3.
-
To log in to the TTNv3, head on to the TTN site. If you already have a TTN account, you can use your The Things ID credentials to log in.
-
First, you should have connected your gateway to the internet through the router according to the method which has been introduced in the Accessing the Internet section.
-
Secondly, configure your gateway and choose TTN as the LoRa Server. Then select the correct frequency according to the method which has been introduced in the Configuring the Gateway section.
-
Click Start building and choose the cluster that is geographically closest to your region.
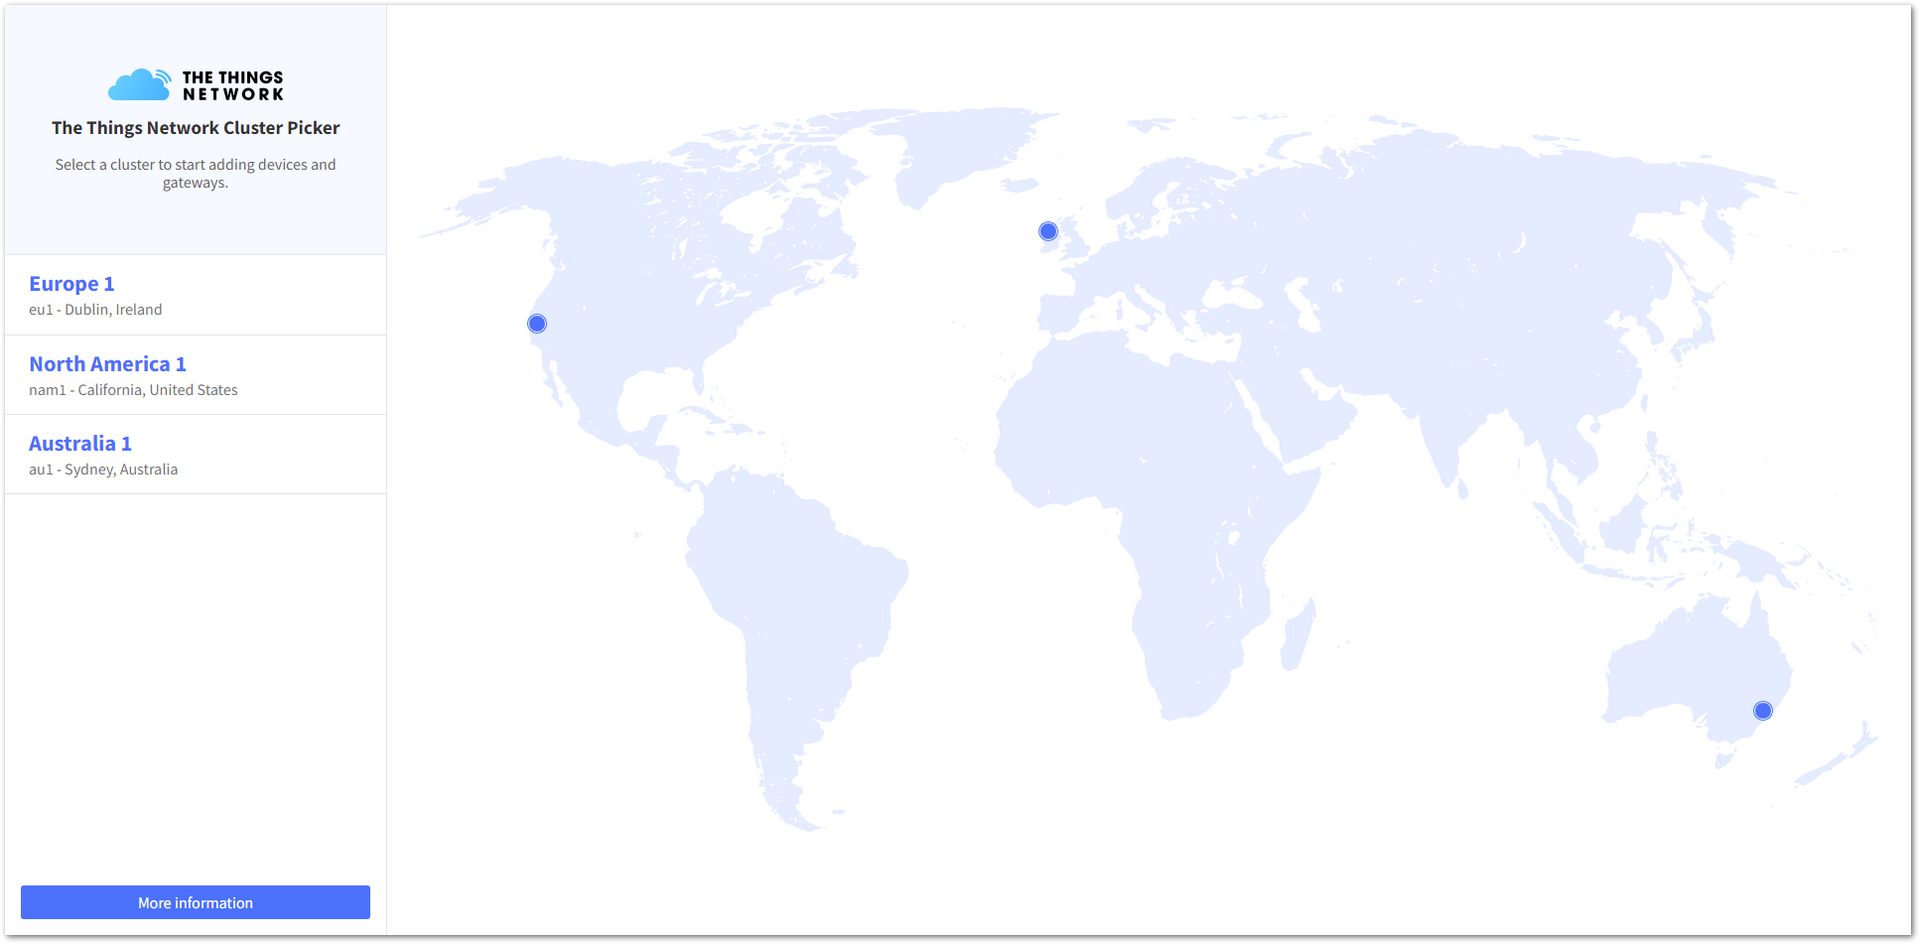 Figure 1: Choose a cluster
- Choose Register a gateway (for new users that do not already have a registered gateway) or go to Gateways > + Add gateway (for users that have registered gateways before).
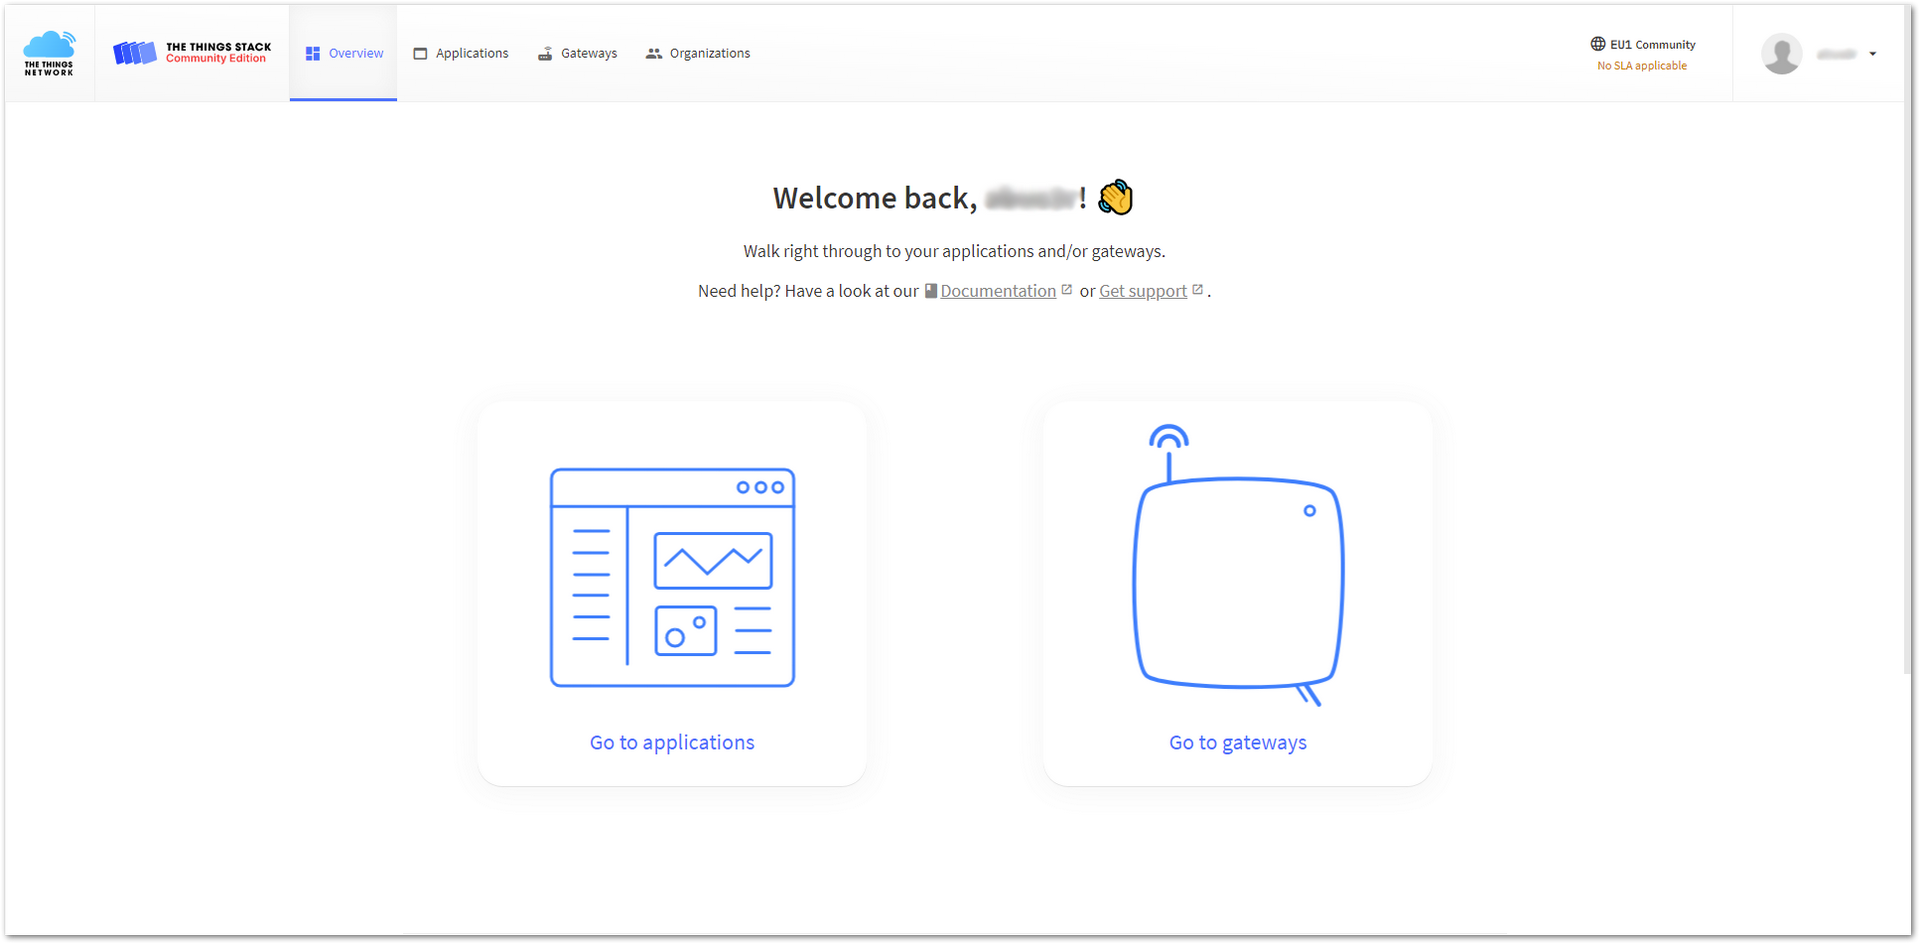 Figure 1: The Things Network console page
- All registered gateway will be displayed. To register a new gateway, click on + Add gateway.
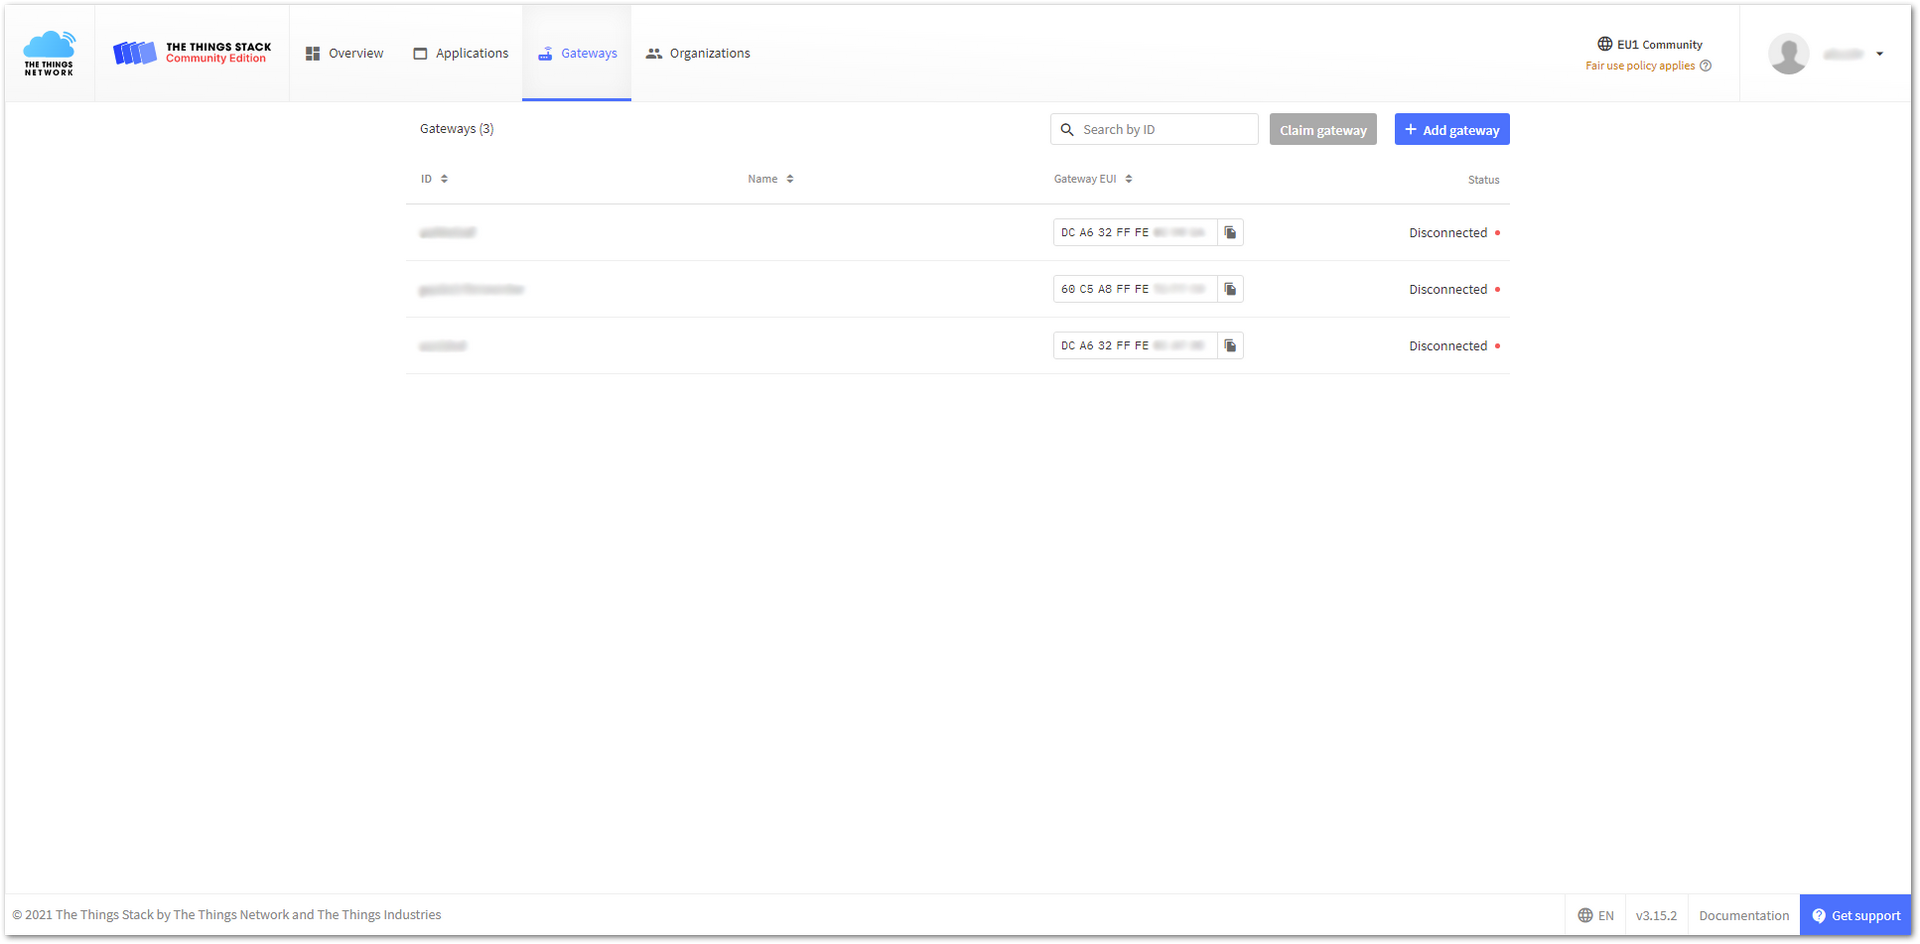 Figure 1: Adding a new gateway
- Fill in the required information and click Create gateway to register your gateway.
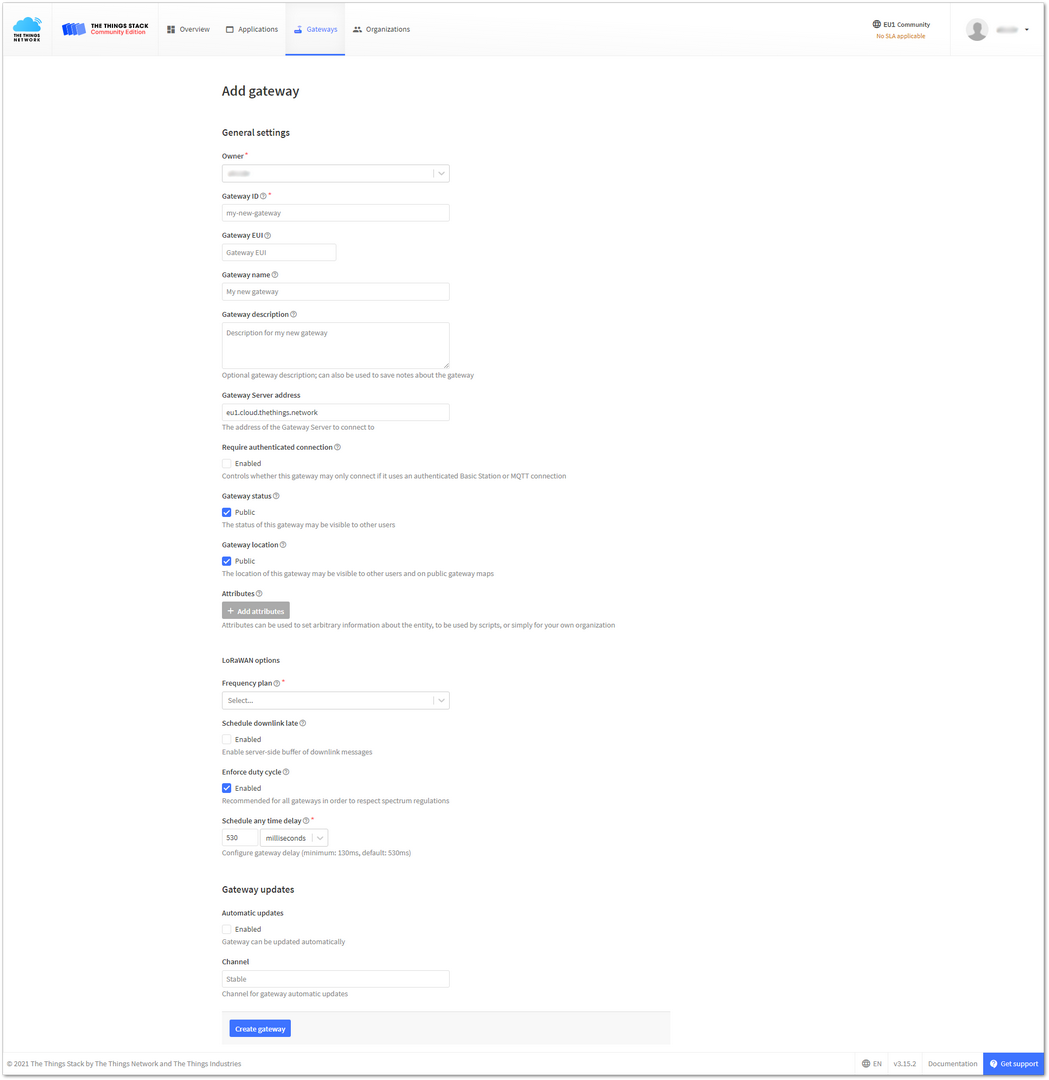 Figure 1: Registering your gateway
- Owner- Automatically filled by The Things Stack, based on your account or created organization.
- Gateway ID - This will be the unique ID of your gateway in the network. Note that the ID must contain only lowercase letters, numbers, and dashes (-).
- Gateway EUI - A 64-bit extended unique identifier for your gateway. The gateway's EUI can be found by running either one of the following commands in the CLI of the gateway:
gateway-version
sudo gateway-config
- Gateway description (optional)- Optional gateway description; can also be used to save notes about the gateway.
- Gateway Server address - The address of the gateway server to connect to.
- This tutorial is based on using the EU868 frequency band, so the server address will be: eu1.cloud.thethings.network.
- The Europe 863-870 MHz (SF12 for RX2) is used.
- Frequency plan - The frequency plan used by the gateway.
- The other settings are optional and can be changed to satisfy your requirements.
When the gateway is configured to TTN and is successfully registered in the console, it will show up online.
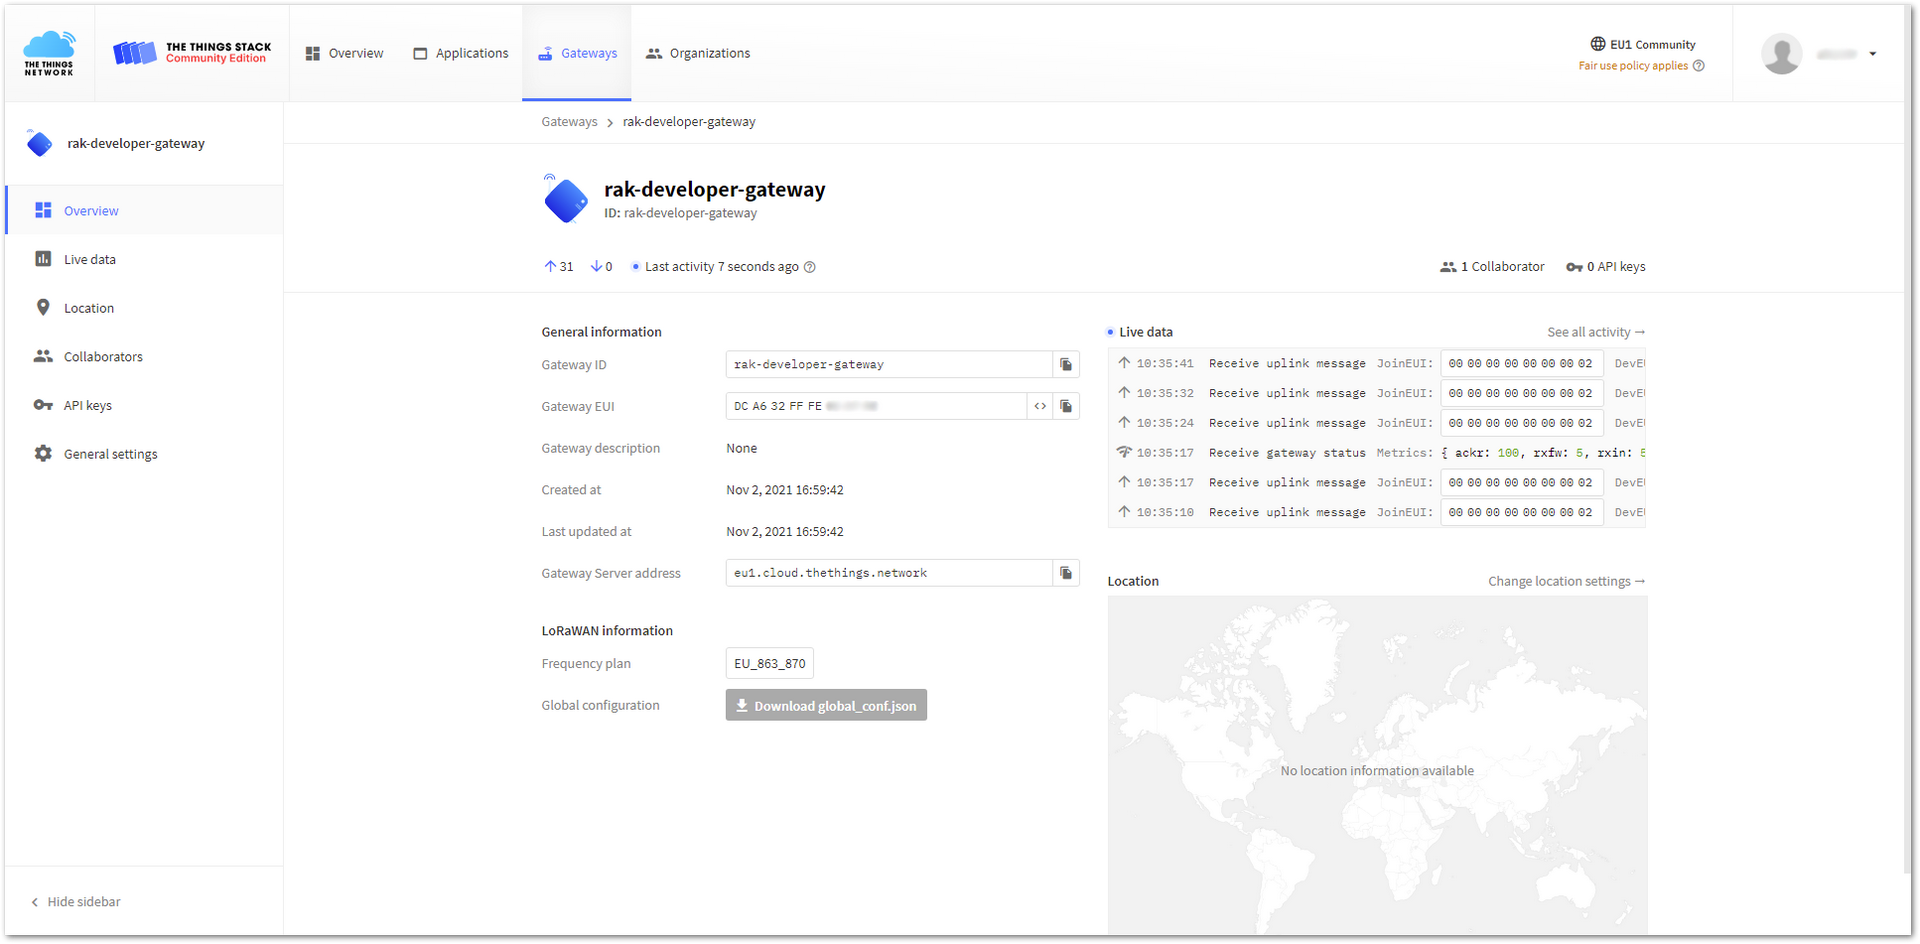 Figure 1: Gateway connected successfully to TTN
Connecting with ChirpStack
The ChirpStack is an open-source LoRaWAN network server. To learn more, refer to the ChirpStack site.
When it comes to RAK7243 WisGate Developer D3 Gateway, there are two (2) ways to use the ChirpStack:
Using the Built-In ChirpStack
There is a built-in ChirpStack in every RAK Developer gateway if you use the latest firmware or the rak_common_for_gateway repository.
-
When you use it for the first time after burning the latest firmware, the gateway will work in the EU868 Band, and it will use the built-in ChirpStack as its default LoRa Server. If you don't want to change the frequency or LoRa Server, you don't have to do anything as this will be configured automatically when the gateway boots.
-
However, if it is not the first time you use the gateway and you want to use the built-in ChirpStack as the LoRa Server, follow the steps discussed in the Configuring the Gateway section.
-
Optional - If ever you have disabled the AP Mode and connected it to your own Wi-Fi network (Client Mode), you can search for your gateway’s IP Address via Advanced IP Scanner.
-
There is a Web-based UI that comes with the ChirpStack instance. Open a browser and enter the following credentials:
- Browser Address:
<Gateway IP address>:8080(Example:http://192.168.0.100:8080) - Username: admin
- Password: admin
- Browser Address:
It is advisable to change your password to tighten the security of your account. You can change this by clicking the change password button at the user icon.
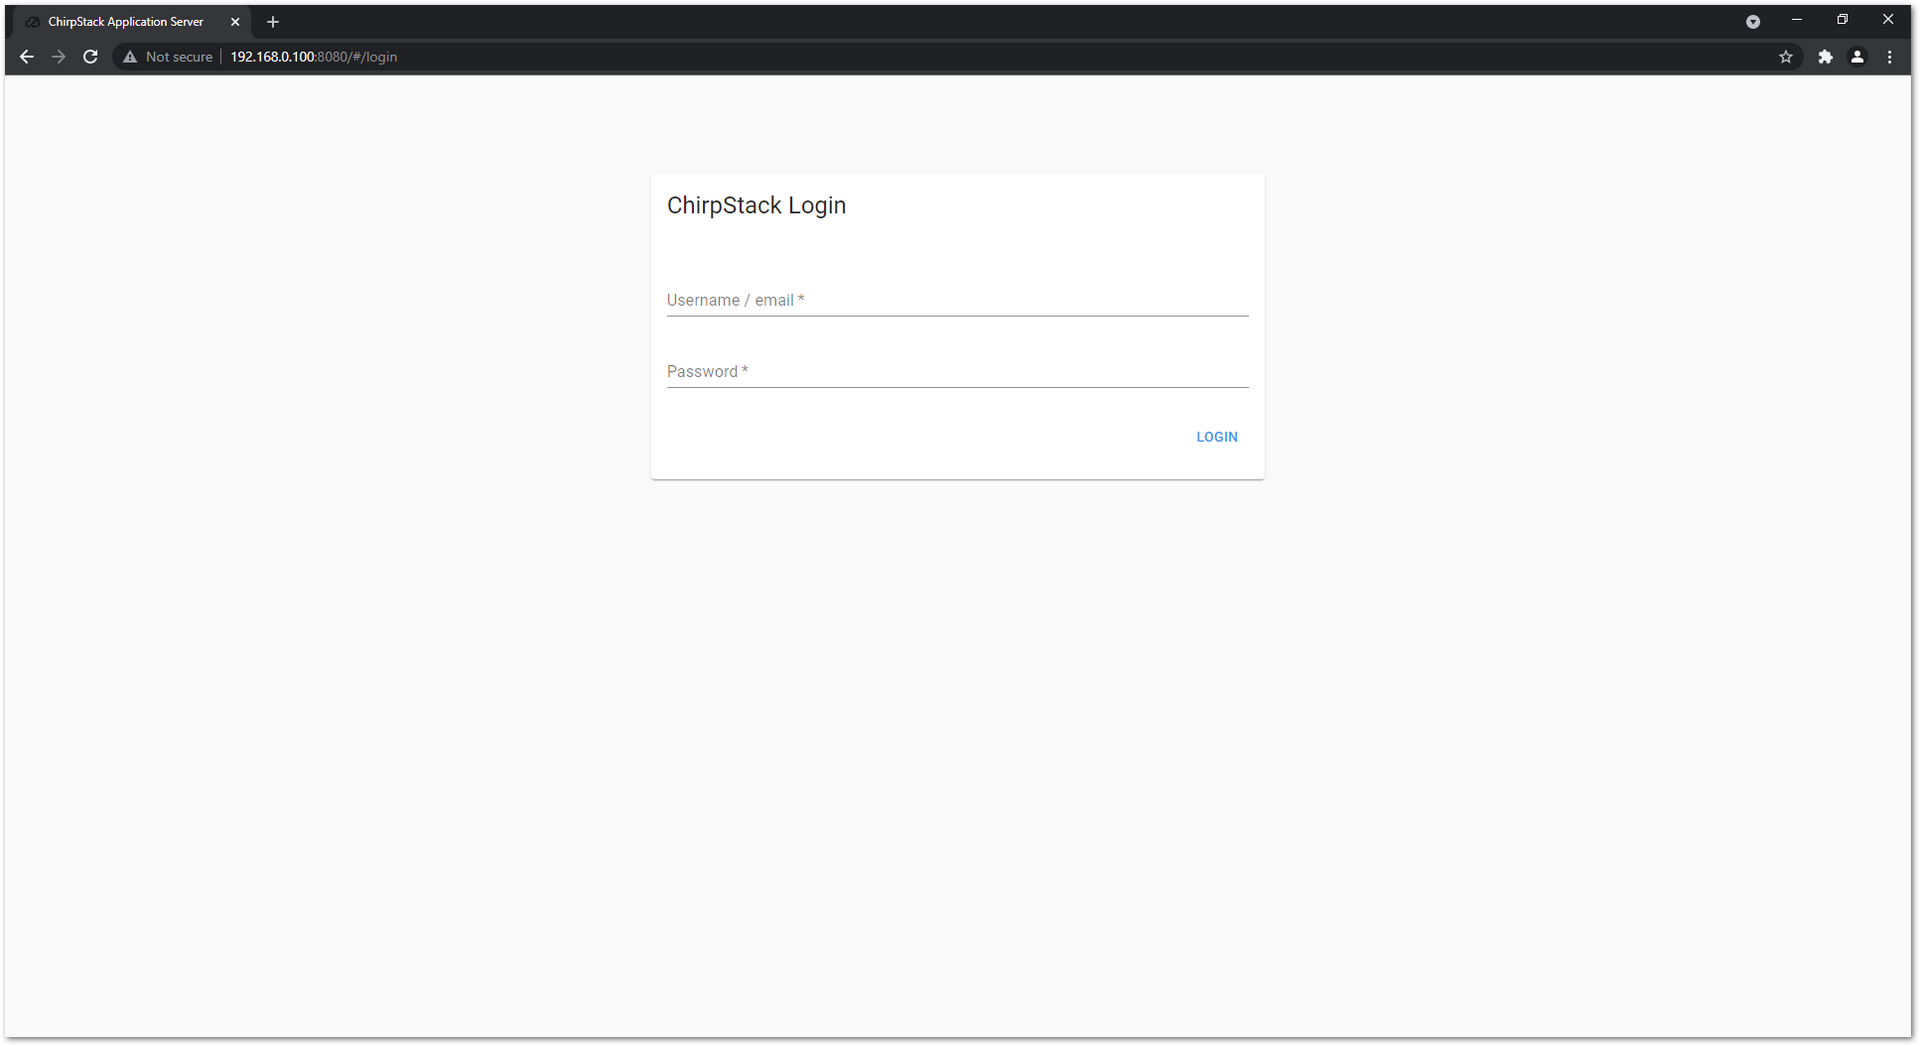 Figure 1: ChirpStack web-based UI
- Everything should be pre-configured - Device profiles have been created, the gateway has been registered with the server, etc. If you go to the Gateways tab and click on rak_gateway, you should see the gateway details page.
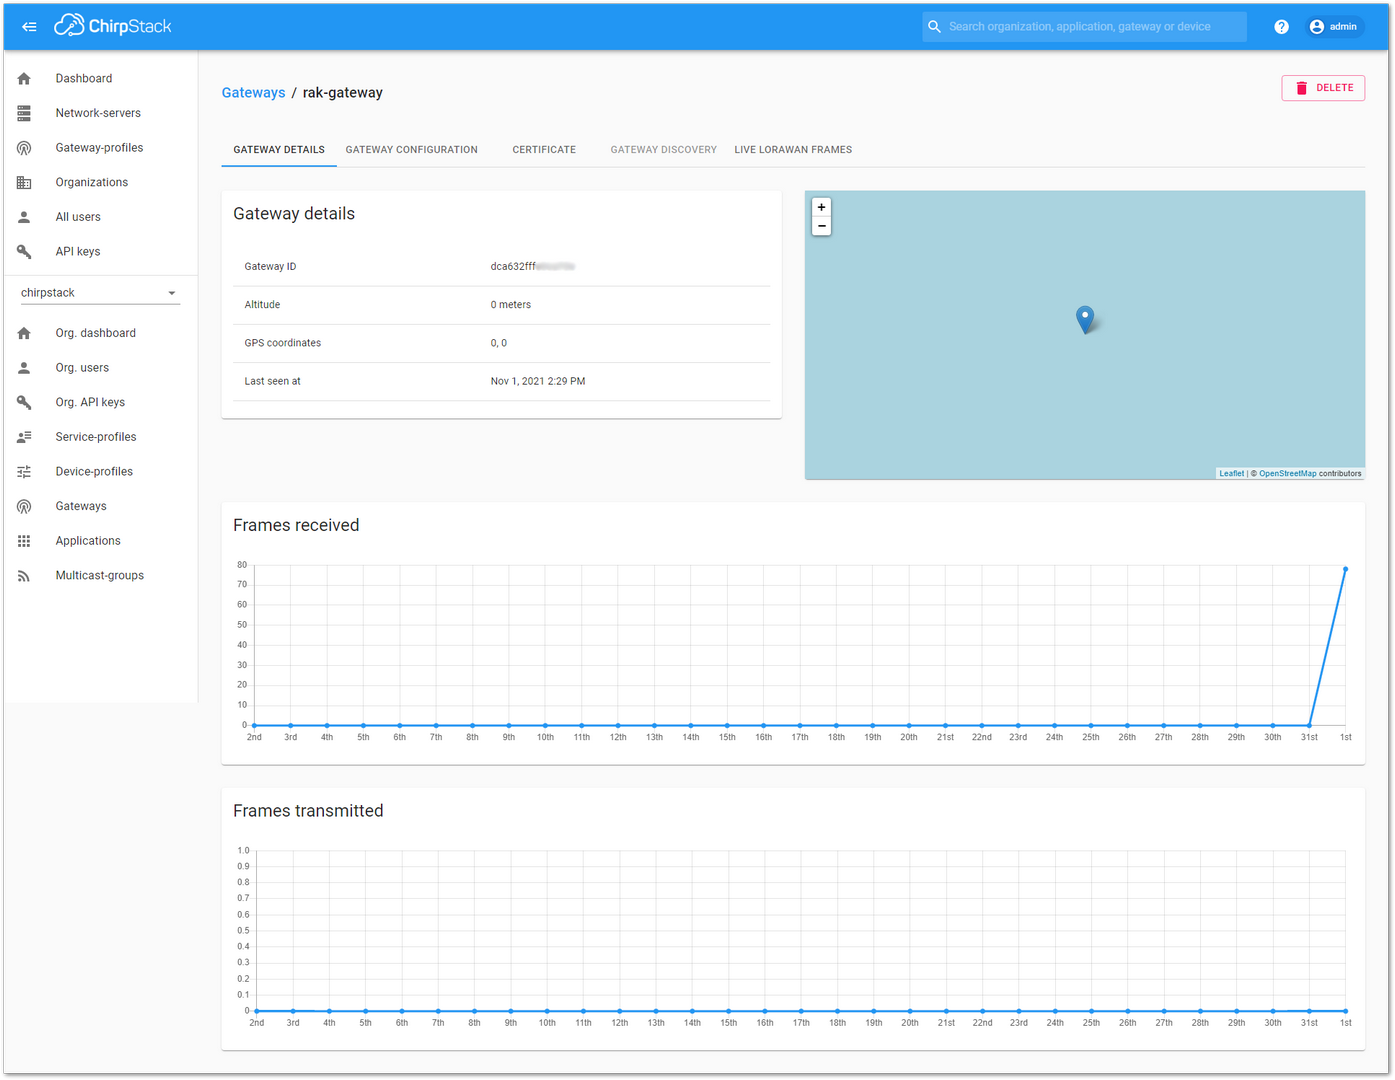 Figure 1: Available gateway in Chirpstack
- Go to Gateways and see the Last seen status. It must be a few seconds ago, which signifies that the gateway is visible in the ChirpStack server.
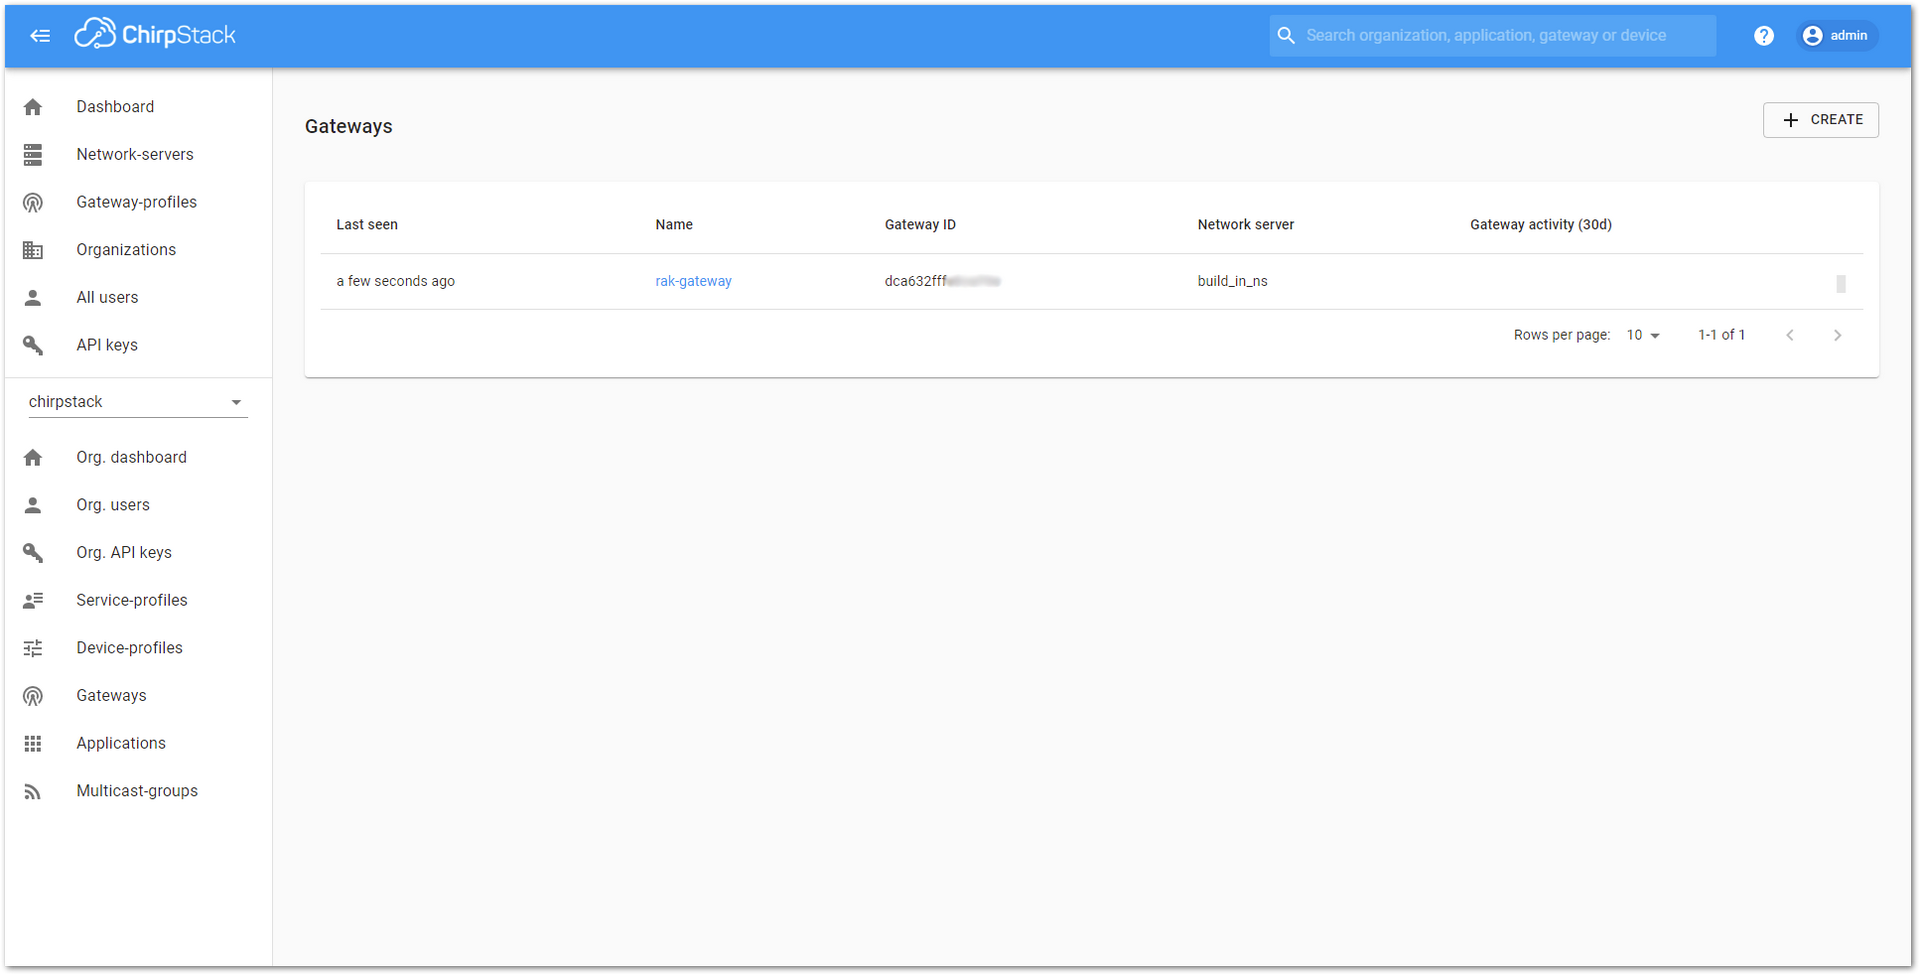 Figure 1: Last seen status
Using an Independent ChirpStack
You can setup an independent ChirpStack by yourself and can set a ChirpStack in AWS. Refer to the AWS guide. If you want to run ChirpStack on a different host/cloud, then refer to the guide on the ChirpStack site.
Remember to run the sudo gateway-config command in the CLI and point the gateway to the IP address of the machine you just installed ChirpStack on. This can be done in item 2 in the menu Setup RAK Gateway LoRa concentrator.
-
Assuming you have set it up correctly, log in to your ChirpStack to register your gateway by opening the ChirpStack's web page in a browser by entering:
- Browser Address:
<IP Address of ChirpStack>:8080 - Username: admin
- Password: admin
- Browser Address:
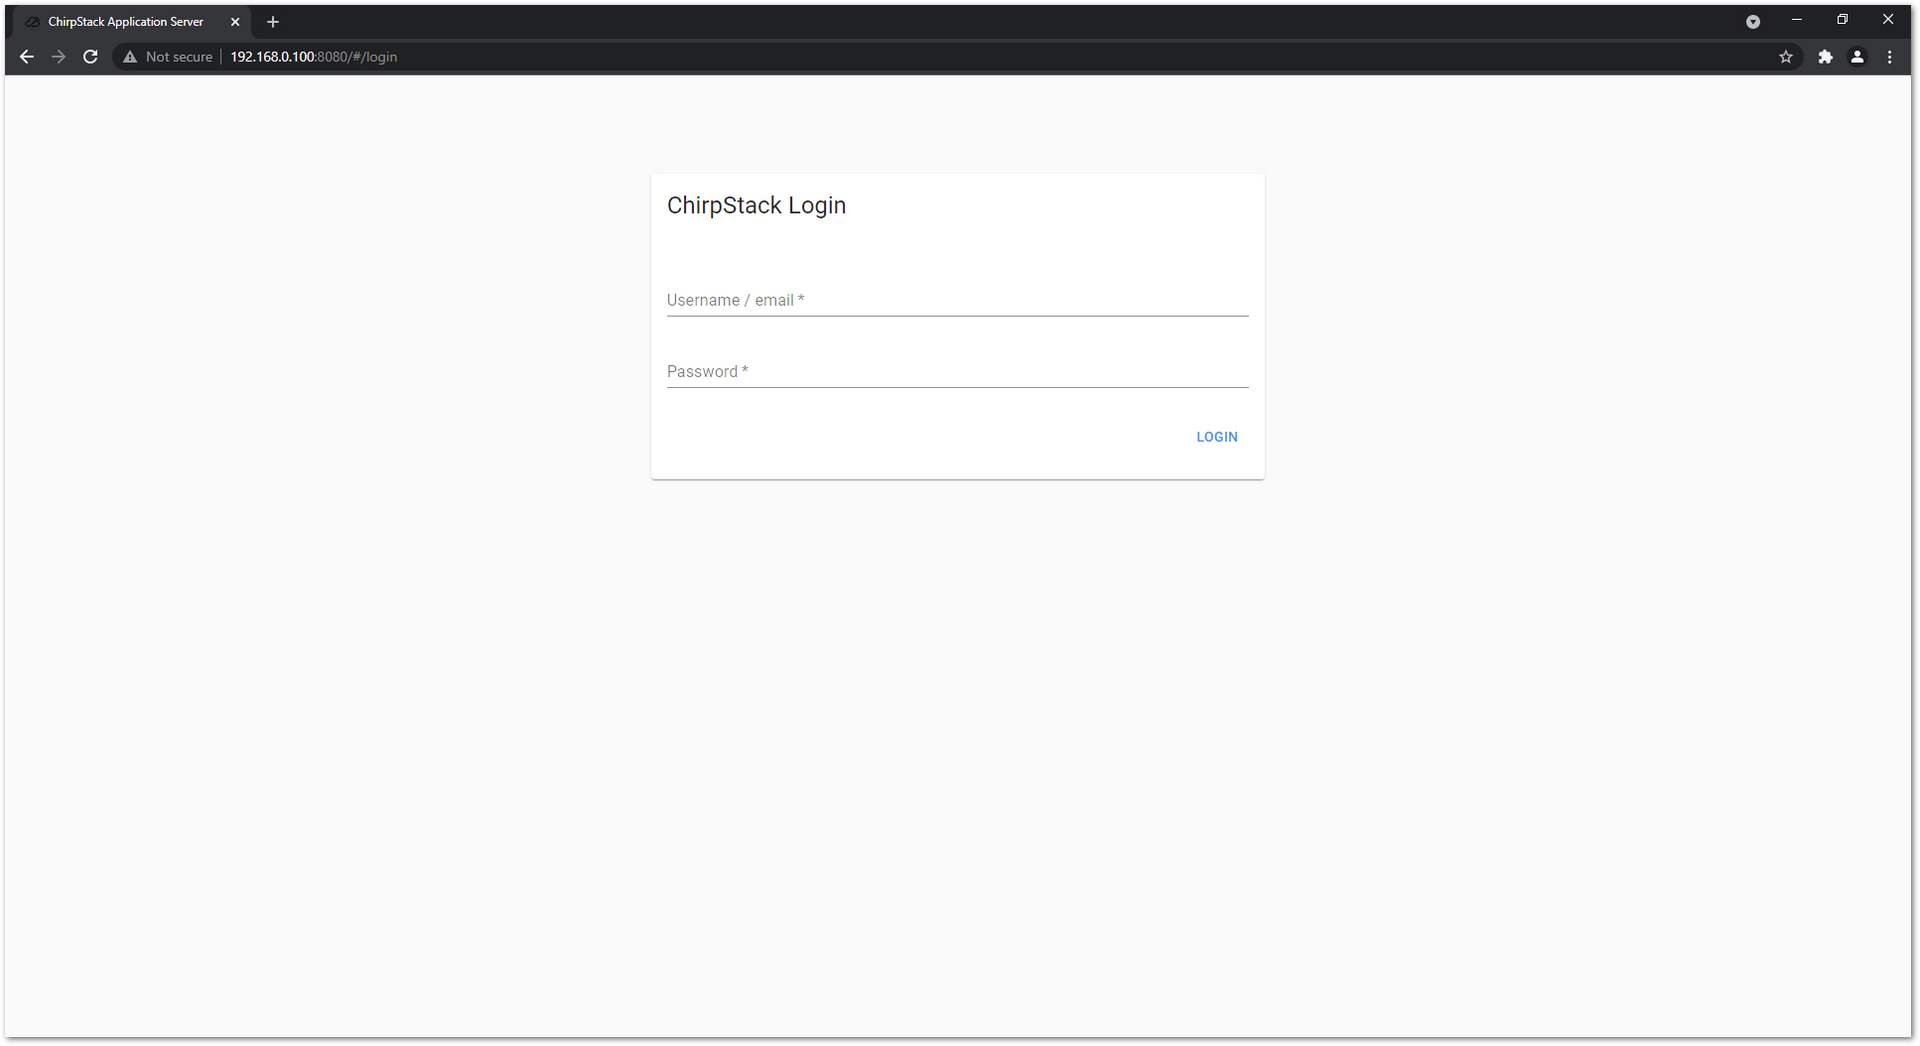 Figure 1: ChirpStack login page
- Click Gateways and select + CREATE to register your gateway.
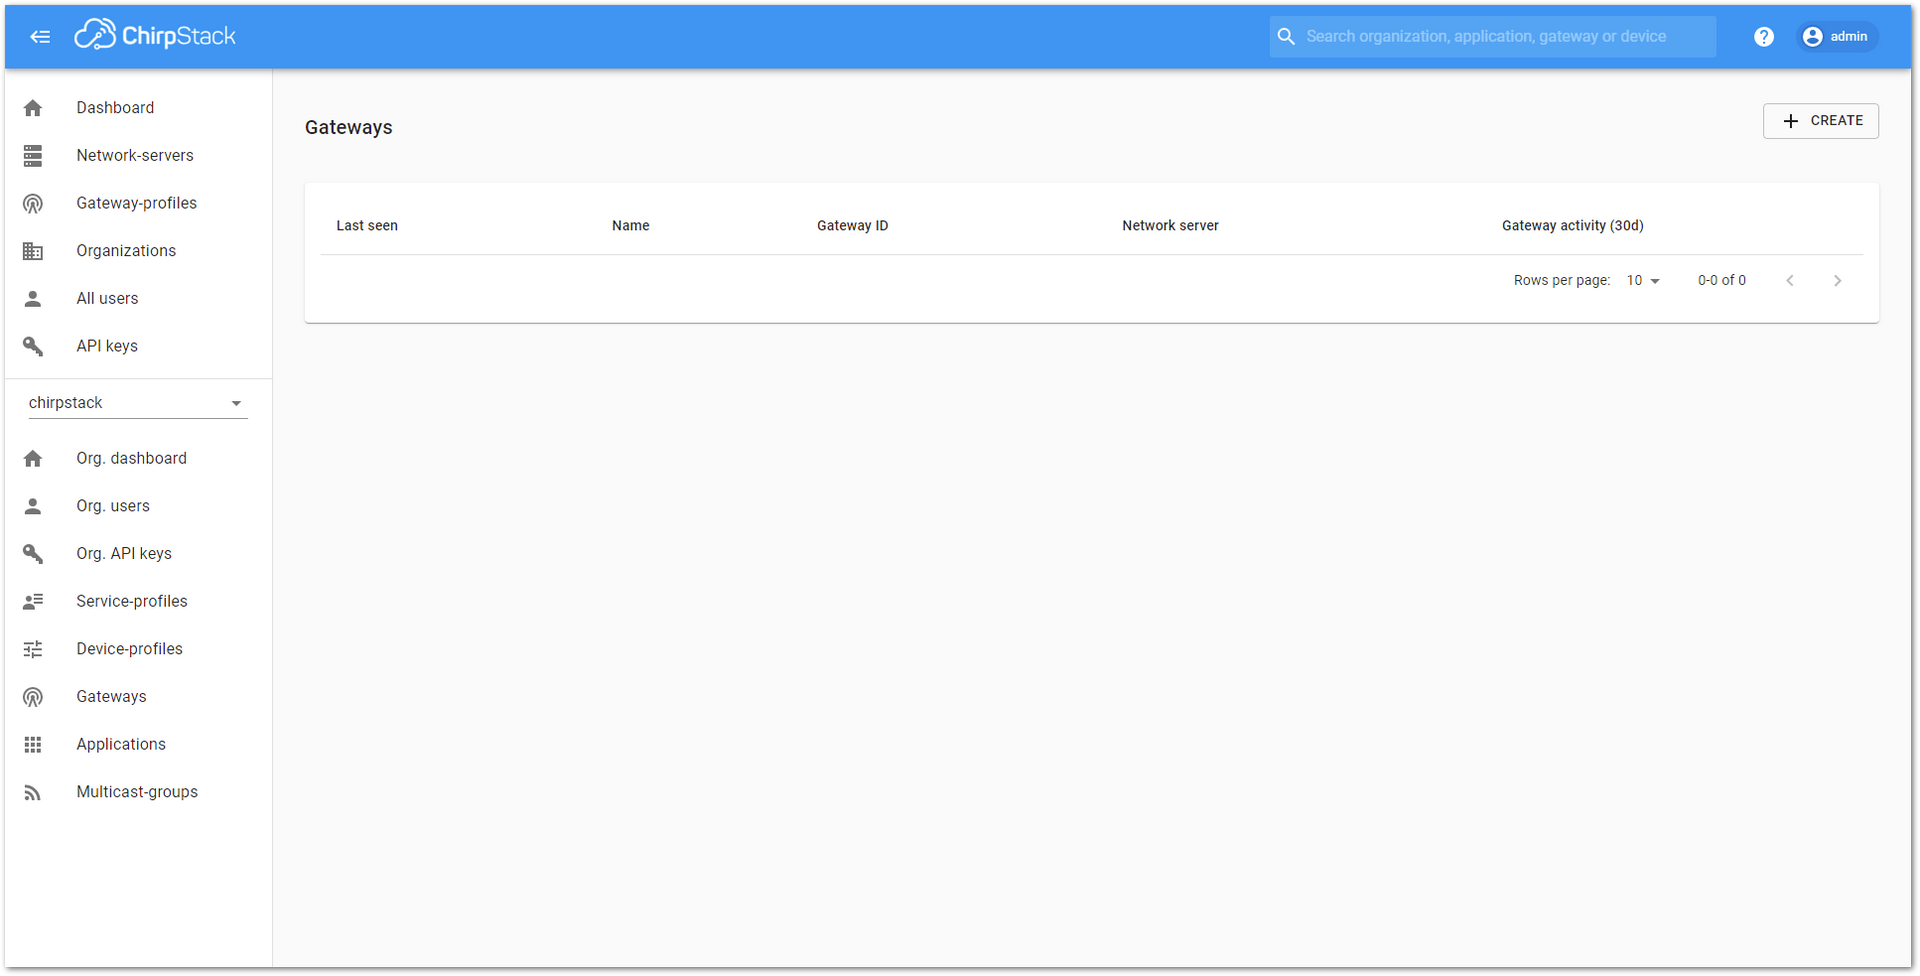 Figure 1: ChirpStack registered gateways
- After registering your gateway, fill in the necessary information.
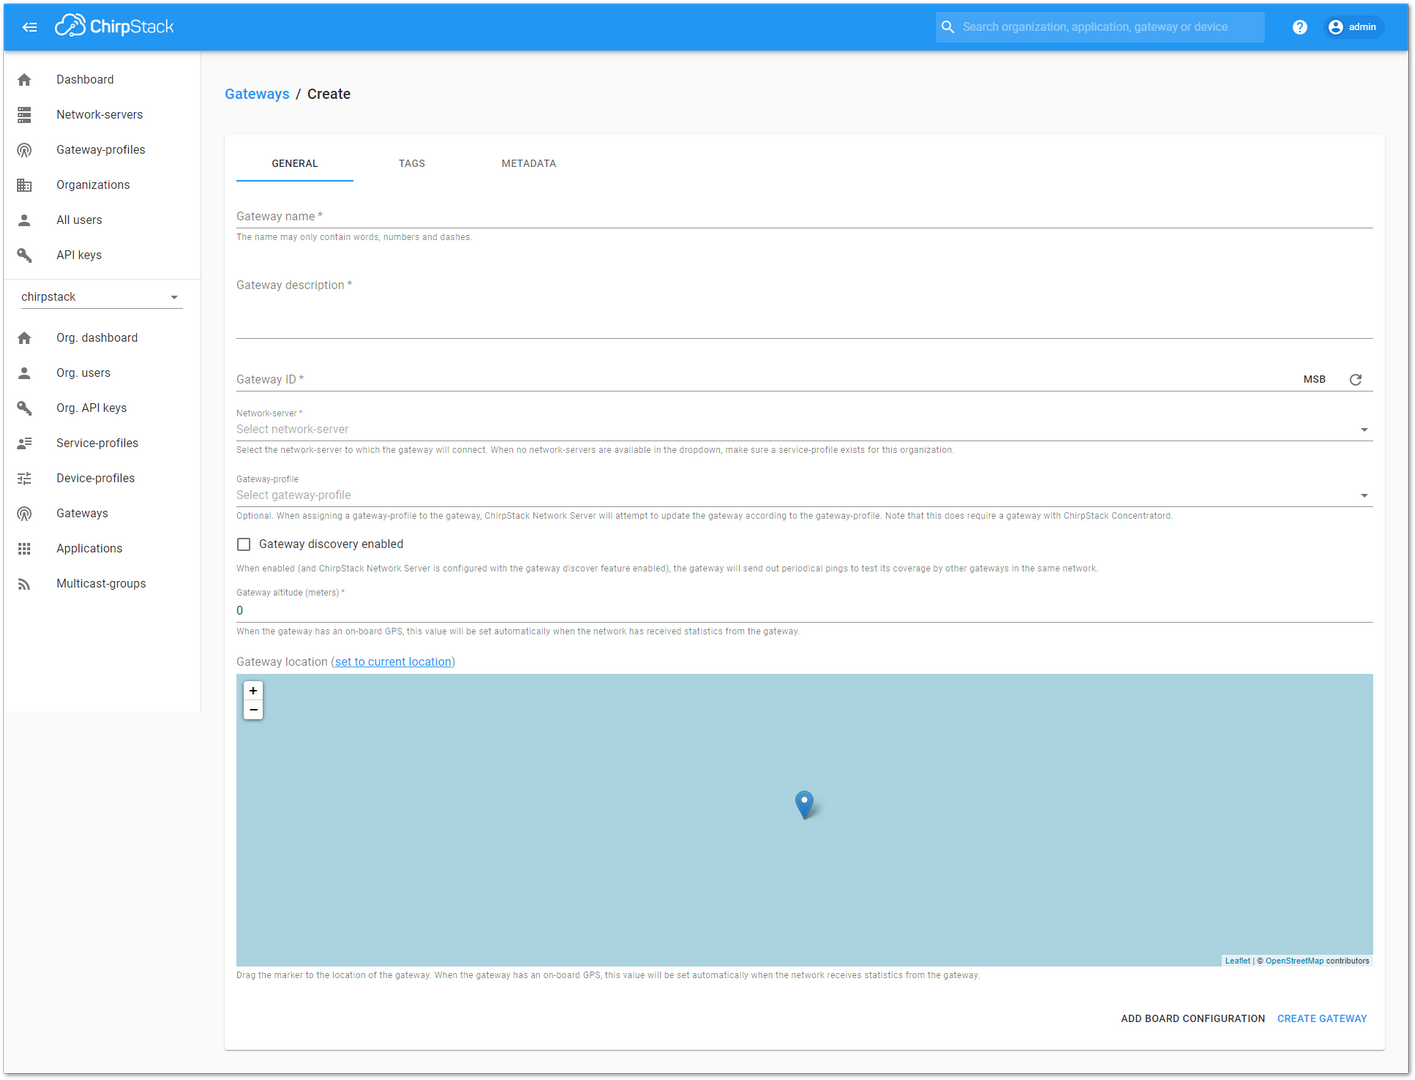 Figure 1: Filling in the details
-
Fill in the gateway ID you got from the Configuring the Gateway section, also called gateway EUI.
-
If you have properly configured your gateway and there is a network connection between the external ChirpStack and your gateway, you should see the same page and status, as shown in Figure 12.
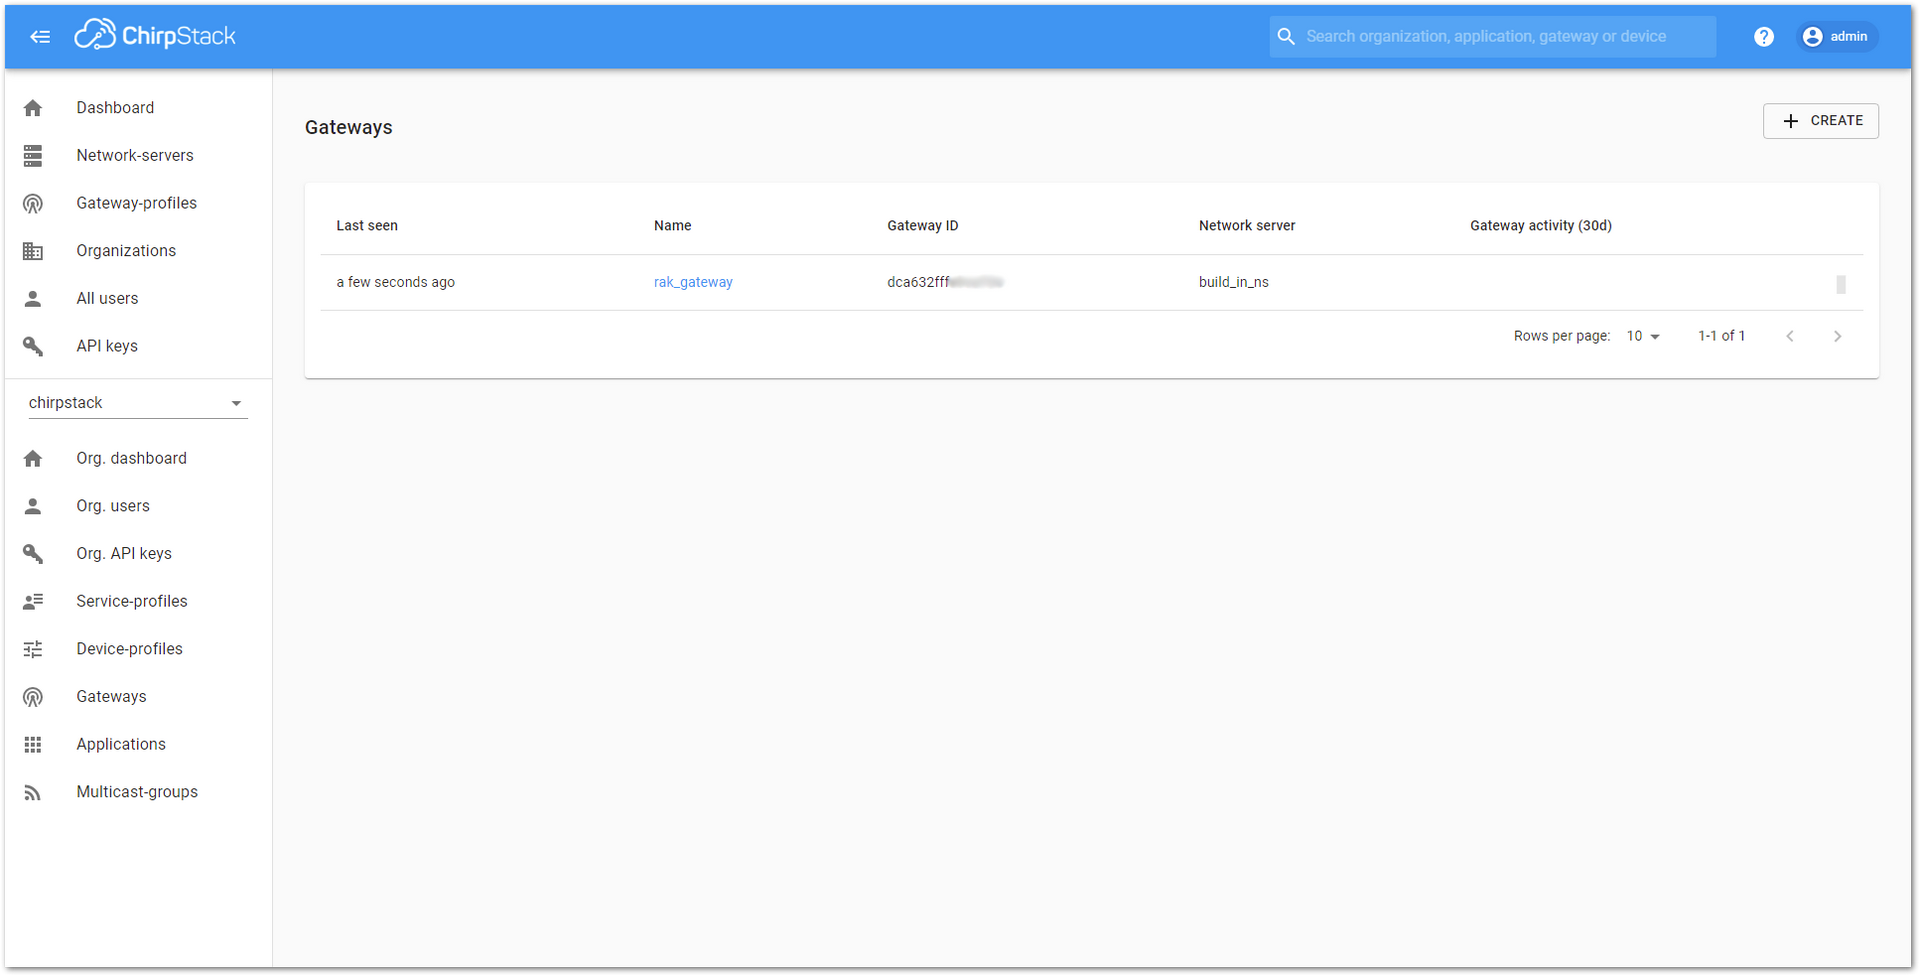 Figure 1: Successfully registered a gateway
Now, you have successfully connected your gateway to an external ChirpStack.
