RAK7248 Quick Start Guide
Before You Start
Before starting the setup process, complete the Unboxing & Installation guide to ensure the hardware is properly installed.
Access the Gateway
After powering on the gateway, you can access the gateway through Wi-Fi AP Mode or an Ethernet connection.
Wi-Fi AP Mode
By default, the gateway will work in Wi-Fi AP Mode, which means you can find an SSID named Rakwireless_XXXX on your PC Wi-Fi network list.
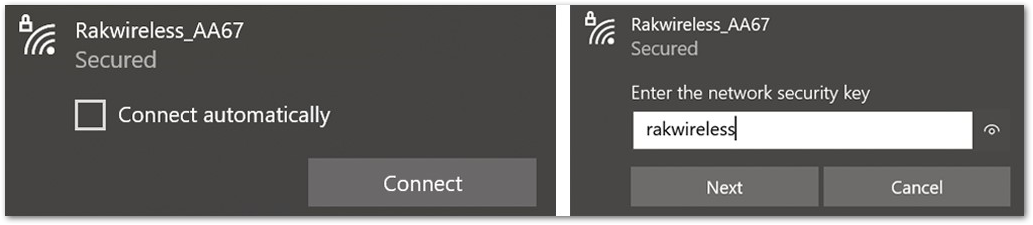 Figure 1: RAKwireless access point
XXXX is the last two bytes of your RAK7248 Wi-Fi MAC address.
Connect to this Wi-Fi SSID using the password provided below.
- Wi-Fi password:
rakwireless - Default IP address:
192.168.230.1
Ethernet Connection
You can also connect your PC with the gateway through an Ethernet cable. By default, the IP address of the gateway Ethernet interface is 192.168.10.10, so you need to set the IP address of your PC Ethernet interface to the same network segment, for example, 192.168.10.20.
-
On a Windows PC, go to Control Panel > Network and Internet > Network and Sharing Center, and select Ethernet.
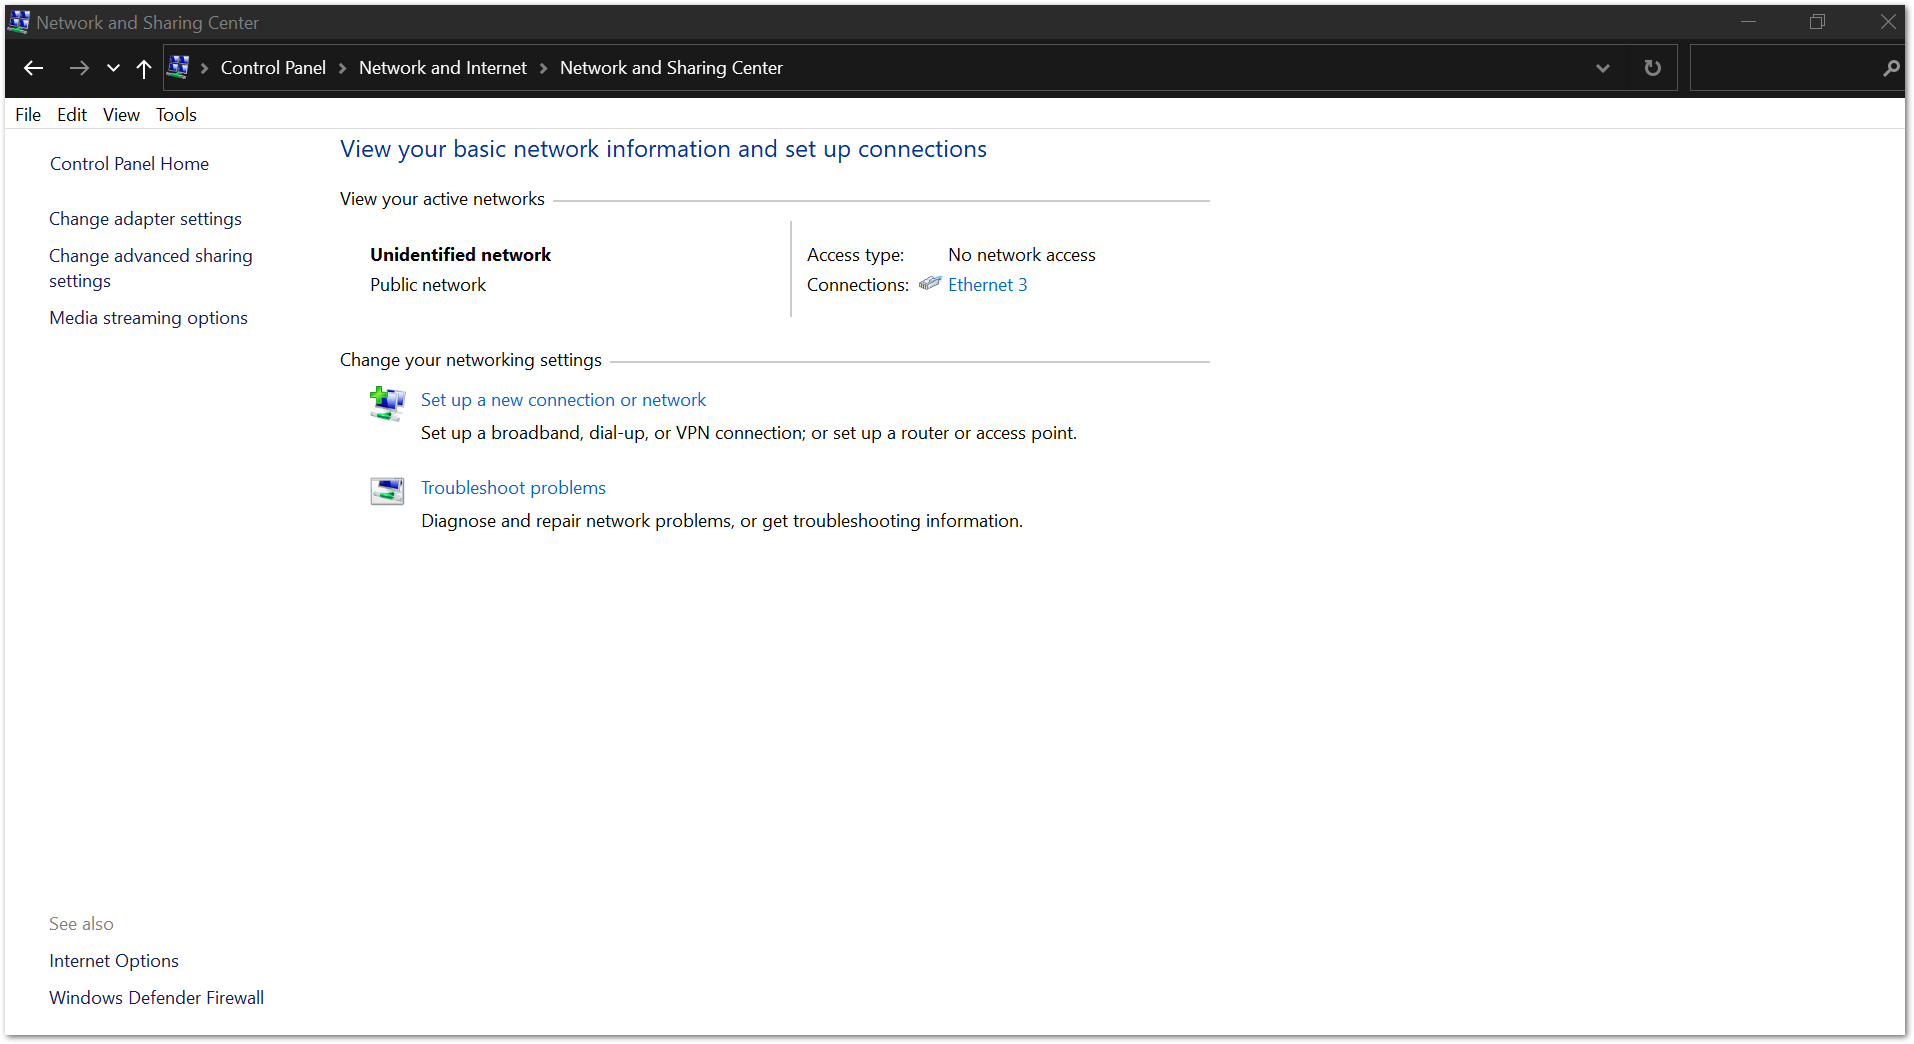 Figure 1: Network and Sharing Center
 -
Select Properties, and then select Internet Protocol Version 4 (TCP/IPv4).
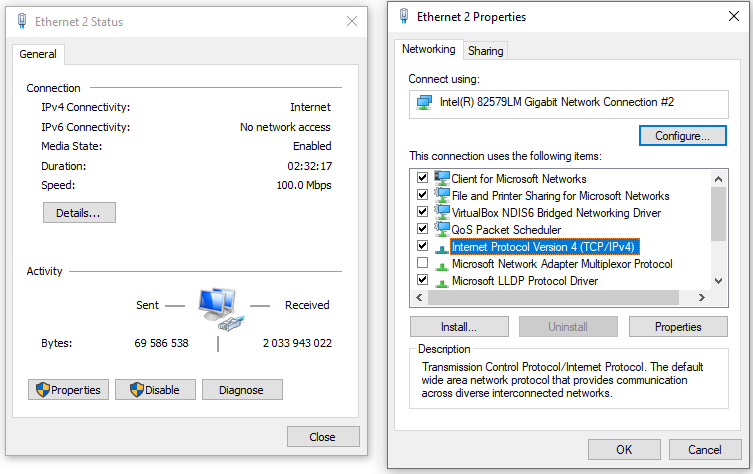 Figure 1: Ethernet properties
 -
By default, the PC obtains an IP address automatically. Select Use the following IP address, enter
192.168.10.20, and then select OK.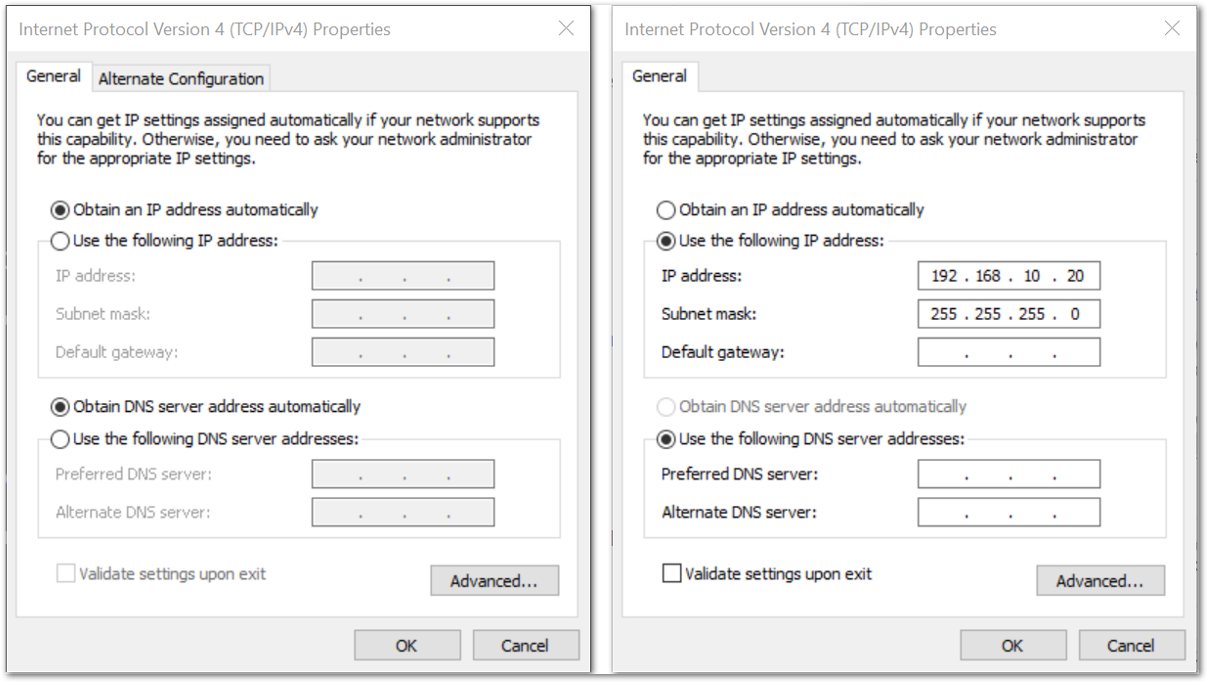 Figure 1: TCP/IPv4 properties
You should now be able to access the gateway from your PC through SSH using the IP address 192.168.10.10.
Log into the Gateway
SSH (Secure Shell) is typically used to log in to a remote machine and execute commands.
Windows OS
There are many free SSH clients available, including PuTTY, Bitvise SSH Client, and MobaXterm. This guide uses PuTTY.
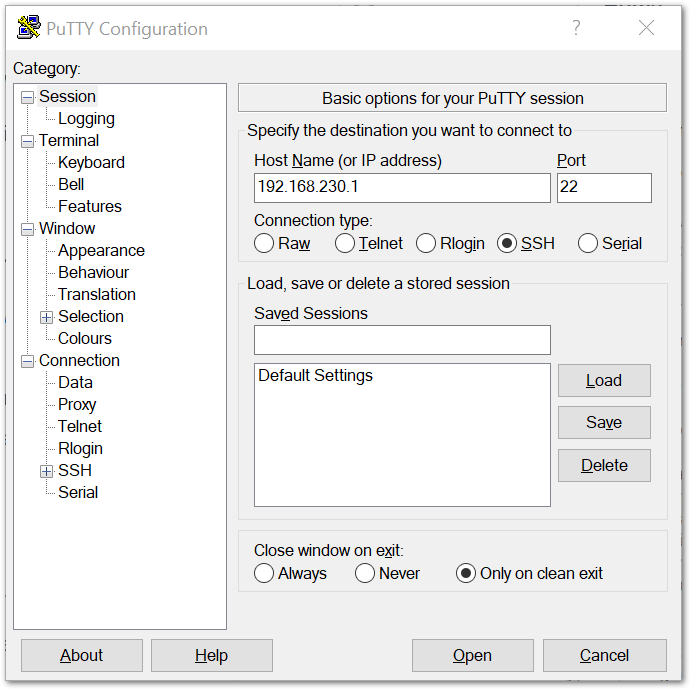 Figure 1: PuTTY SSH client
Use the gateway IP address that corresponds to your connection method:
- Wi-Fi AP Mode:
192.168.230.1 - Ethernet:
192.168.10.10
When prompted, enter the default username and password:
- Username:
pi - Password:
raspberry
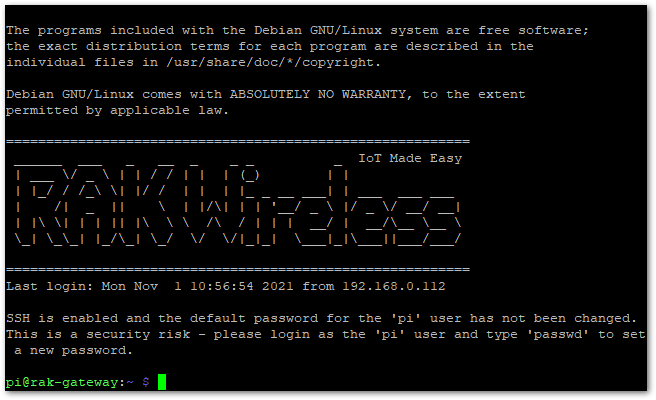 Figure 1: Command line after login
macOS
Open the Terminal application found in /Applications/Utilities/. You can also open it from Spotlight by pressing Command + Space, typing Terminal, and pressing Return.
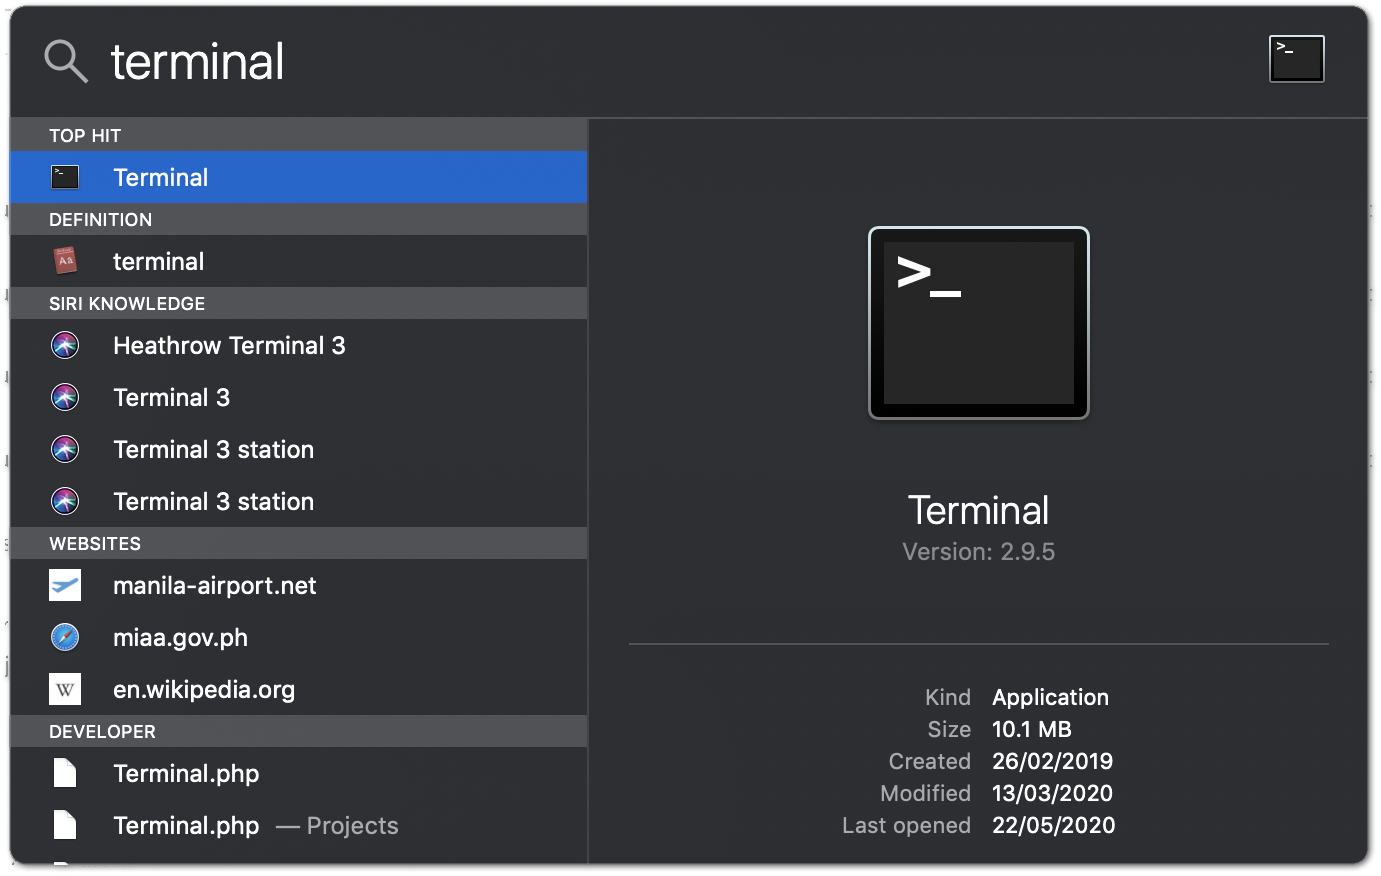 Figure 1: Opening Terminal in macOS
Enter the following command when connected through Wi-Fi AP Mode:
ssh pi@192.168.230.1
If connected through Ethernet, replace 192.168.230.1 with 192.168.10.10.
Linux OS
If the operating system of your PC is Linux, follow the same procedure as for macOS.
Accessing the Internet
After successfully logging into your gateway using SSH, enter the following command in the command line:
sudo gateway-config
You will then see a page like the following picture:
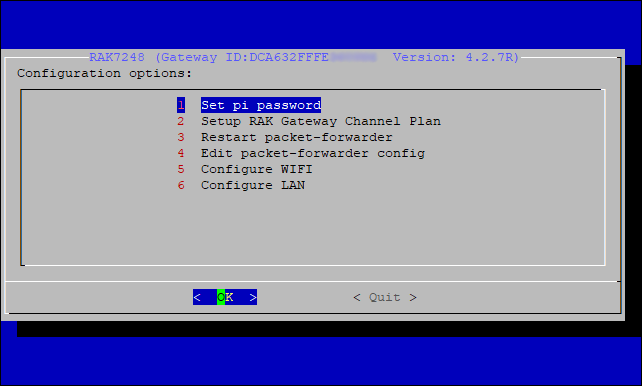 Figure 1: Configuration options for the gateway
The menu contains the following options:
- Set pi password: Sets or changes the gateway password.
- Set RAK Gateway Channel Plan: Configures the frequency on which the gateway operates and the LoRaWAN network server used by the gateway.
- Restart packet-forwarder: Restarts the LoRa packet forwarder.
- Edit packet-forwarder config: Opens the
global_conf.jsonfile so that you can edit LoRaWAN parameters manually. - Configure WIFI: Configures the Wi-Fi settings used to connect to a network.
- Configure LAN: Configures the Ethernet adapter settings.
Connect through Wi-Fi
If you want to connect through Wi-Fi, it can easily be done with the Wireless capabilities of the Raspberry Pi 4 by choosing 5 Configure WIFI. By default, the RAK7248 WisGate Developer D4H Gateway works in Wi-Fi AP Mode.
For the gateway to connect to the router, it must work in Wi-Fi Client Mode.
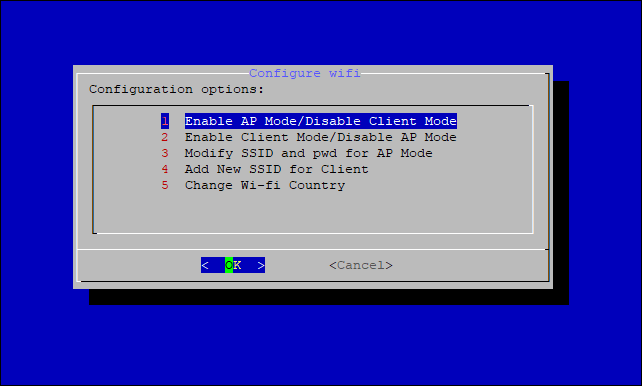 Figure 1: Configuration options for Wi-Fi
There are 5 options to choose from in the Wi-Fi configuration menu:
- Enable AP Mode/Disable Client Mode: The gateway will work in Wi-Fi Access Point Mode after rebooting while the Wi-Fi Client Mode will be disabled (this is the default mode).
- Enable Client Mode/Disable AP Mode: The gateway will work in Wi-Fi Client mode after rebooting, while Wi-Fi AP Mode will be disabled.
- Modify SSID and pwd for AP Mode: To modify the SSID and password of the Wi-Fi AP. Only works if the Wi-Fi AP Mode is enabled.
- Add New SSID for Client: This is used if you want to connect to a new Wi-Fi Network. Only works in Wi-Fi Client mode.
- Change Wi-Fi Country: To modify the Resident Country to match Wi-Fi standards.
To enable Wi-Fi Client Mode, you have to disable AP Mode first.
Once Wi-Fi AP Mode has been disabled by choosing 2 Enable Client Mode/Disable AP Mode, you can now then connect to a new Wi-Fi Network by choosing 4 Add New SSID for Client.
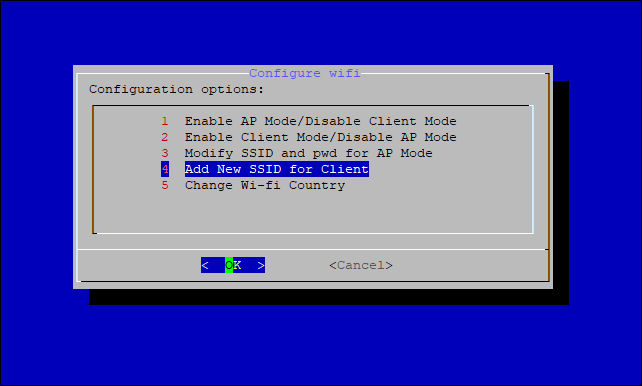 Figure 1: Add a new SSID
- Start by selecting your country of residence:
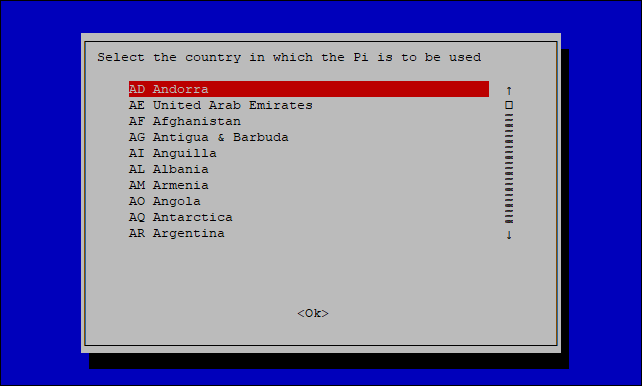 Figure 1: Selecting country of residence
- Enter the SSID of the network you want to connect:
Make sure to input the correct Wi-Fi SSID and Password, or you will not be able to connect to the RAK7248 again via SSH in Wi-Fi AP Mode. If stuck in this situation, follow the procedure listed in the Reverting to Wi-Fi AP Mode section, which is applicable for all Raspberry Pi-based gateways to work again in Wi-Fi AP mode.
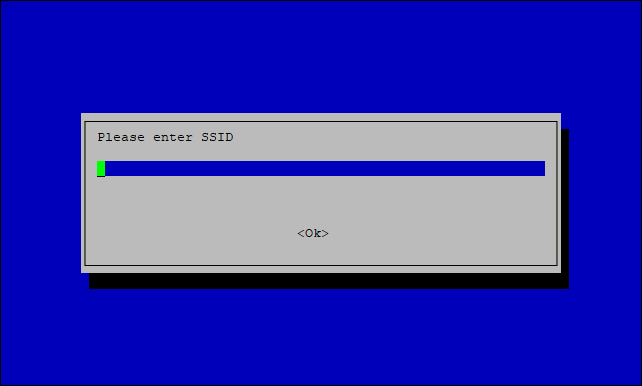 Figure 1: SSID of the Network you want to connect to
- Type the password. If there is none, leave the field empty.
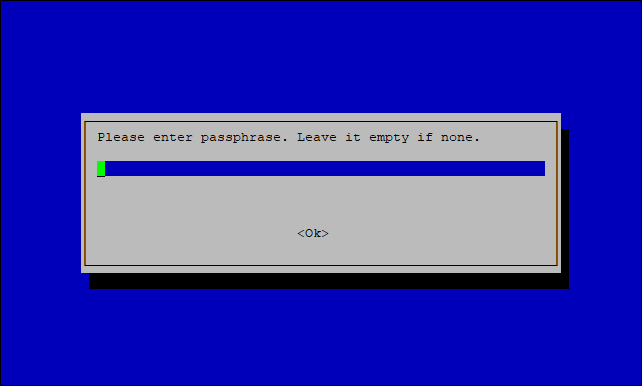 Figure 1: Wi-Fi password
Connect through Ethernet
-
In the main configuration menu, choose 6 Configure LAN. This will let you set up a static IP address for the gateway’s Ethernet adapter.
-
Type a static IP Address according to the IP address of the router you want to connect to. Note that the gateway and the router must be in the same network segment. Otherwise, the connection will fail.
-
By default, the IP Address of the gateway's Ethernet is
192.168.10.10.
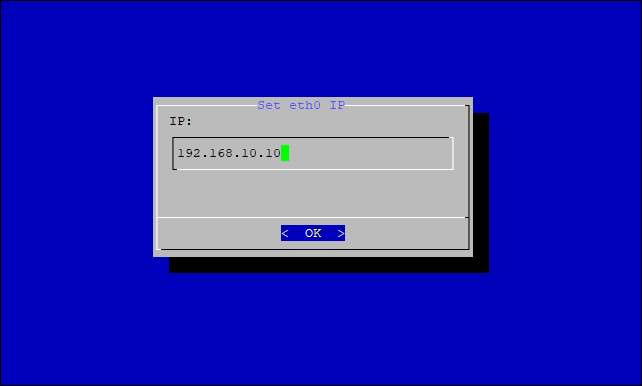 Figure 1: Default gateway Ethernet IP Address
- Then configure the IP address of the router. This is the LAN interface IP address of the router.
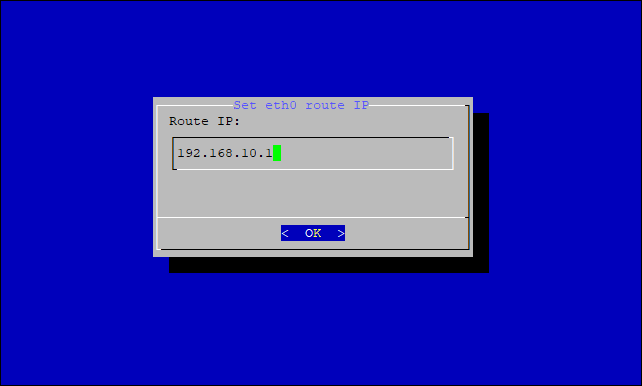 Figure 1: Router LAN IP
- Press OK and the success message will appear.
- After reboot, the gateway will connect to the router successfully through Ethernet.
Reboot
Lastly, reboot the gateway using the command shown below and put it in the command line.
sudo reboot


