RAK7271/RAK7371 The Things Network Configuration(Optional)
The RAK7271/RAK7371 can use the local ChirpStack LoRaWAN Network Server installed during the default Raspberry Pi setup.
If you want to use The Things Network (TTN) instead, follow this guide to configure the packet forwarder and register the gateway with TTN.
This guide applies when using a Raspberry Pi as the host. Before proceeding, complete the RAK7271/RAK7371 Quick Start Guide.
Configure the Gateway for TTN
- Open the configuration tool by running the following command in the Raspberry Pi CLI:
sudo gateway-config
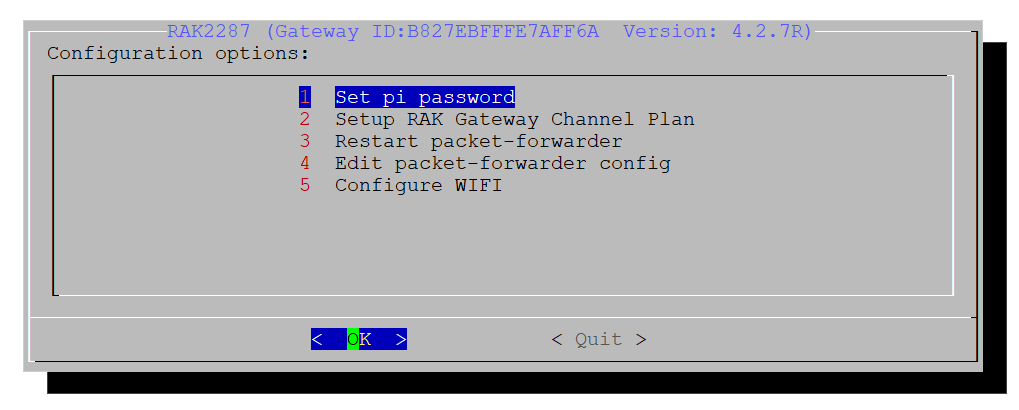 Figure 1: Open the Configuration Tool
- Select 2 Setup RAK Gateway Channel Plan.
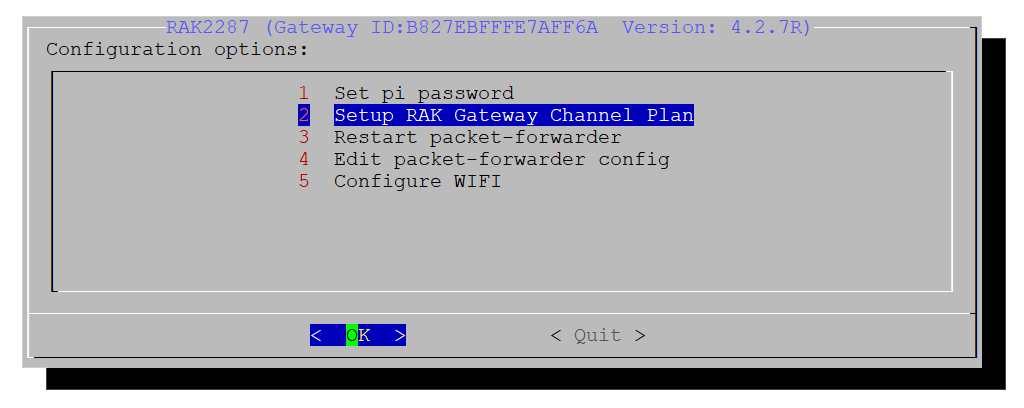 Figure 1: Make a Selection
- On the next window, select 1 Server is TTN.
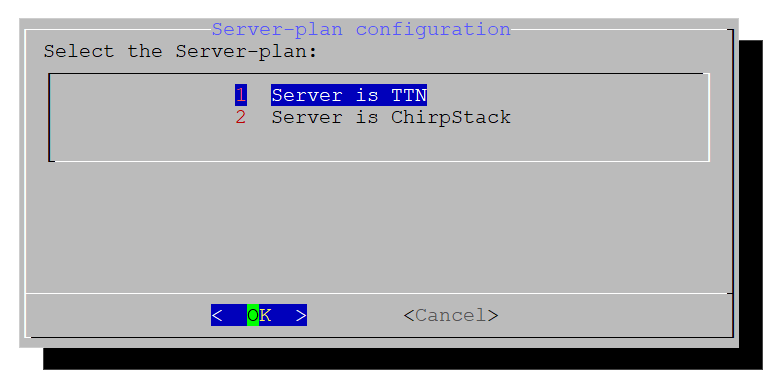 Figure 1: Select the Server
- Select the correct frequency band.
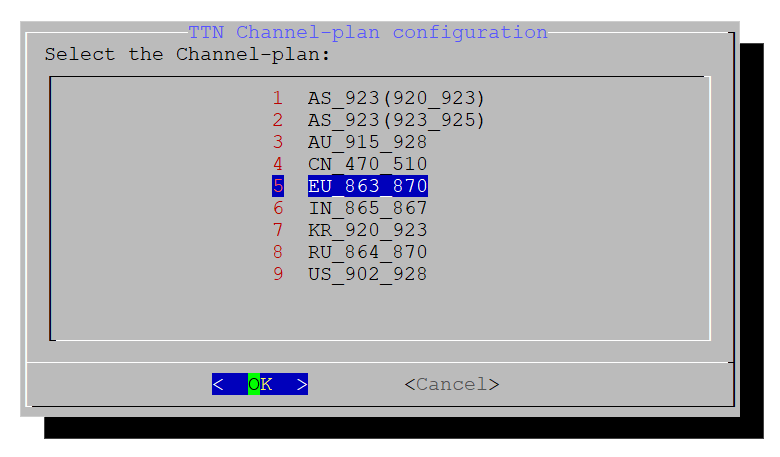 Figure 1: Select the Channel Plan
- Select 4 Edit packet-forwarder config.
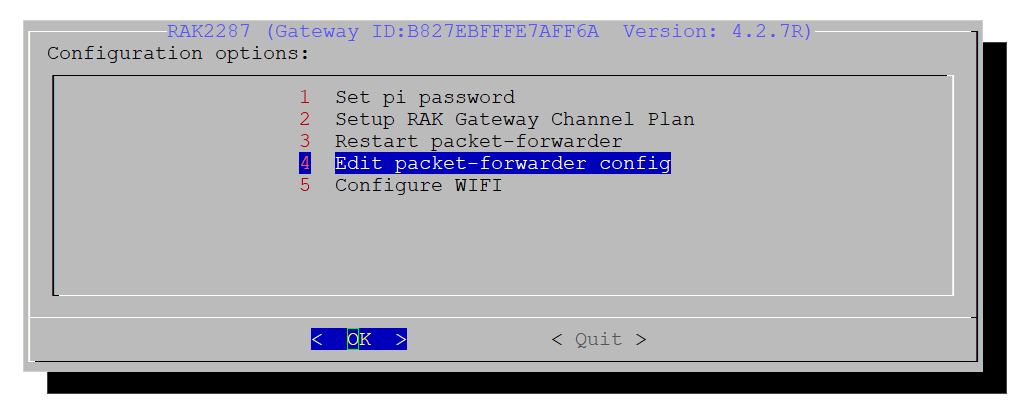 Figure 1: Configuration Options
- Based on your location, set the appropriate TTN address for the packet forwarder. The configuration file will open for editing.
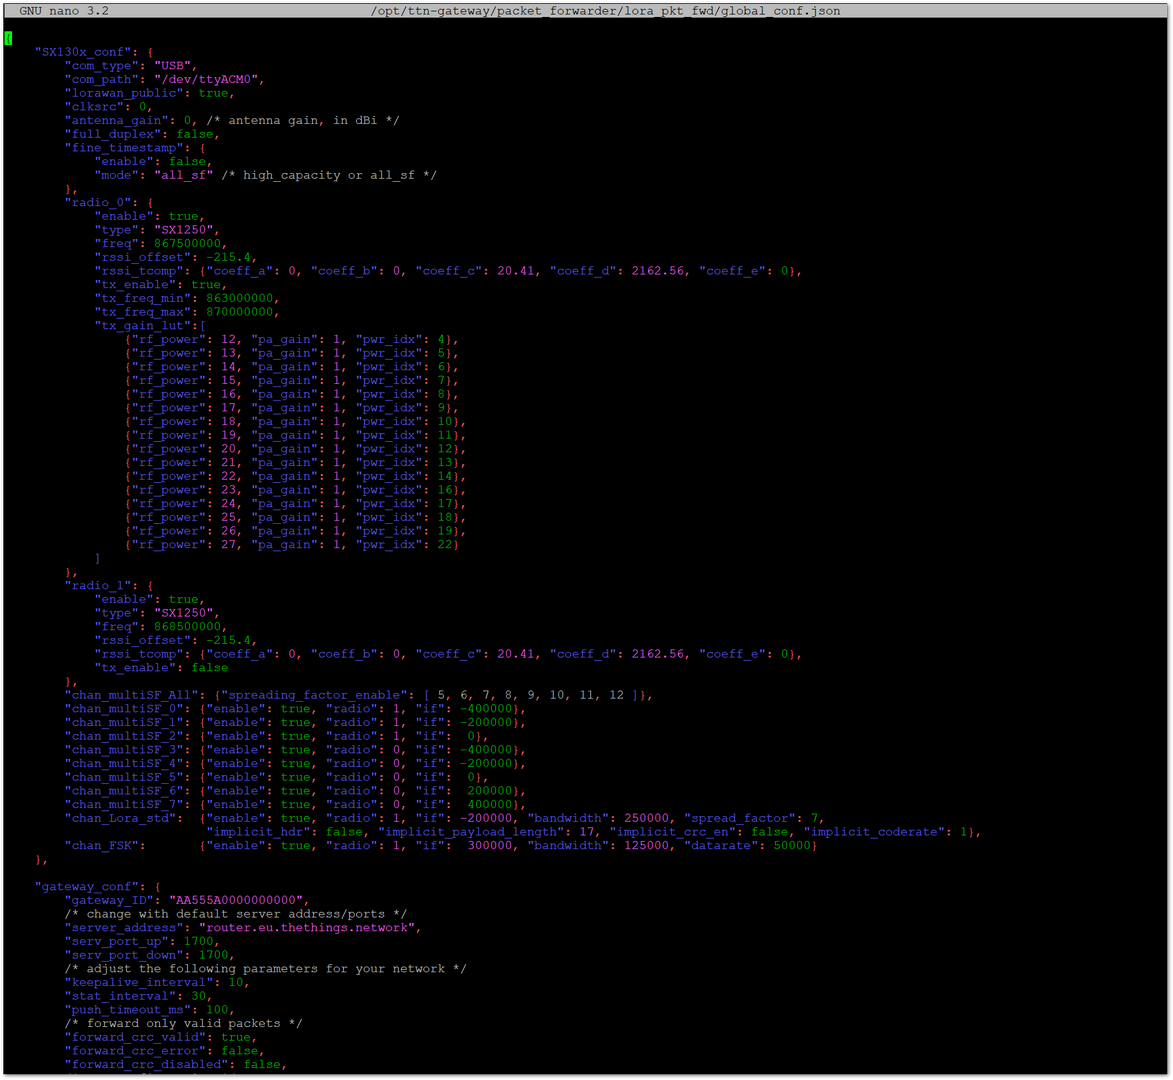 Figure 1: File Content Configuration
- Find the
gateway_confsection:
"gateway_conf": {
    "gateway_ID": "AA555A0000000000",
    "server_address": "router.eu.thethings.network",
    "serv_port_up": 1700,
    "serv_port_down": 1700
- Update
server_addressto the appropriate TTN server address. For example, the address for Europe is:
eu1.cloud.thethings.network
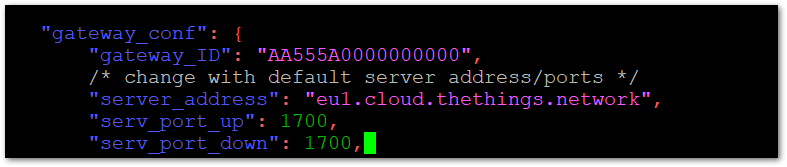 Figure 1: Change the Server Address
-
Press Ctrl+X, then press Y to save the changes.
-
Restart the packet forwarder by selecting Option 3.
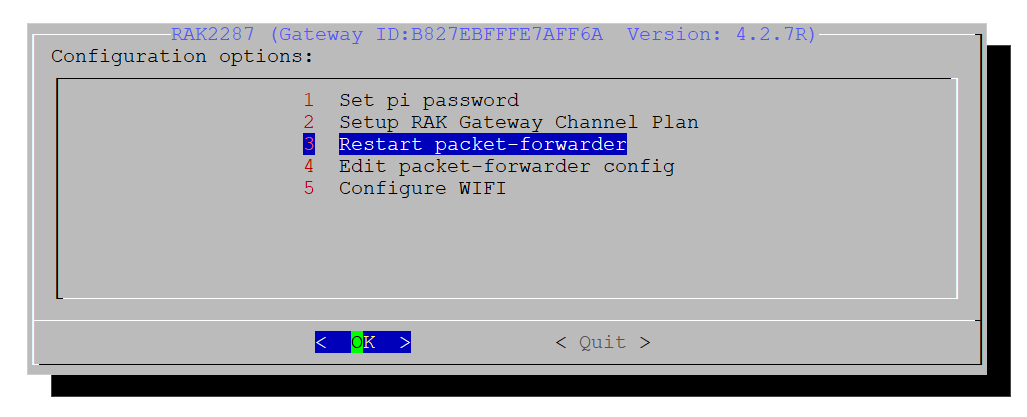 Figure 1: Restart the Packet Forwarder
- Quit to exit from the configuration menu.
Now, you have a fully working gateway that is configured to use TTN as Network Server.
Get the Gateway EUI
To register the gateway with TTN, retrieve the gateway EUI by running:
sudo gateway-version
 Figure 1: Get the Gateway EUI
pi@rak-gateway:~ $ sudo gateway-version
Raspberry Pi 3 Model B Plus Rev 1.3, OS "10 (buster)", 5.10.17-v7+.
RAKwireless gateway RAK2287 for USB version 4.2..7R install from source code.
Gateway ID: B827EBFFFE7AFF6A.
pi@rak-gateway:~ $
Register the Gateway with TTN
-
Open the TTN website in your browser, log in, and navigate to the console page.
-
Click + Add Gateway.
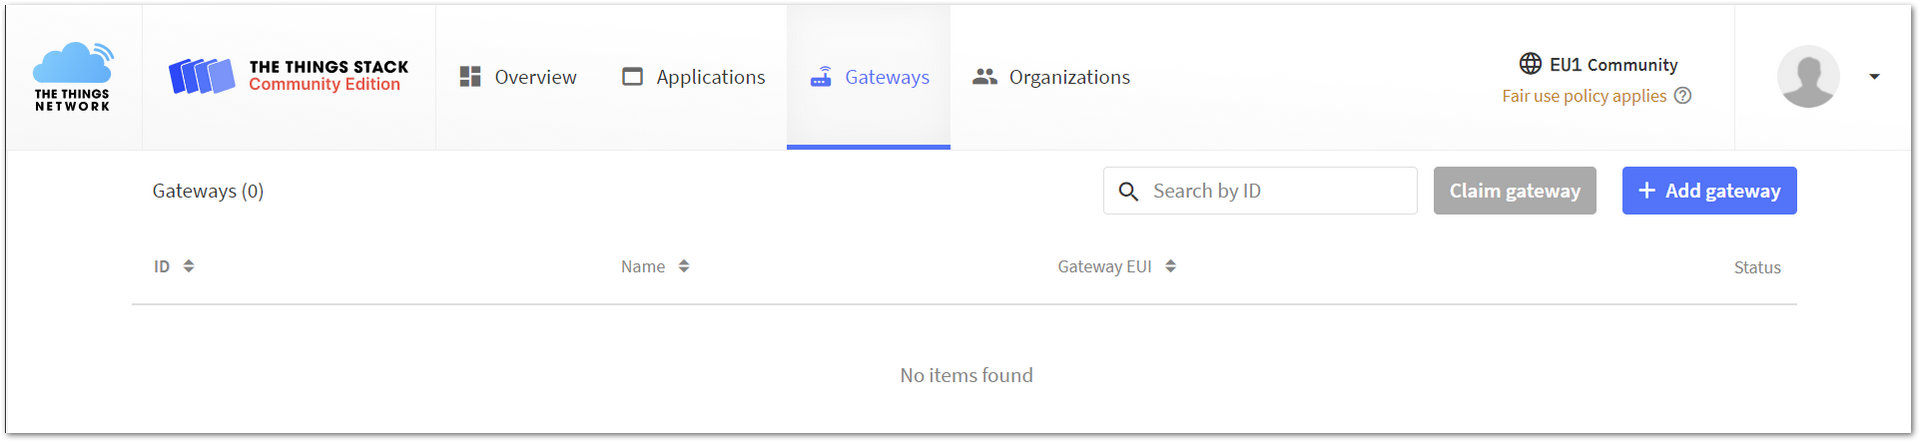 Figure 1: Add the Gateway
- Enter the gateway EUI and the required information, including the description and frequency plan.
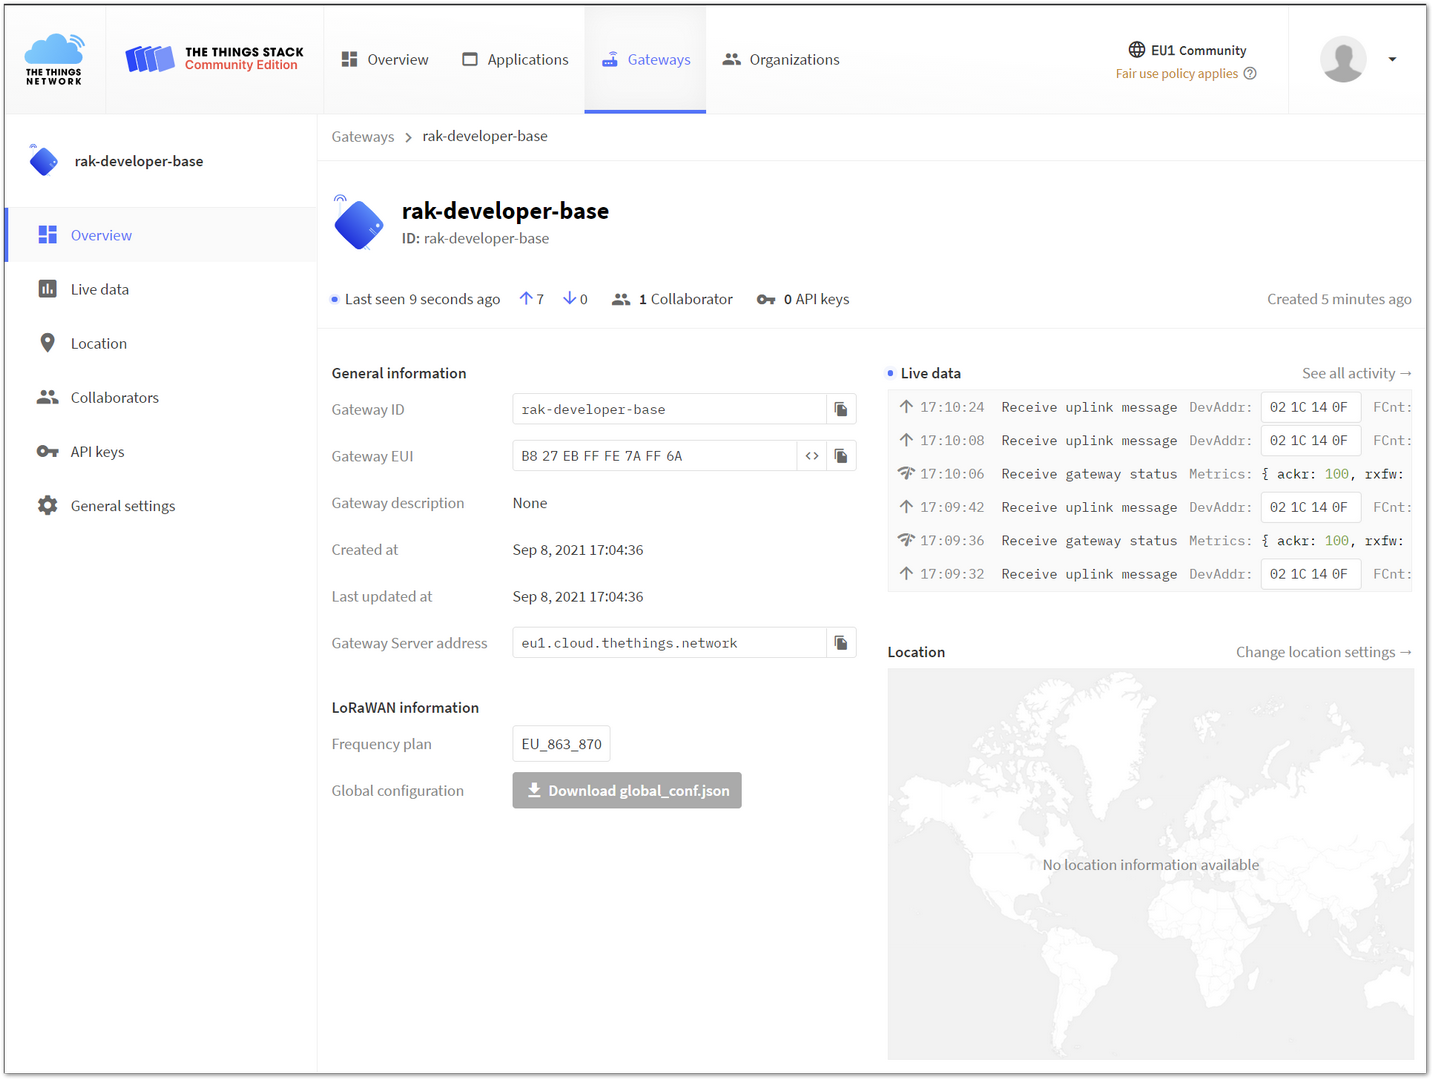 Figure 1: Registered Gateway
If the configuration is correct, the gateway will appear as connected and show activity in the TTN console.


