RAK7590 Field Tester Pad Hardware Setup
This guide shows the package contents and the steps to assemble and power on your RAK7590 Field Tester Pad.
Package Inclusions
 Figure 1: Package contents of the RAK7590 Field Tester Pad
- RAK7590 Field Tester Pad
- 2.3 dBi LoRa® Antenna
- DC Power Adapter
- Type-C USB Cable
- MicroSD Card Reader
- Desktop Stand
- User Manual
Install the LoRa Antenna
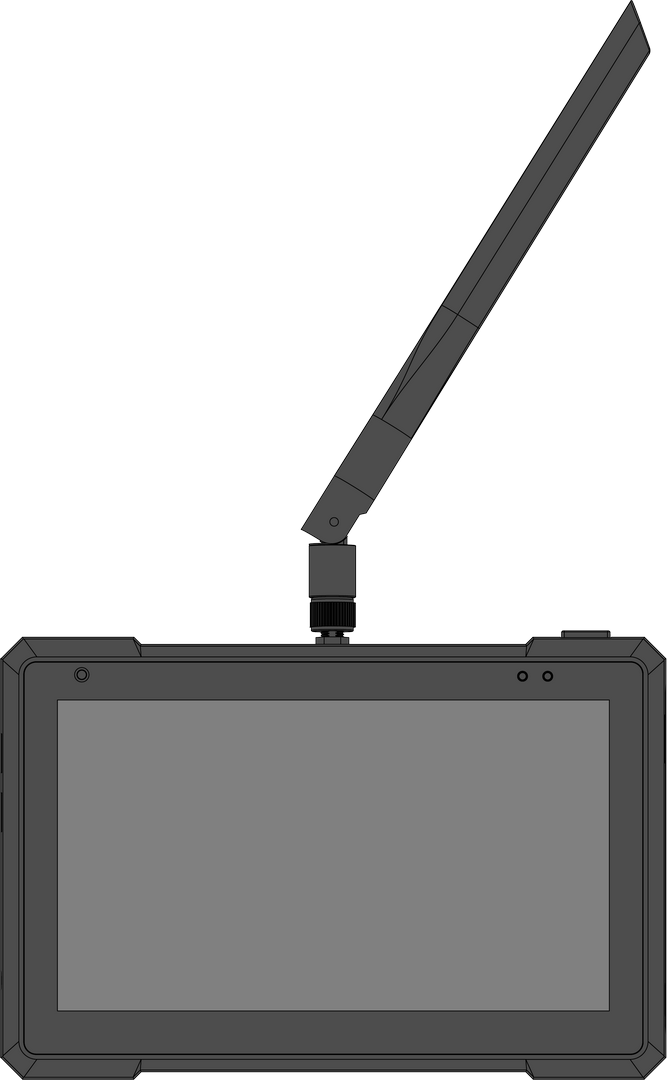 Figure 1: Install the LoRa antenna on the RAK7590
- Locate the antenna connector on top of the device.
- Align the LoRa antenna with the connector.
- Rotate clockwise to tighten.
Attach the Metal Stand
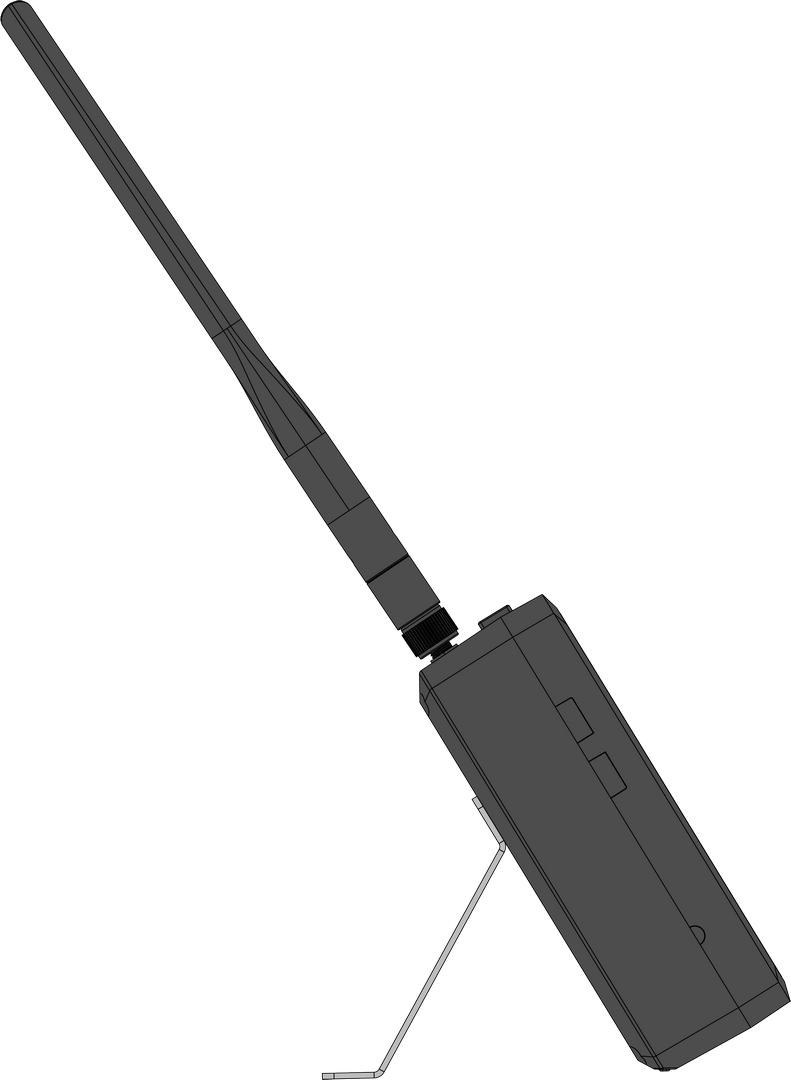 Figure 1: Install the metal stand for desktop use
- Place the metal stand on a flat surface.
- Insert the back of the Field Tester into the bracket slot.
- Adjust the angle as needed.
Power On the Device
Battery Power
Battery power is ideal for scenarios where the device needs to be moved around or used in locations without access to a constant power supply.
To ensure optimal performance, charge the device fully before turning it on for the first time.
- Insert the power adapter into the DC input port.
- Connect the other end of the power adapter to a wall outlet.
- The device will begin charging automatically. Allow the device to charge for 10 hours before first use.
Once the battery is charged, press the Power button to turn on the device. The device will now operate on battery power.
External Type-C Power Supply
Use USB Type-C to power the device for bench testing, demos, or long-duration operation when a stable power source is available. In this mode, USB Type-C powers the device only and does not charge the battery.
- Insert the Type-C cable into the device's USB 2 port.
- Connect the other end to an external power supply (5 V, ≥2 A).
On-Boarding Guide
- On first boot, the device may display an onboarding guide that introduces basic functions. Tap NEXT to continue.
 Figure 1: Onboarding Guide
- Now you should have a brief idea of what this pad can do. Tap START USING FIELD TESTER PRO to proceed.
Time Confirmation
The Pad includes a built-in RTC module that keeps time when no Internet connection is available. If the device cannot reach an NTP server, it will display a time confirmation screen each time it powers on.
This ensures that all time-based test records remain accurate.
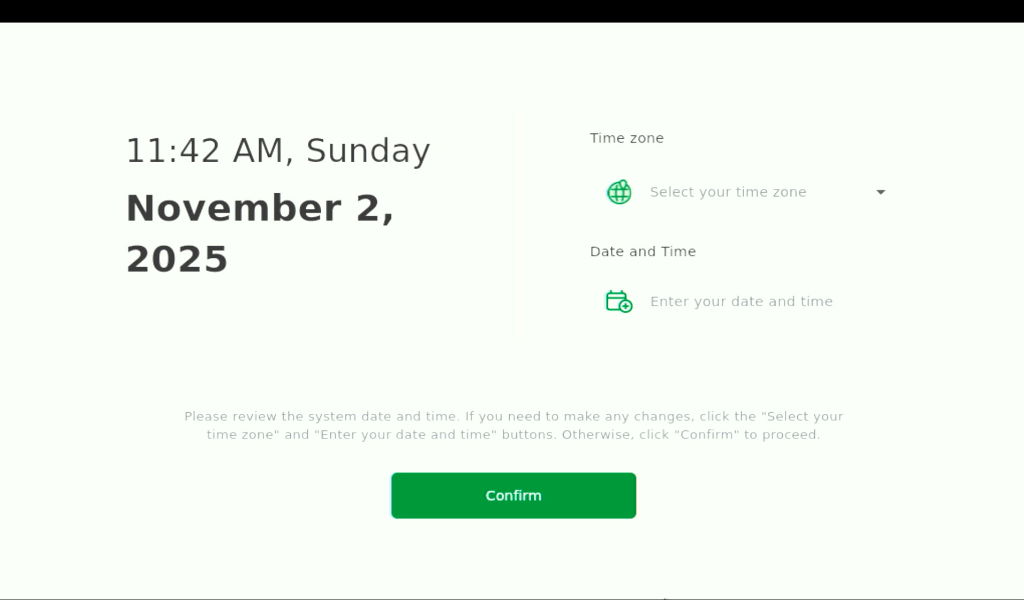 Figure 1: Time Confirmation
Set your local time:
- Select your Time zone.
- Set the Date and Time.
- Tap Confirm.
You can only change the system time when the Pad is not connected to an NTP service. When Internet time sync is active, manual adjustment is disabled to avoid timestamp inconsistencies.
Download Map (Optional)
After confirming the time, the Pad may prompt you to Download Map. Offline maps are only needed if your test area has no Internet access and you want to display test-point signal distribution on a geographic map.
- To skip this step, tap Skip for Now.
- To download offline maps, tap Download Now and follow the on-screen instructions. For more details, refer to: System Settings > Download Map.
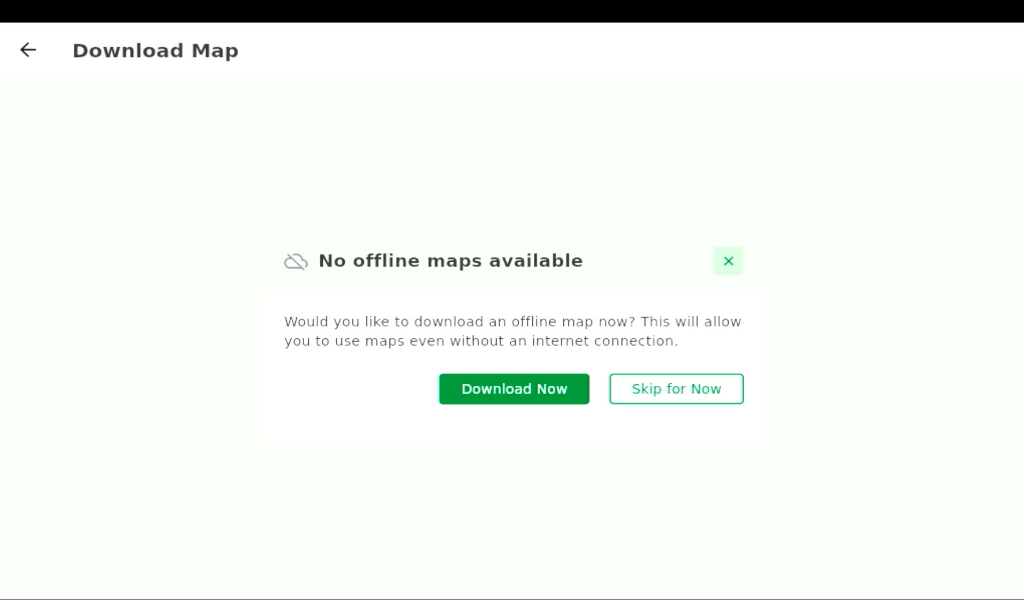 Figure 1: Download Offline Map Prompt