Manage Extensions
Install an Extension
Before installing an extension, you must first contact RAK technical support to obtain the required extension file.
- Open your browser and log in to the gateway Web UI. If needed, refer to the Quick Start Guide section of your gateway’s user manual.
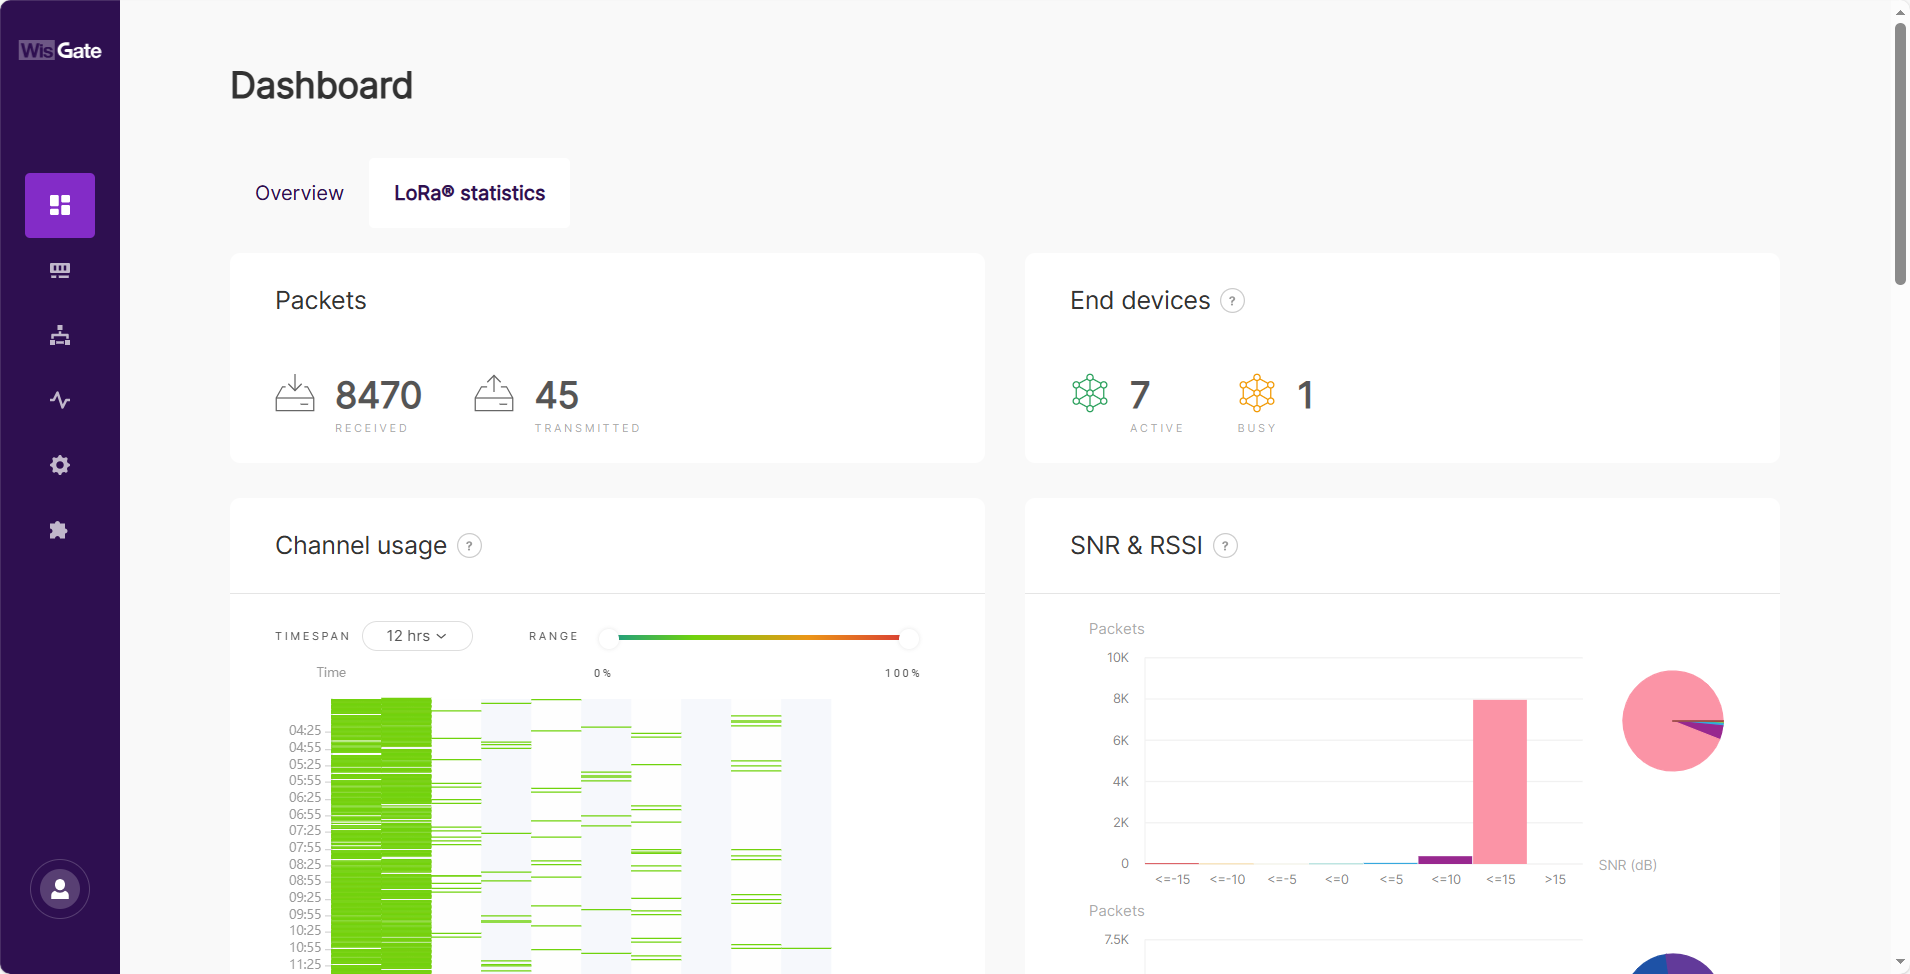 Figure 1: WisGateOS 2 Login Page
- After logging in, go to Extensions from the left menu.
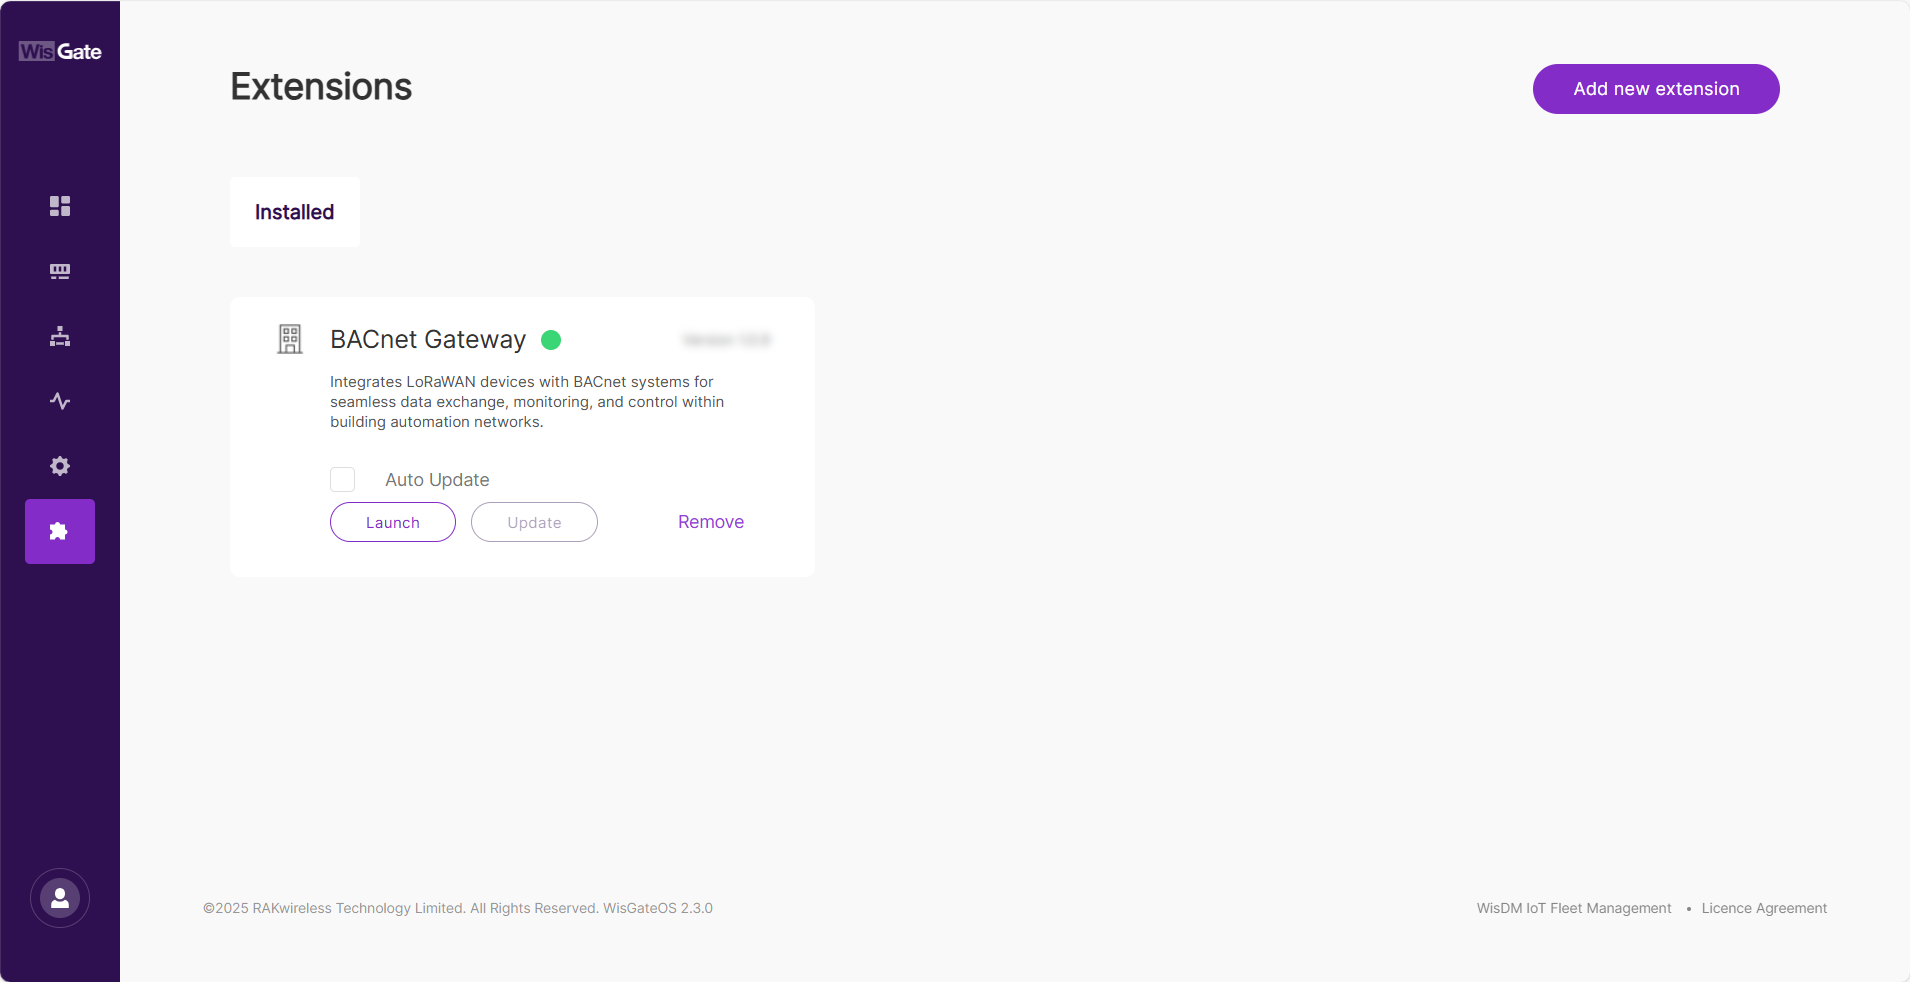 Figure 1: Extensions Tab
Click the WisGate logo to expand the left menu and view the full tab names.
- Click Add new extension in the upper-right corner to open the upload dialog.
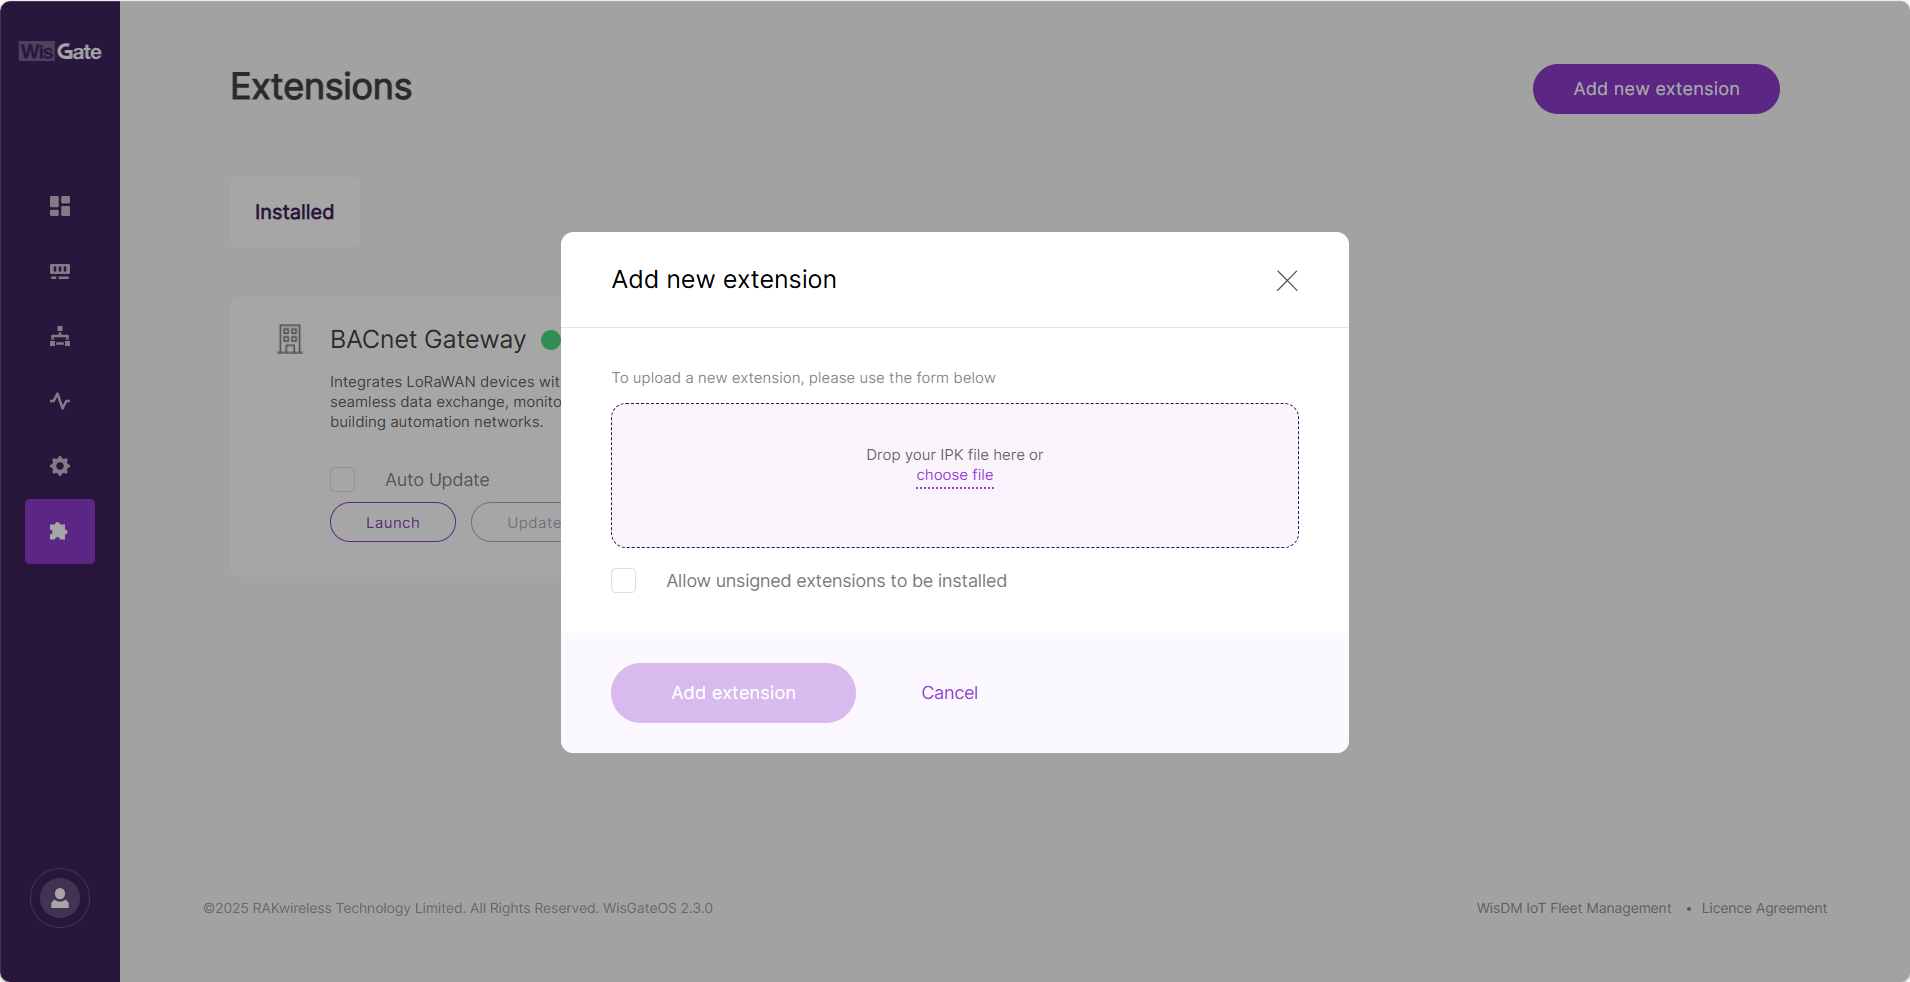 Figure 1: Add New Extension Window
- Drag and drop the extension file into the upload area, or click choose file to select it manually.
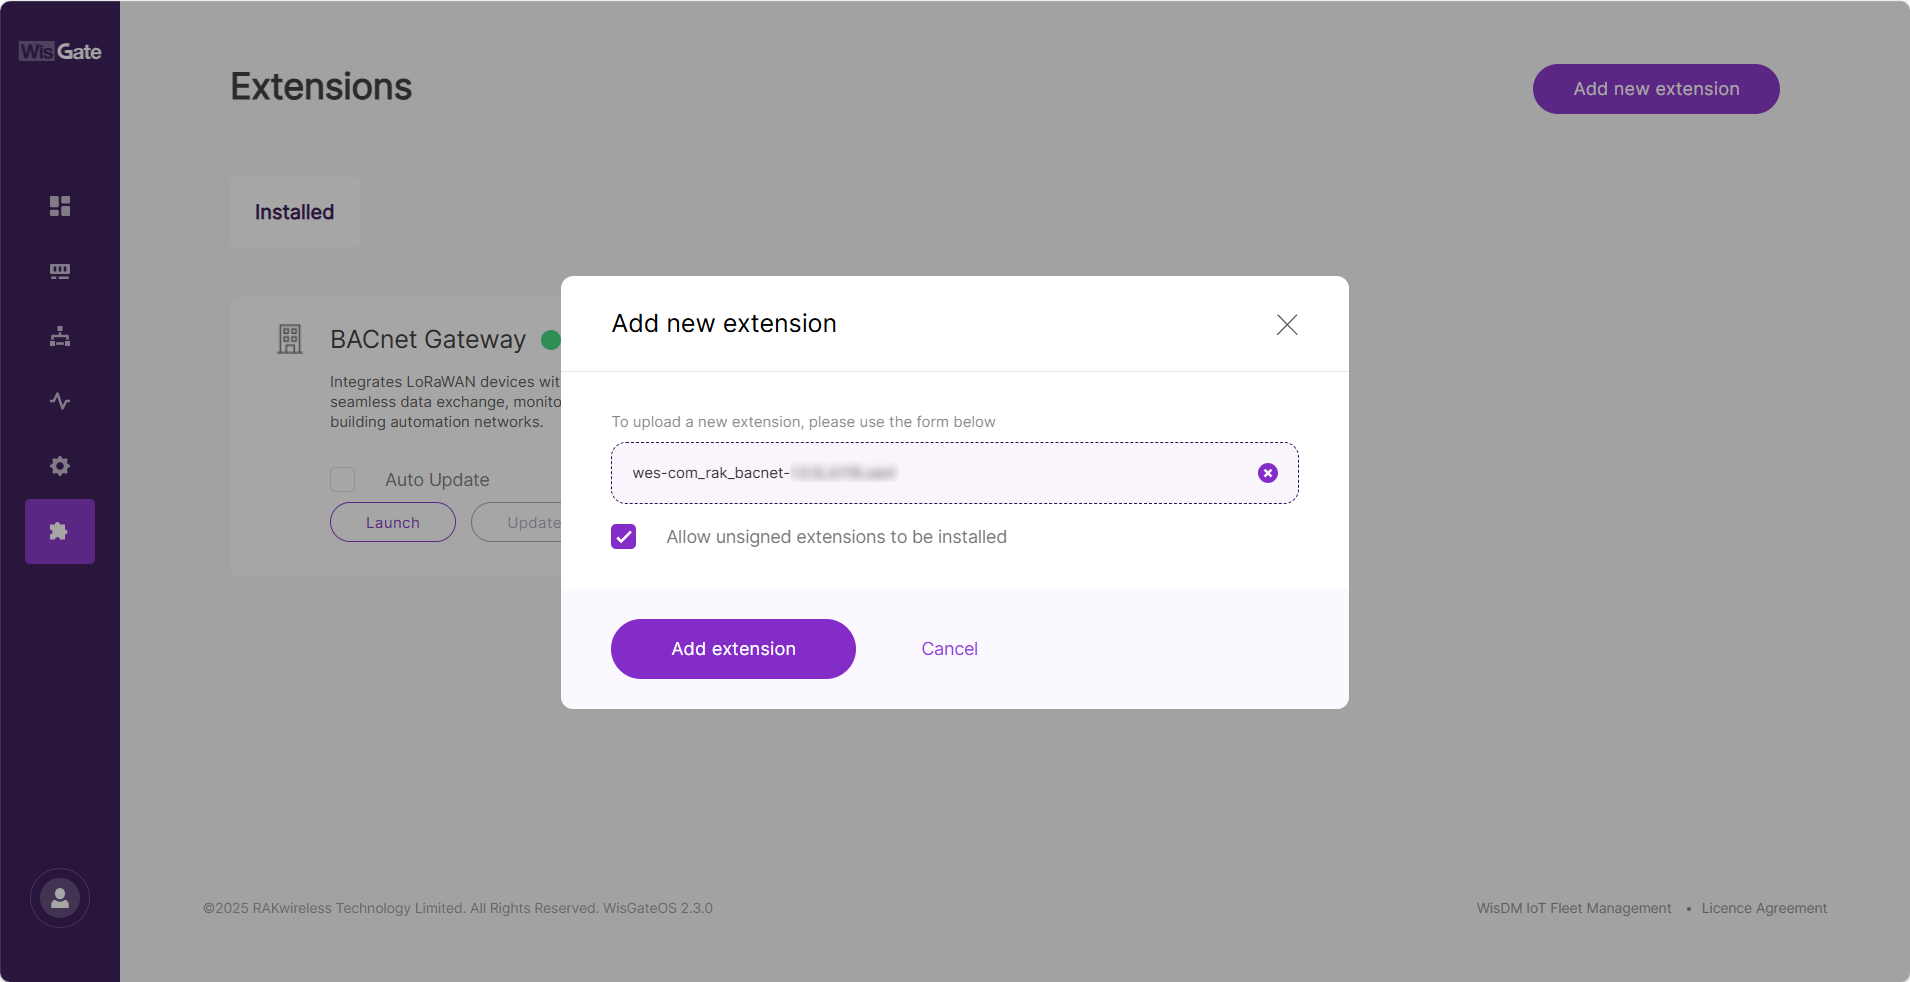 Figure 1: Choose an Extension File
-
After the extension file is selected, enable Allow unsigned extensions (if necessary), and click Add extension to start the installation.
NOTEThe installation process may take a few moments. Once completed, the newly installed extension will appear in the list.
Update an Extension
Keeping extensions updated ensures you can access the latest features and improvements. You can check the current version of the extension on its homepage under the Installed tab.
-
Go to Extensions > Installed to view all installed extensions.
-
If a newer version is available, the Update button will be highlighted. Click Update to begin the process.
-
Wait for the update to complete. Once finished, the extension will display the latest version, and the Update button will be disabled.
-
For convenience, you may enable Auto Update. When enabled, the gateway will automatically update the extension whenever a newer version becomes available.
Remove an Extension
You can uninstall an extension directly from the WisGateOS 2 Web UI.
This action is irreversible. Removing an extension will permanently delete its data and configuration. To use the extension again, you must reinstall it. Please proceed with caution.
-
Navigate to Extensions > Installed and locate the extension you want to remove.
-
Click Remove.
-
A confirmation dialog will appear. In the input field, type Confirm Delete to confirm the action.
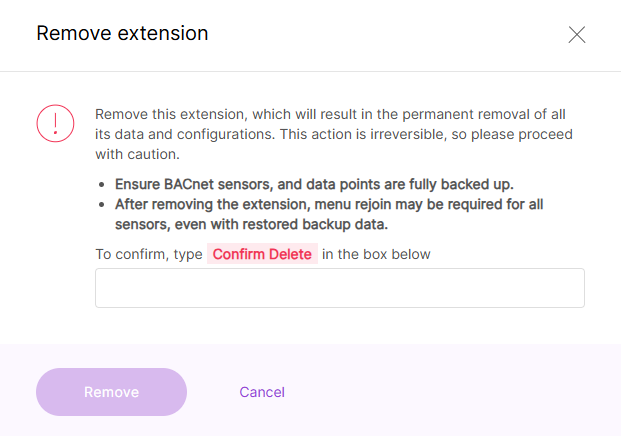 Figure 1: Remove an Extension
- Click Remove to permanently delete the extension and all associated data.