SD Card Backup
Prerequisites
Hardware
- RAK Hotspot
- USB microSD Card Reader
- 32 GB or larger microSD Card (optional, to store the backup). To maintain similar performance we recommend a UHS-I compliant microSD card, for example, Sandisk™ High Endurance or Extreme.
Power Down the RAK Hotspot
warning
Handle the microSD card from the Hotspot with care, as it is fragile. Using small pliers is highly recommended for safe removal.
- Disconnect the RAK Hotspot from the power supply. It needs to be off.
- Extract the microSD card from the Hotspot slot.
- Insert the microSD into the USB microSD card reader.
SD Clone for macOS
- Start by downloading SD Clone.
 Figure 1: Download SD Clone
- After downloading, open the application. You will be prompted to choose between purchasing the full version or continuing with the trial. Select the trial option.
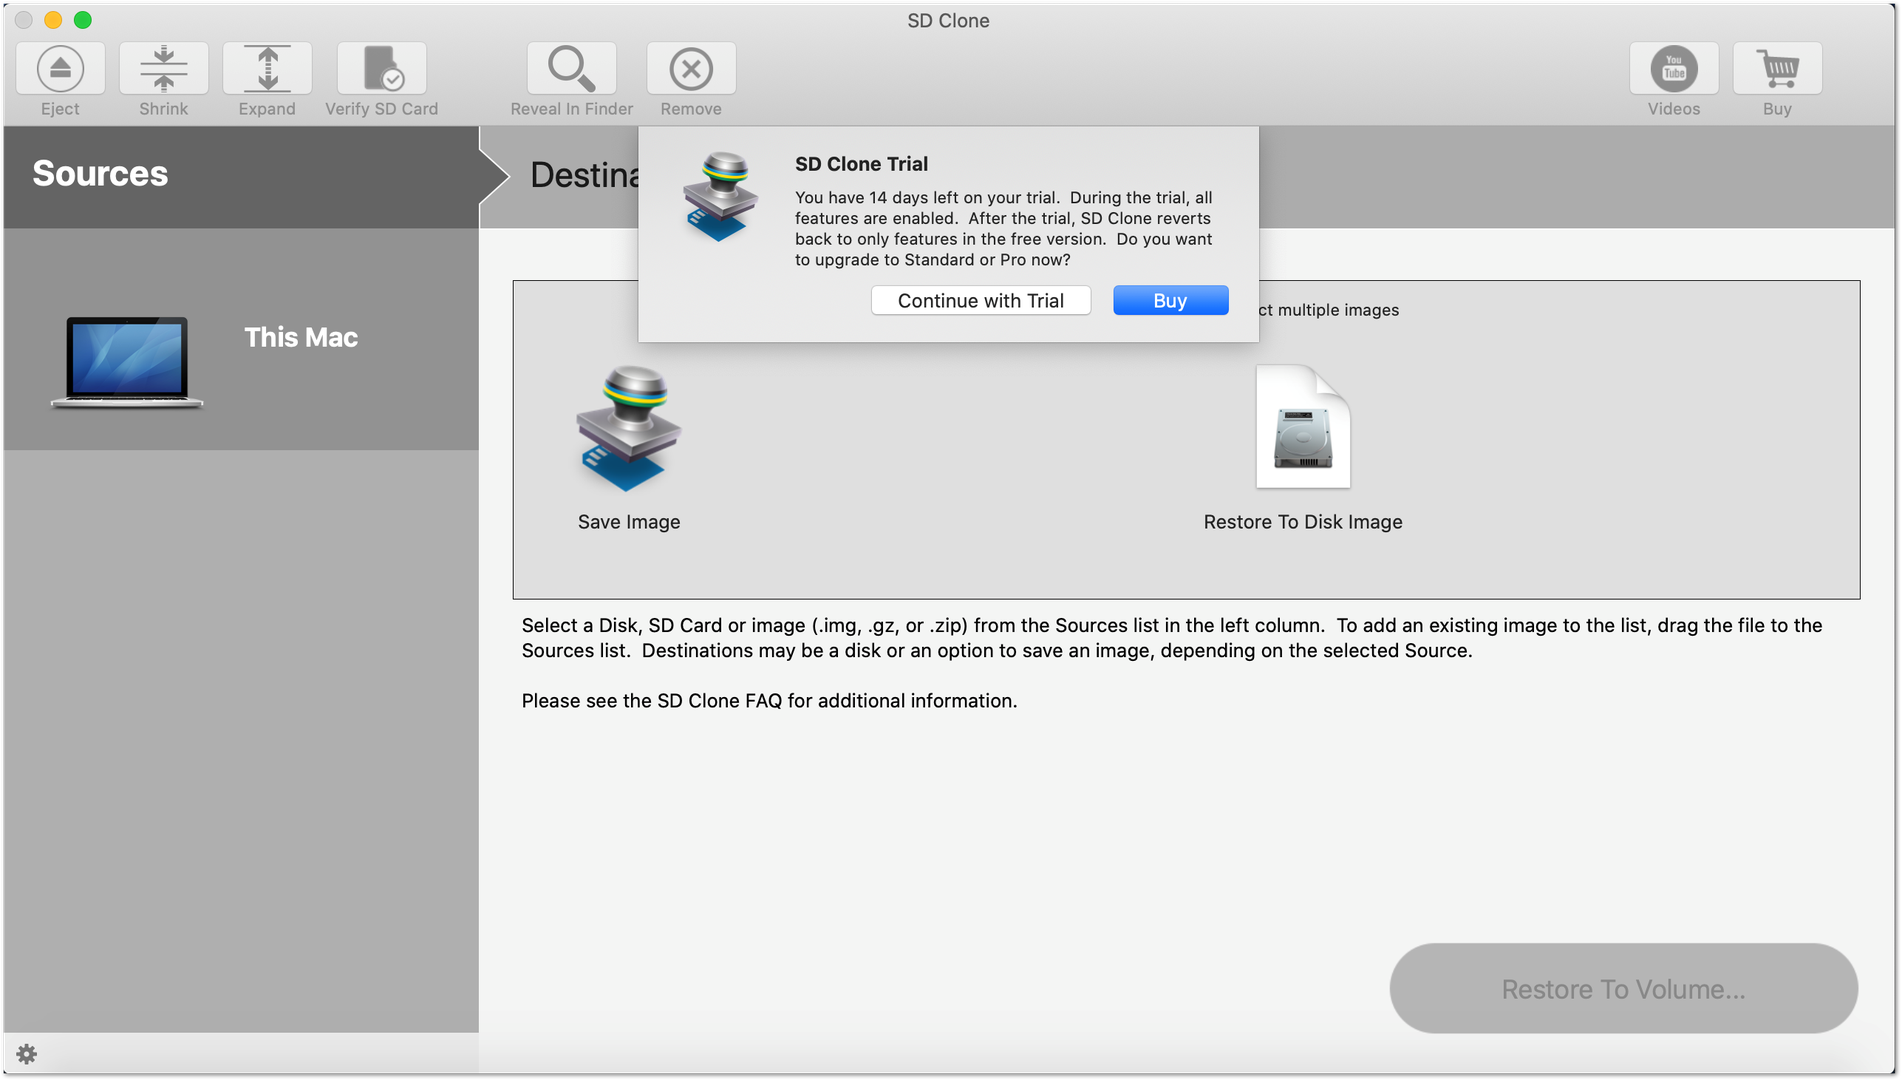 Figure 1: Select Clone Trial or Buy Option
Image Backup
- Insert your card, and if the message shown in the following figure appears, click OK.
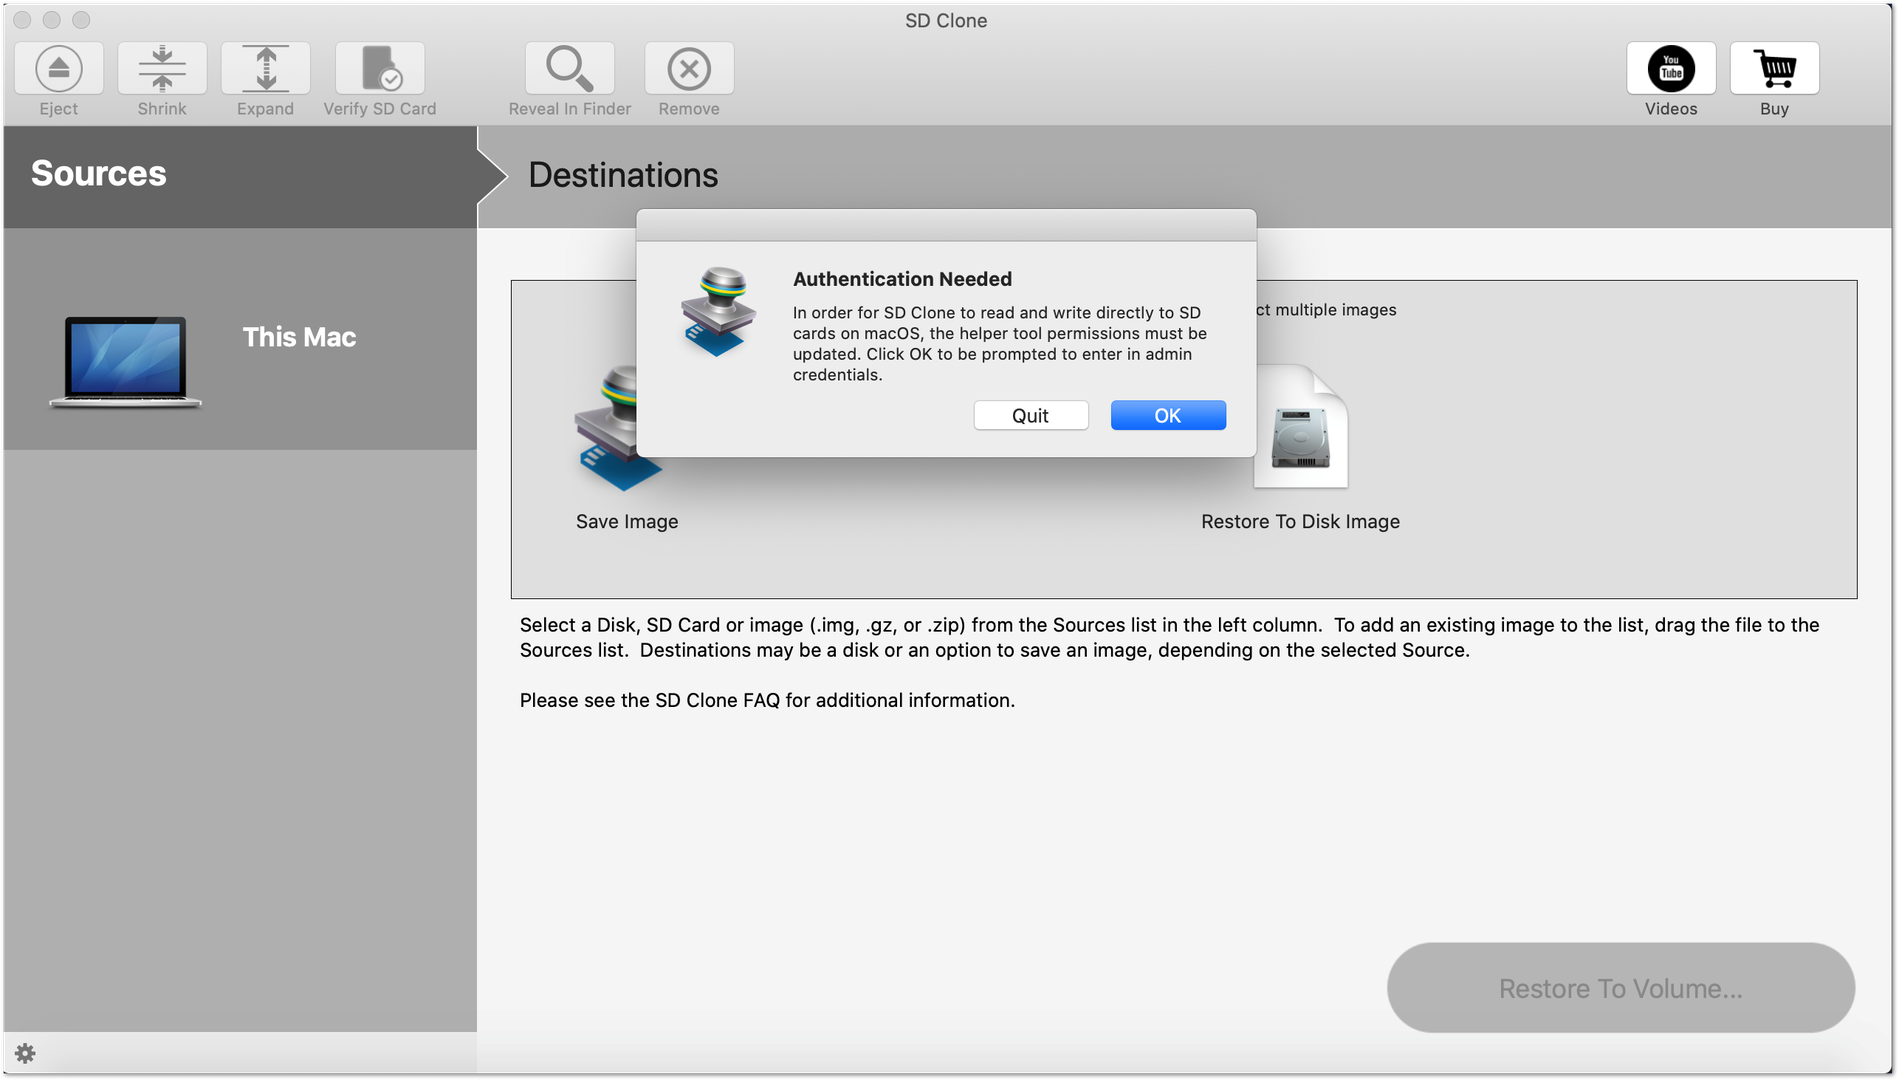 Figure 1: SD Clone Authentication
- Next, the application will request access to your SD storage, click "OK" in both windows.
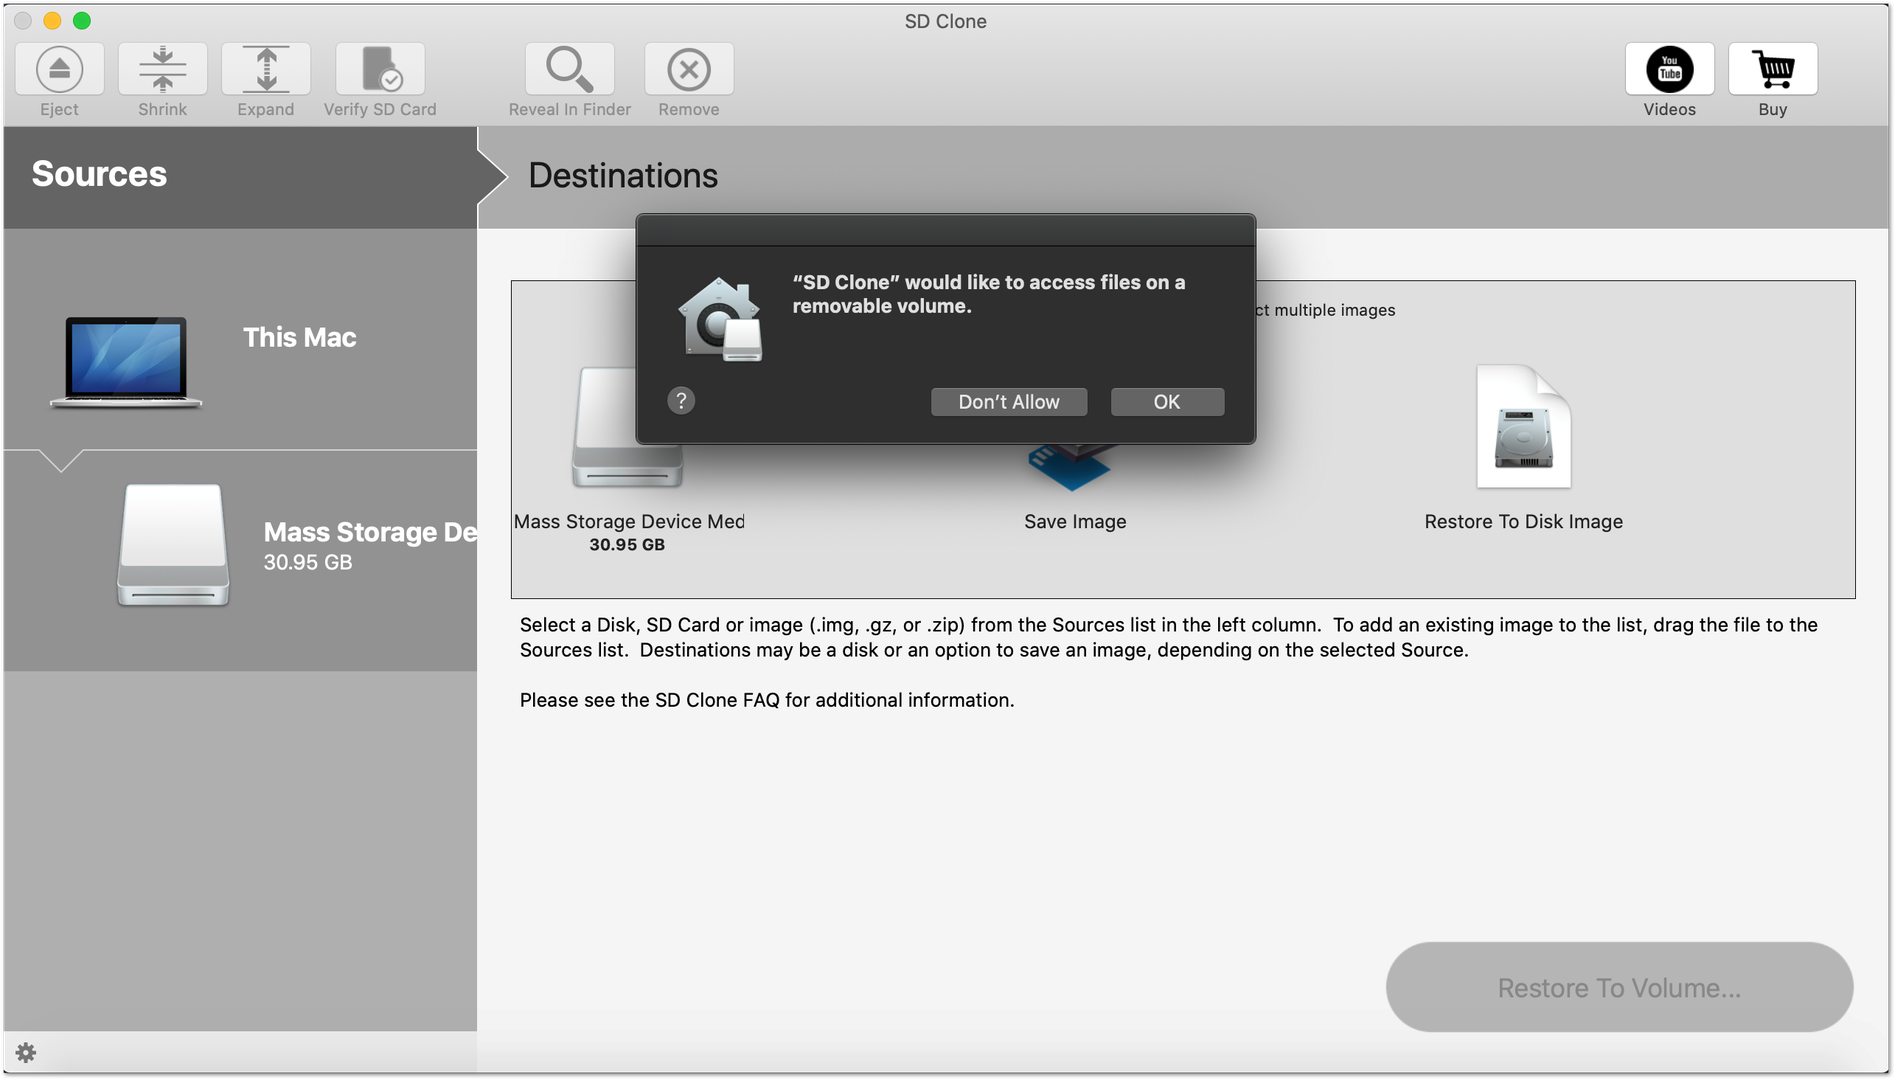 Figure 1: Access SD Storage
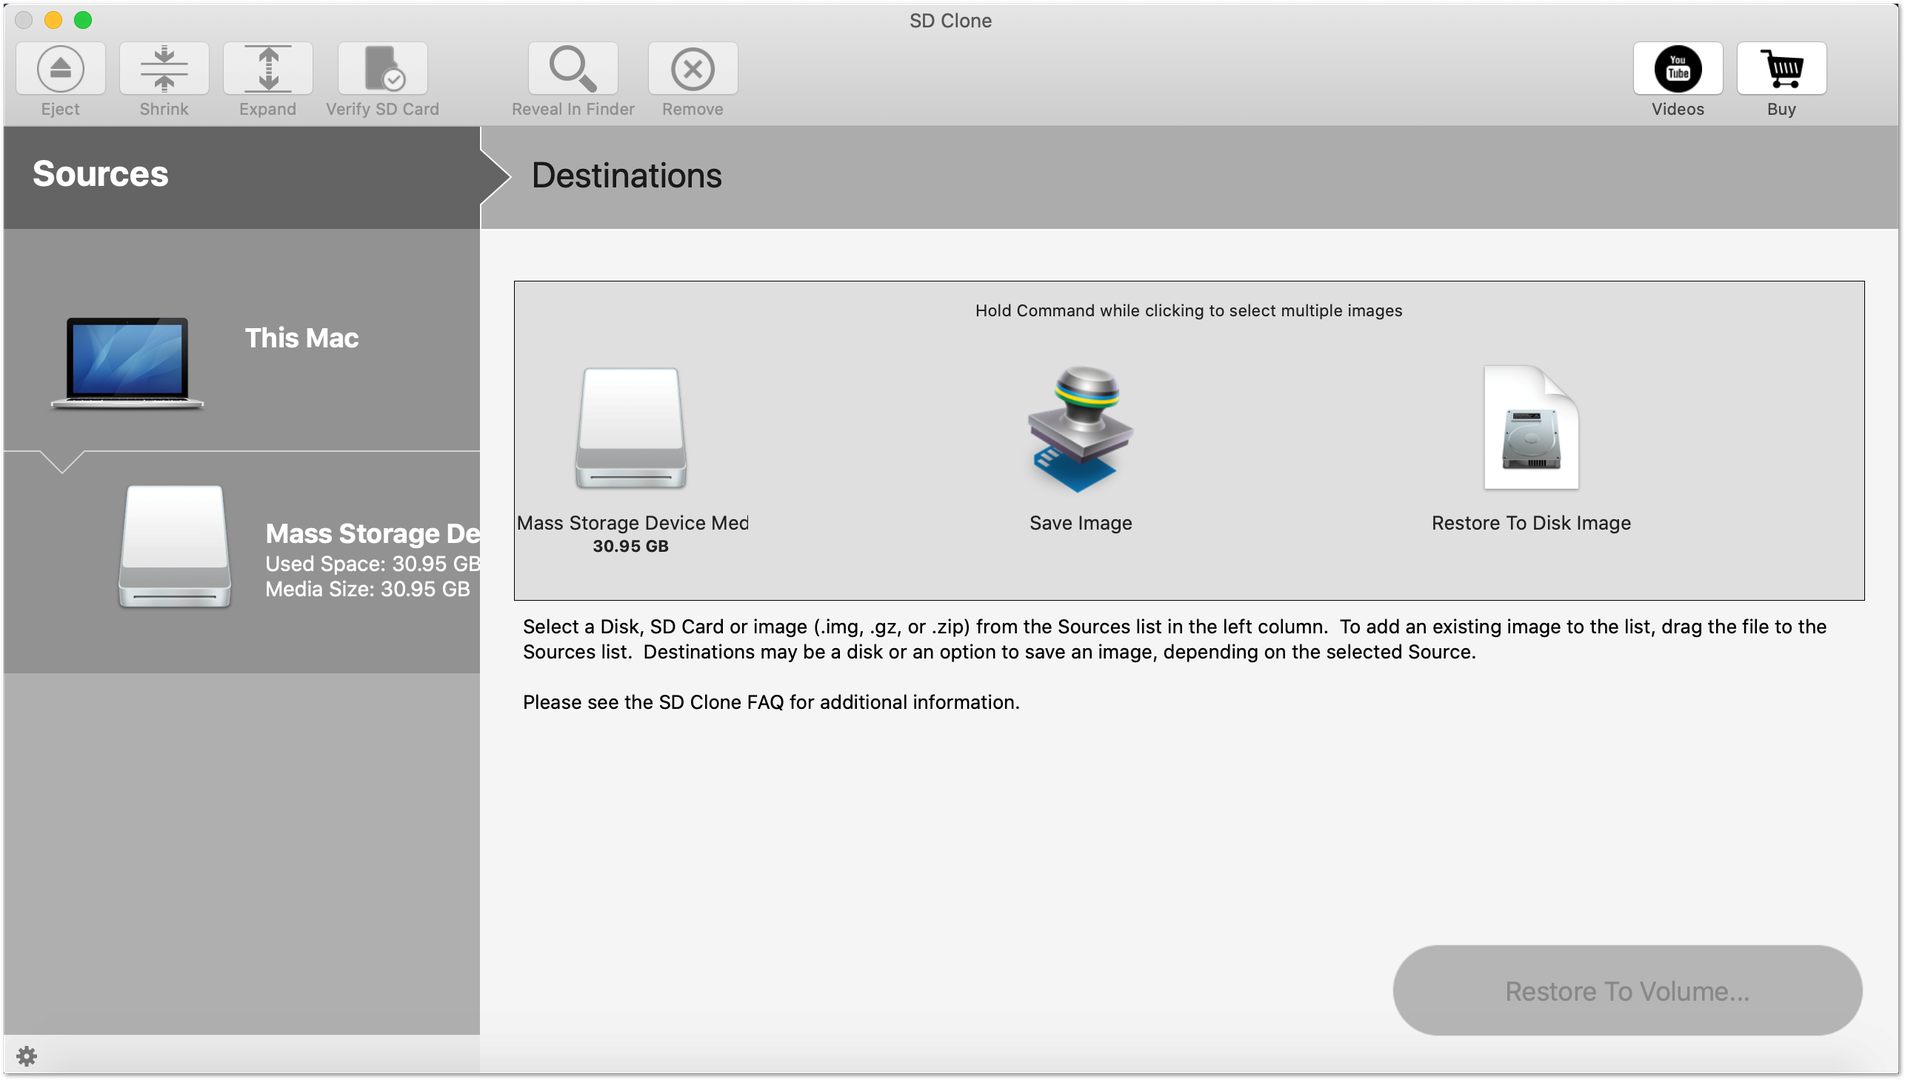 Figure 1: Allow SD Clone to Access Files
- Click the Save Image button, then click the Save Image... option.
 Figure 1: Save Image
- This will open a window where you can select the location to save your image. Once you click the blue Save button, the backup process will begin.
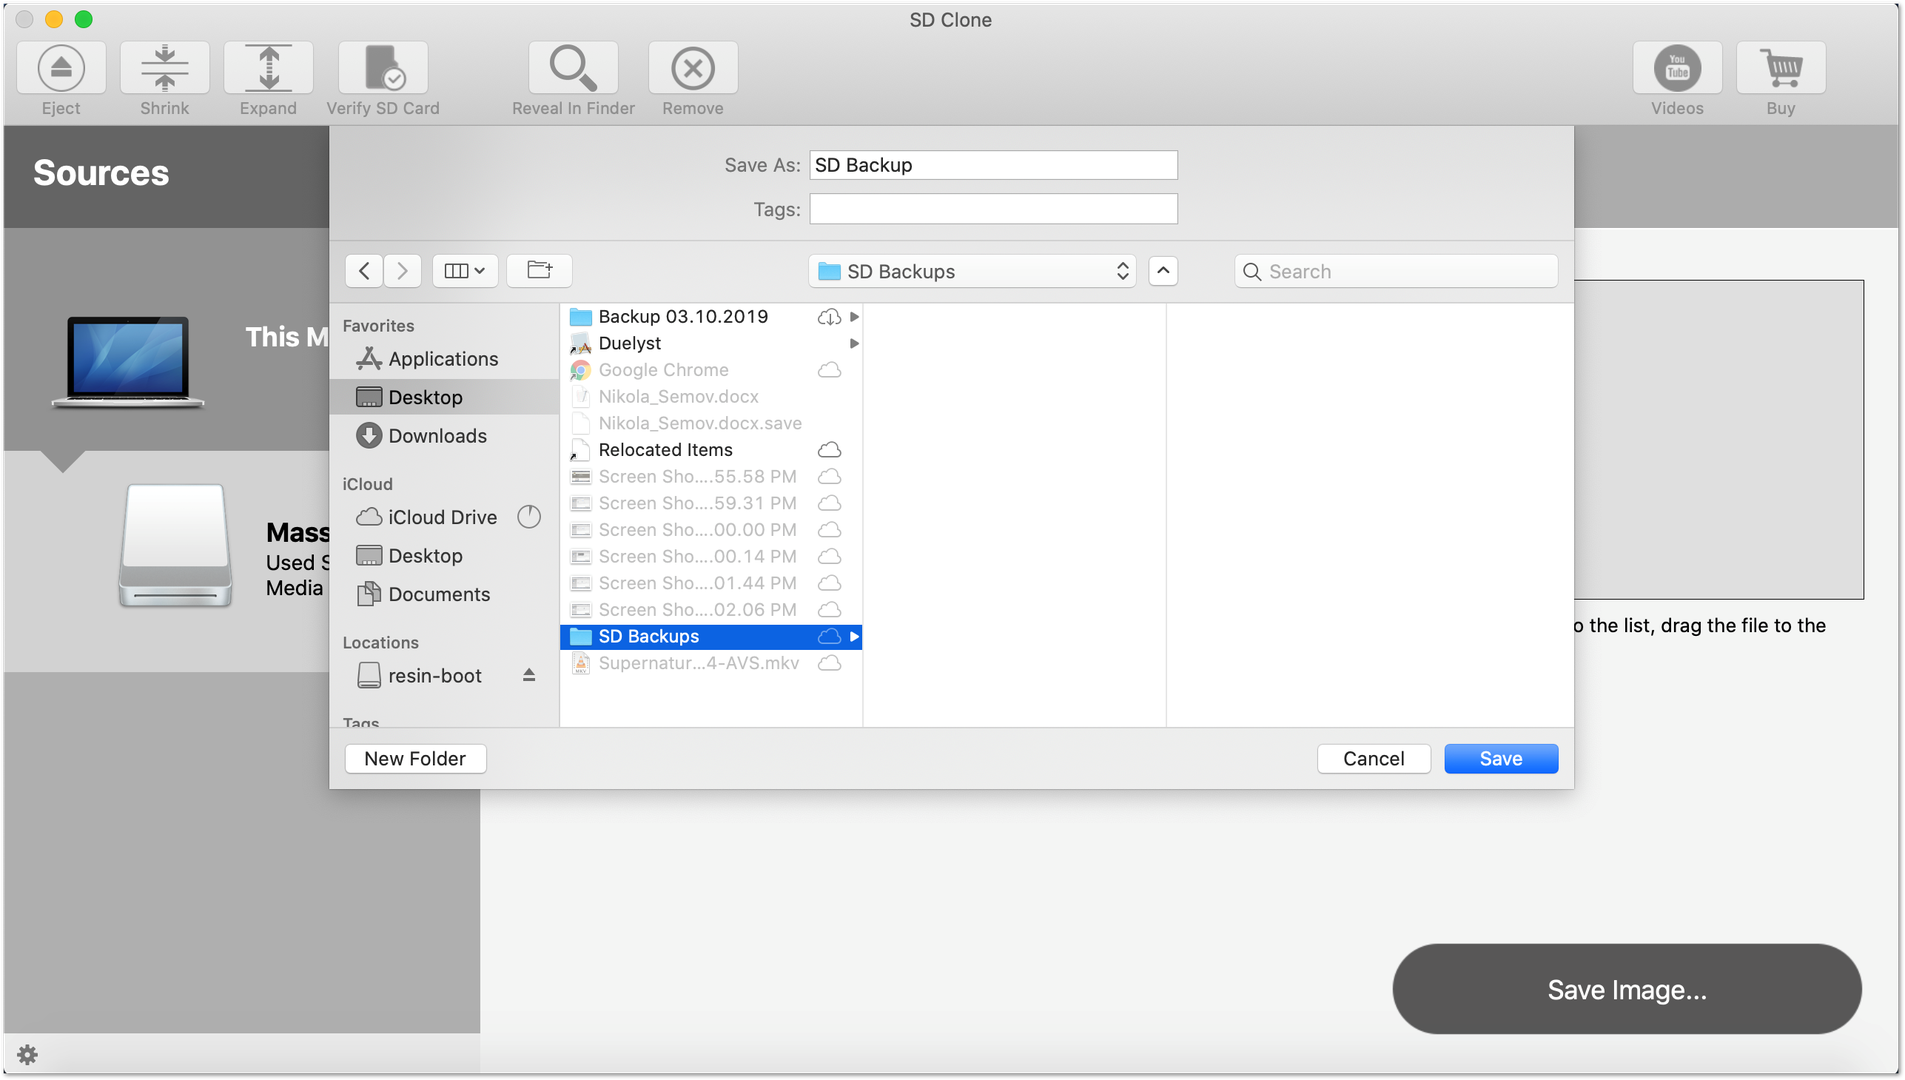 Figure 1: Select File Folder
- A bar will be displayed indicating the cloning progress in percentage.
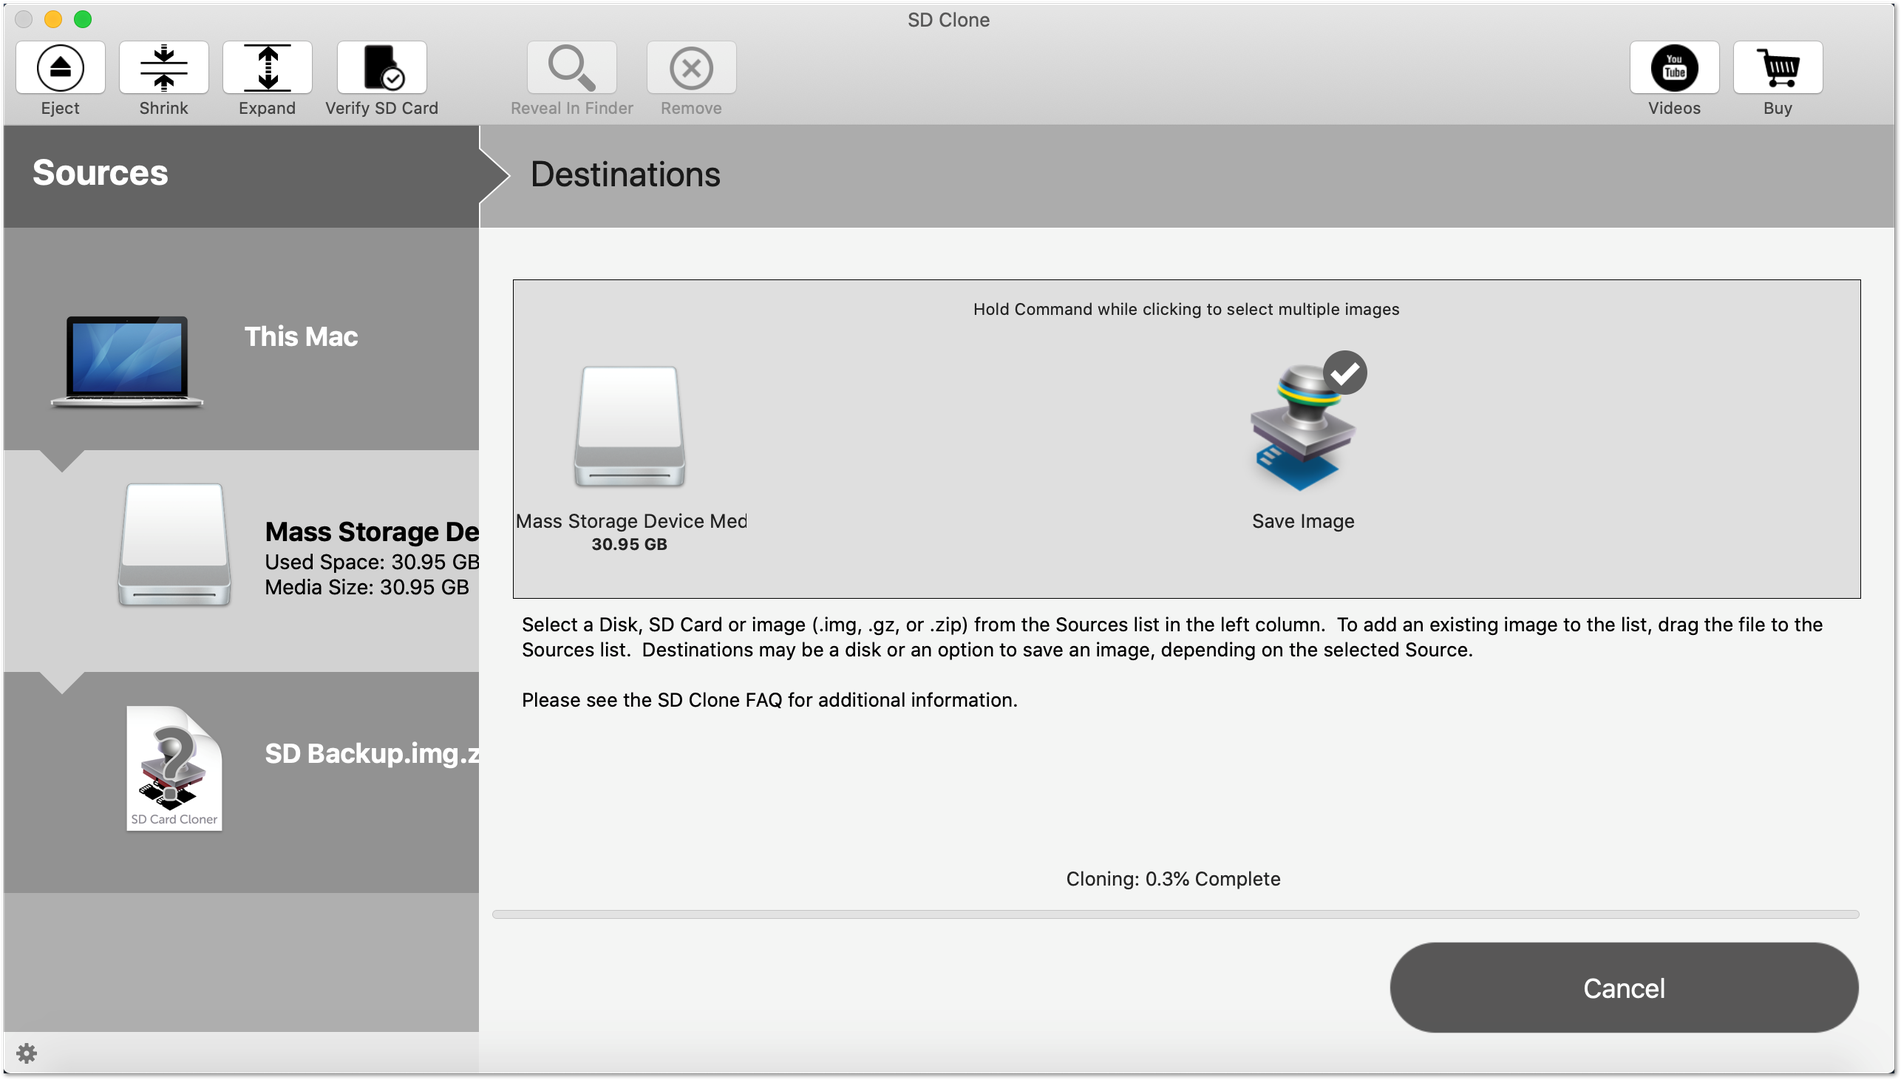 Figure 1: Ongoing Cloning Process
- A notification window will appear once the cloning process is complete. In this example, it took approximately 40 minutes to back up a 32 GB card containing a Helium Hotspot image.
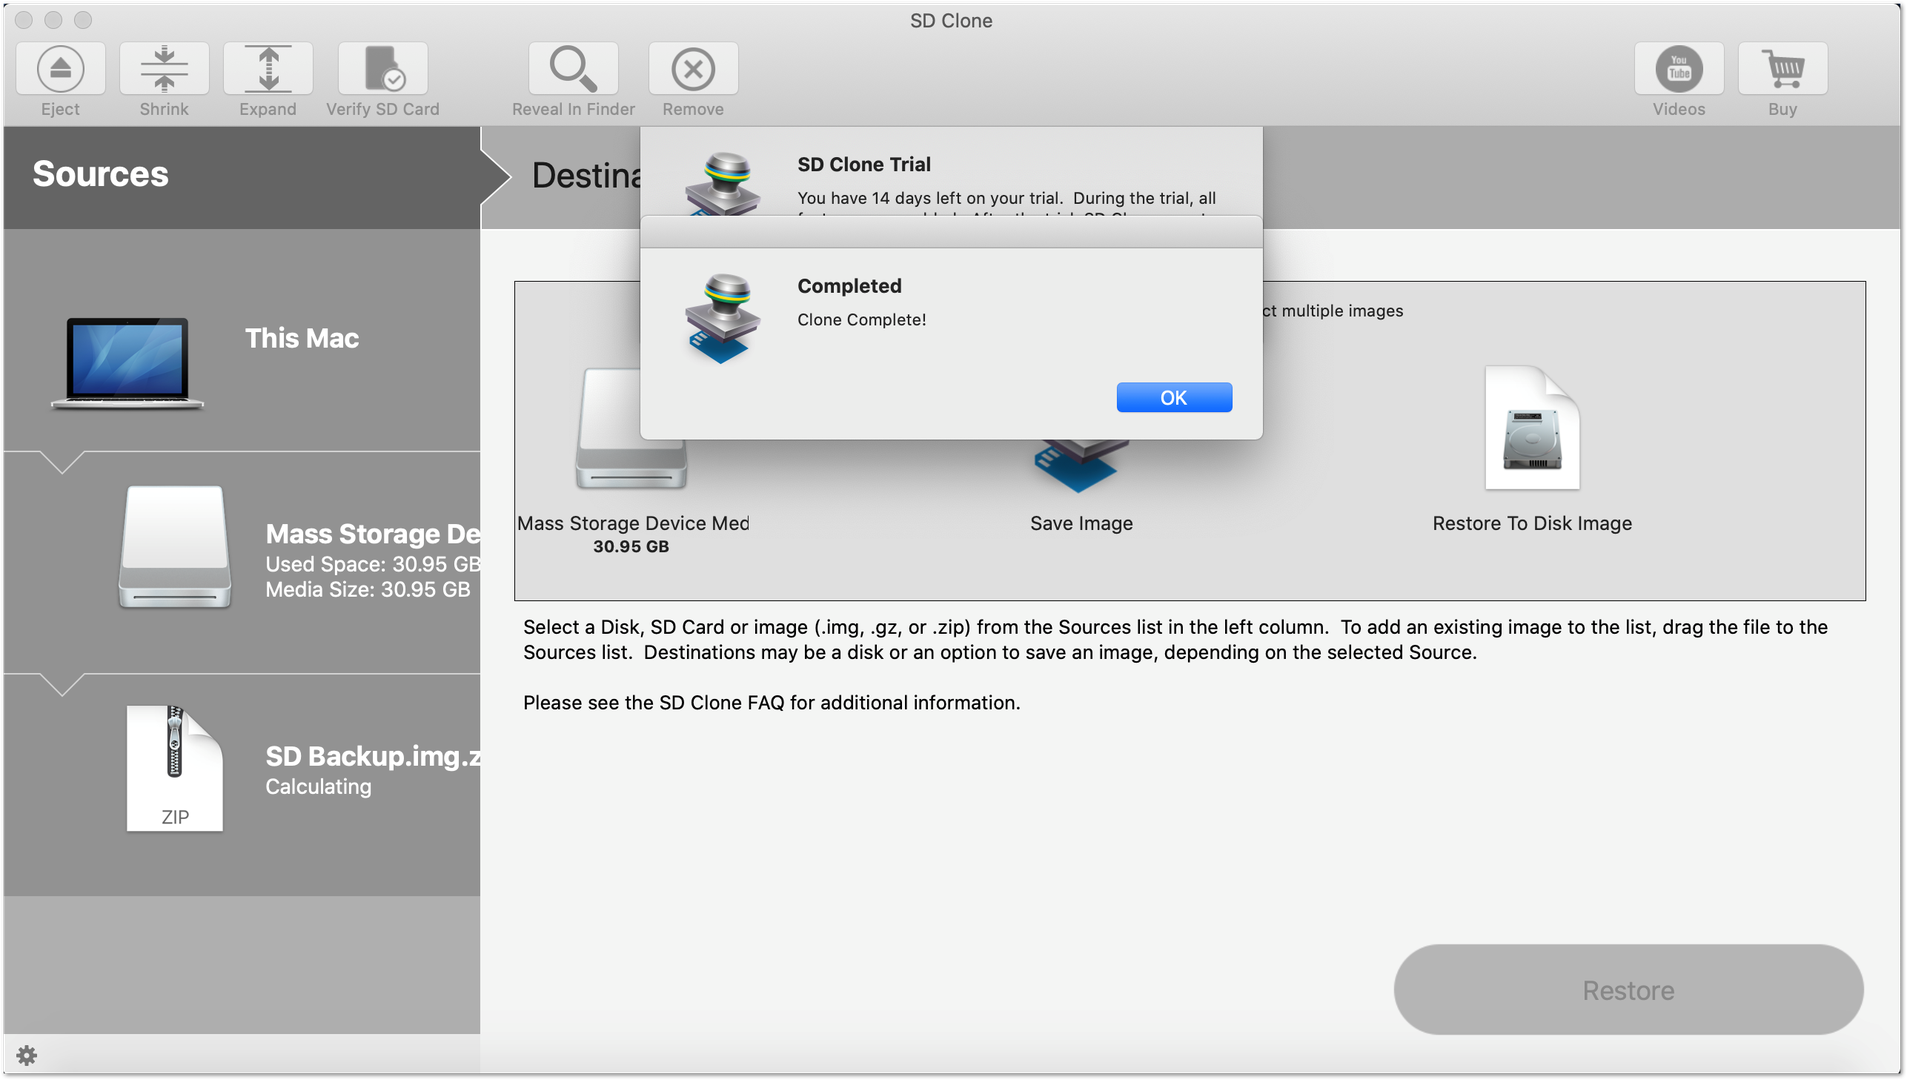 Figure 1: Clone Complete
Restoring Image
- If you want to restore an image, you must first select the storage drive.
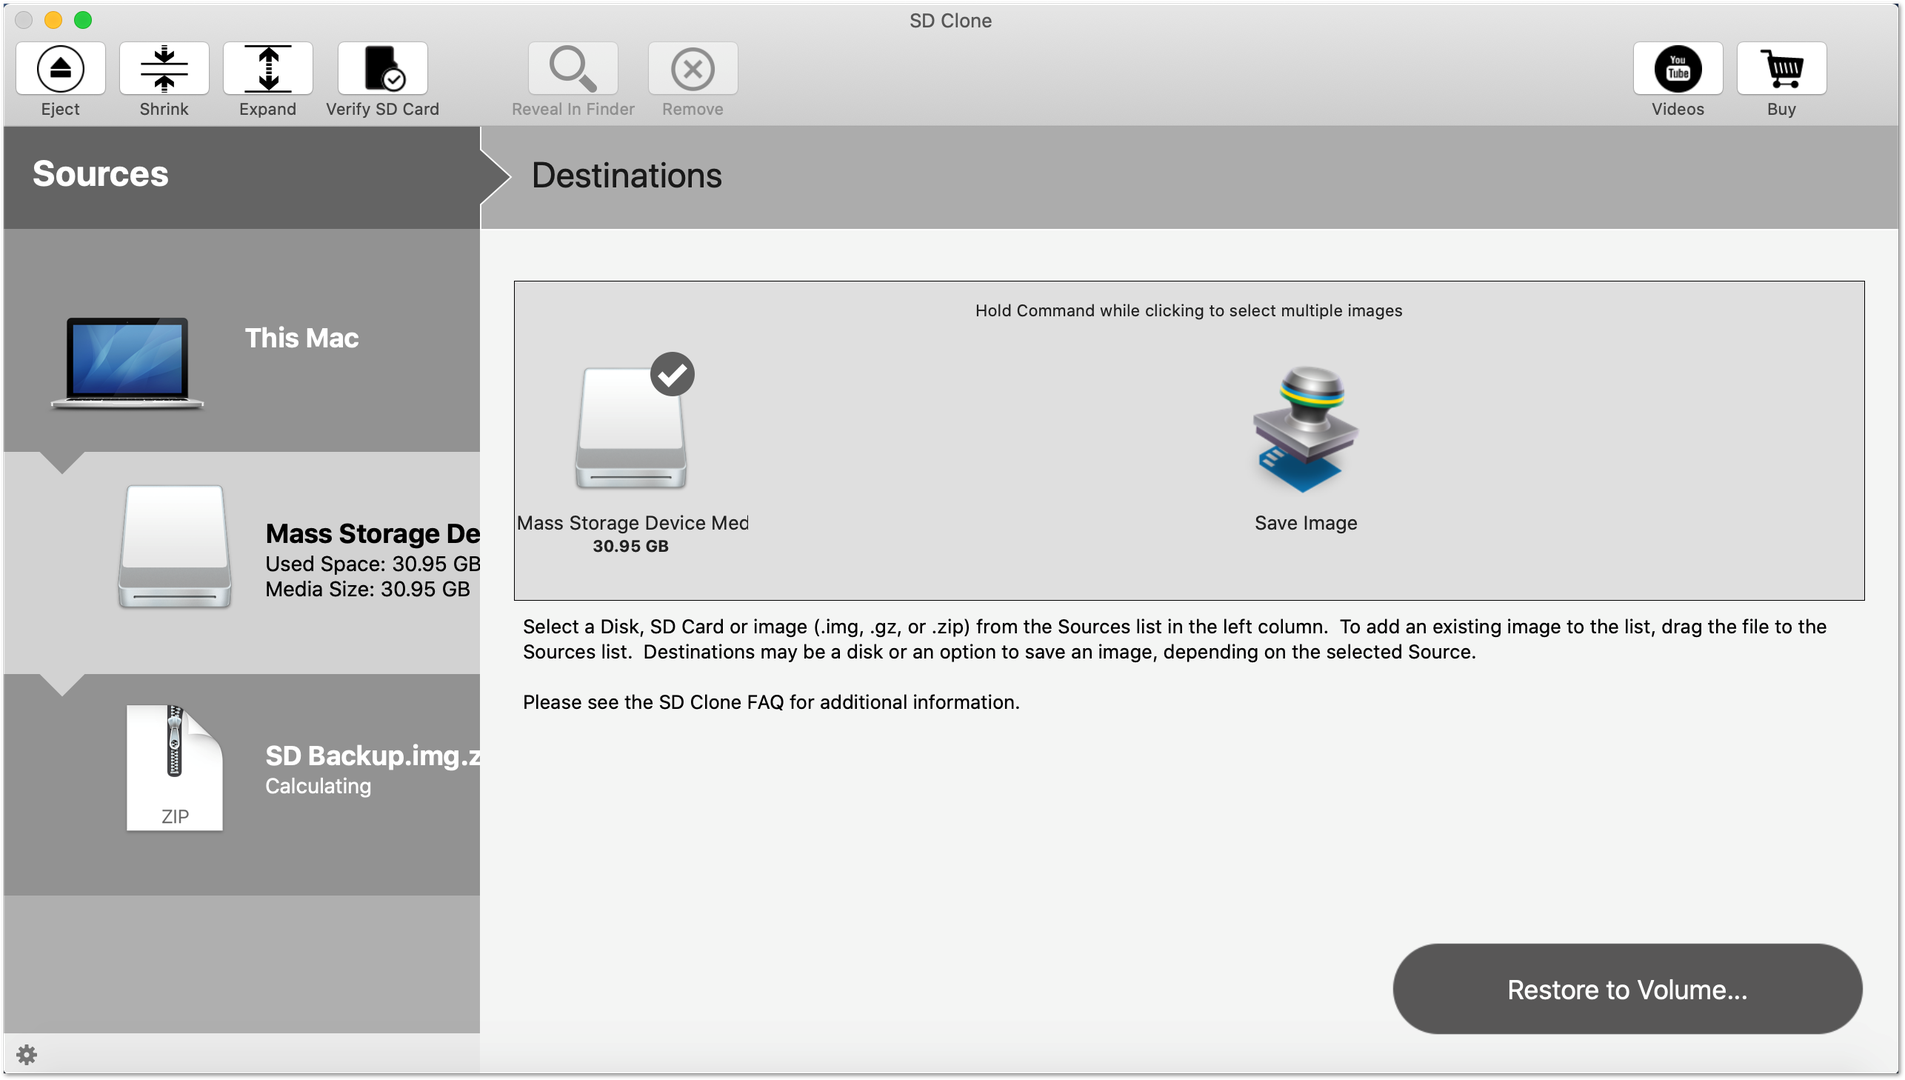 Figure 1: Select Storage Device
- Select the image in the side panel.
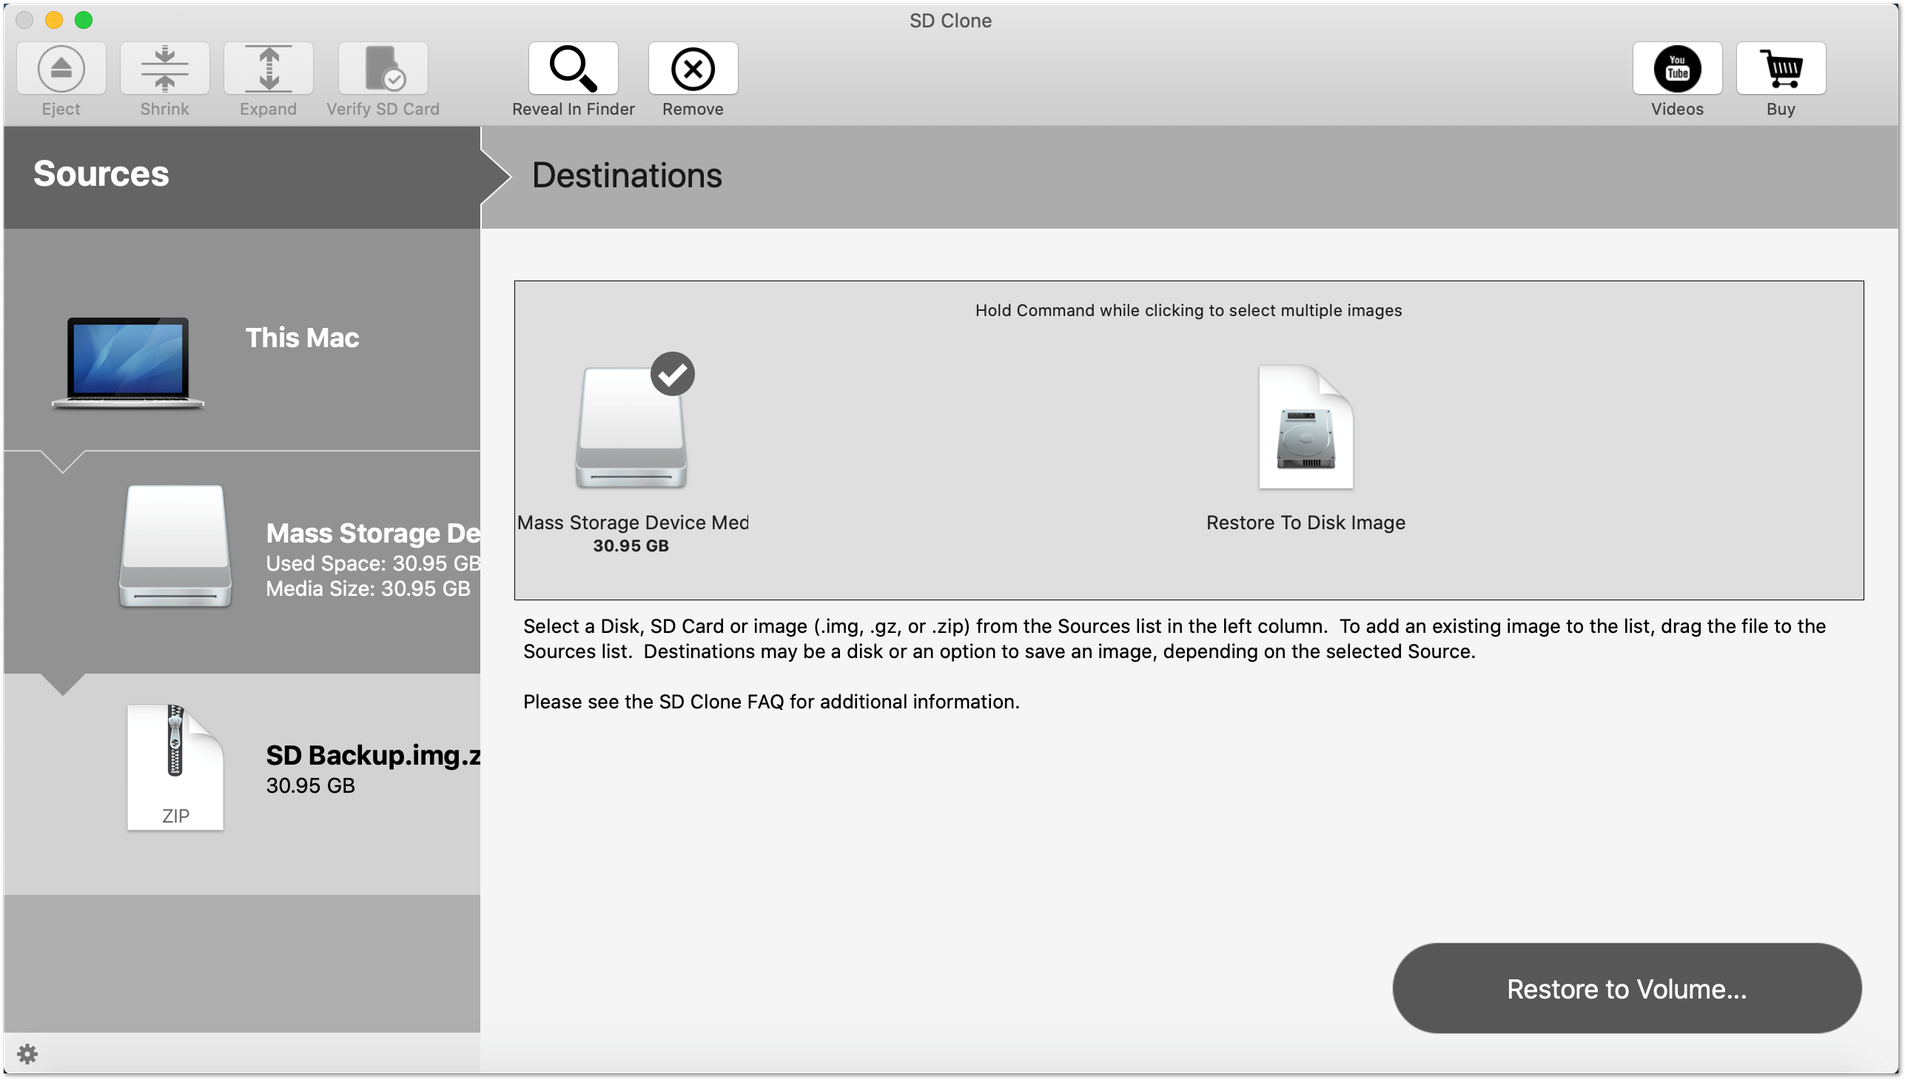 Figure 1: Select Image
- Press the Restore to Volume... button. In the new window, you will be asked to confirm one final time; click the Restore button to start the process.
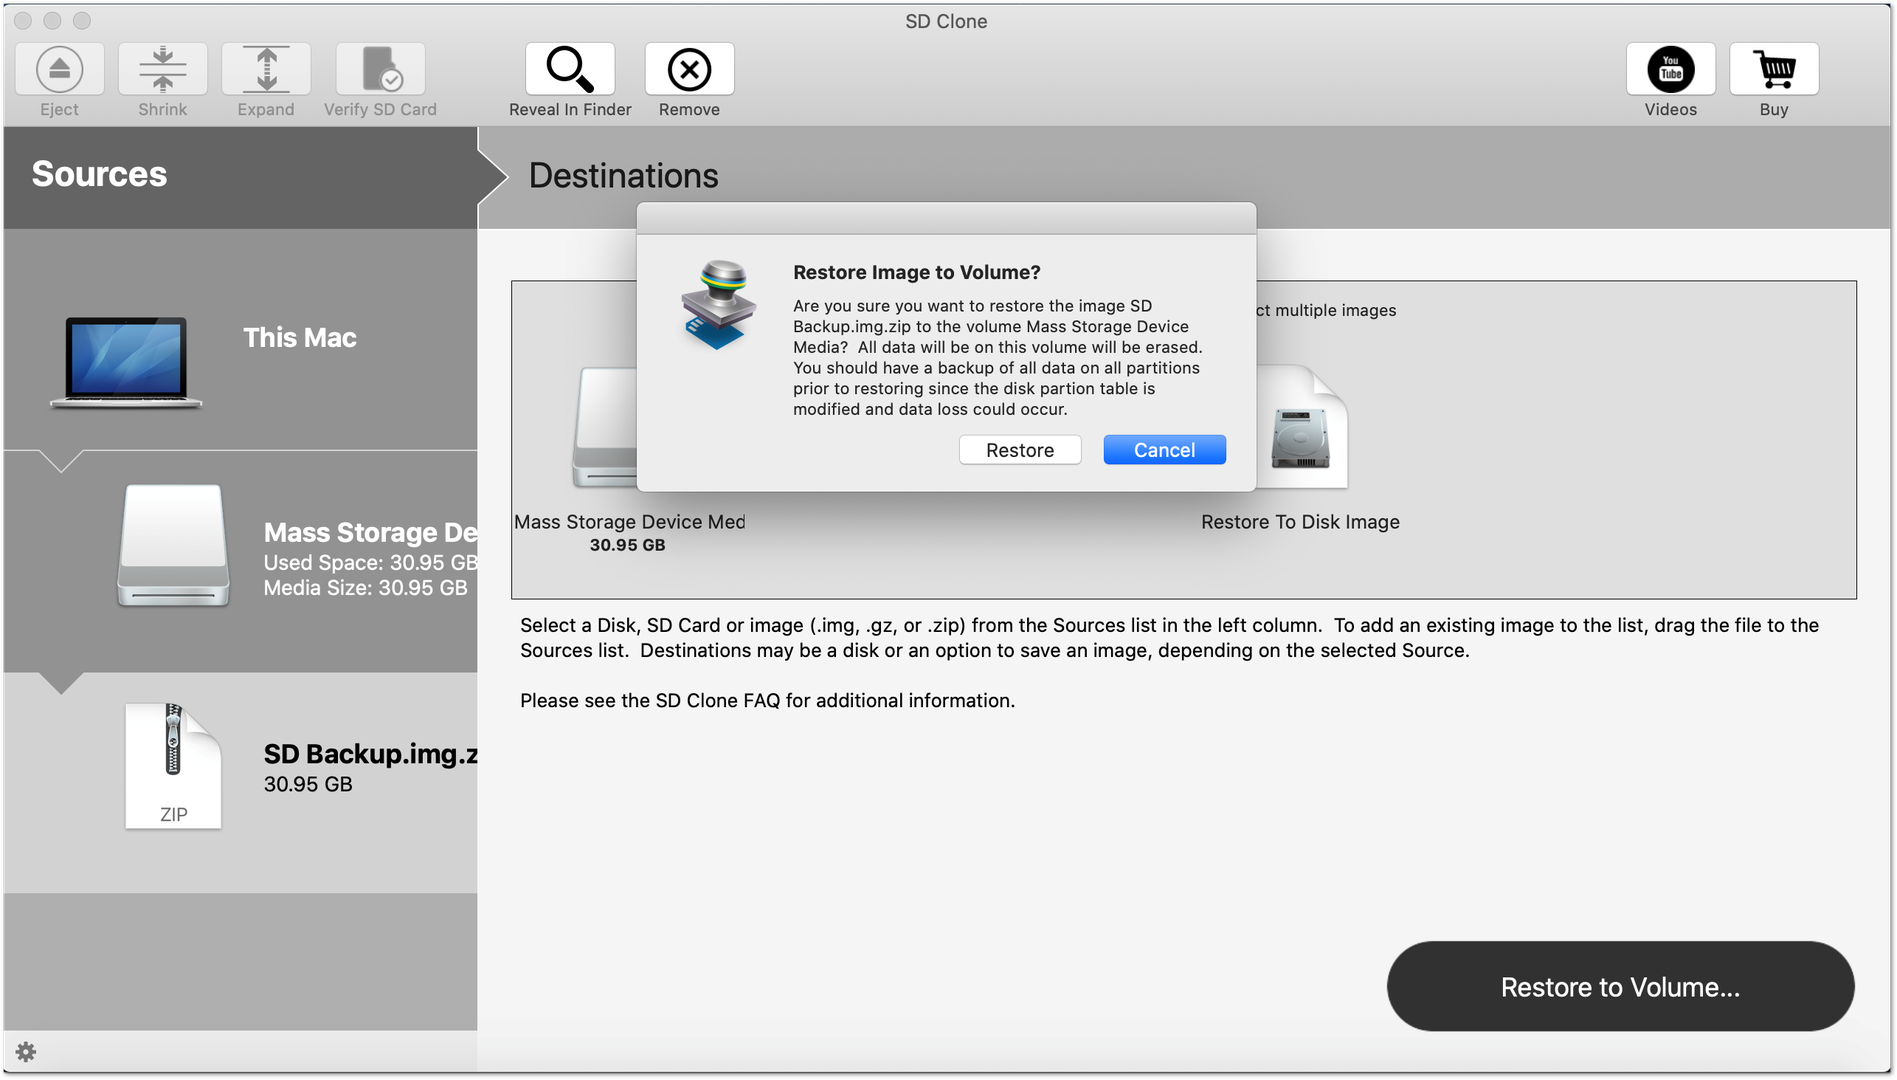 Figure 1: Restore Image to Volume
Win32 Disk Imager for Windows OS
-
Start by downloading Win32 Disk Imager. Unzip the archive and install it.
-
Once done, you should see the same window as shown in Figure 12. The interface is minimalistic and easy to use.
 Figure 1: Download Win32 Disk Imager
Image Backup
- Select the drive letter corresponding to the drive where your card is located. This is where the image will be copied from.
 Figure 1: Select Storage Device
- Provide the path to the file where the data will be backed up. You can do this either by entering it manually in the text box or by clicking the folder icon.
 Figure 1: Select Image File Path
- If you choose the second option, navigate to the desired location and enter a name in the text box. Make sure to add the .img extension to the file name, then click the Open button.
 Figure 1: Enter Image File Name
- Finally, with the path and filename set, start the backup process by clicking the Read button.
 Figure 1: Start the Backup Process
- The progress bar will start filling up, indicating the completion level of the process. The time required will vary depending on the size of your image and the card's speed.
 Figure 1: Ongoing Backup Process
Restore Image
The restoration procedure is even more streamlined than the backup.
- Select the drive you want to flash the backup file to. Make sure you have the correct drive letter.
 Figure 1: Select Storage Device
- Navigate to your file either via the folder button or directly enter the path in the text box.
 Figure 1: Select Image File Location
 Figure 1: Locate the Image File Path
- Confirm at the prompt with the Yes button.
 Figure 1: Start the Restoring Process
- You can monitor the progress using the bar. Simply wait for the process to complete.
 Figure 1: Ongoing Restoring Process