RAK2287 WisLink LPWAN Concentrator LoRaWAN Network Server Guide
This guide explains how to connect the RAK2287 WisLink LPWAN Concentrator setup to LoRaWAN Network Servers.
Connecting to The Things Network (TTN)
The Things Network facilitates the connection of low-power devices to long-range gateways, enabling them to join an open-source, decentralized network for data exchange with applications. You can learn more about The Things Network.
- Go to the TTN website and log in.
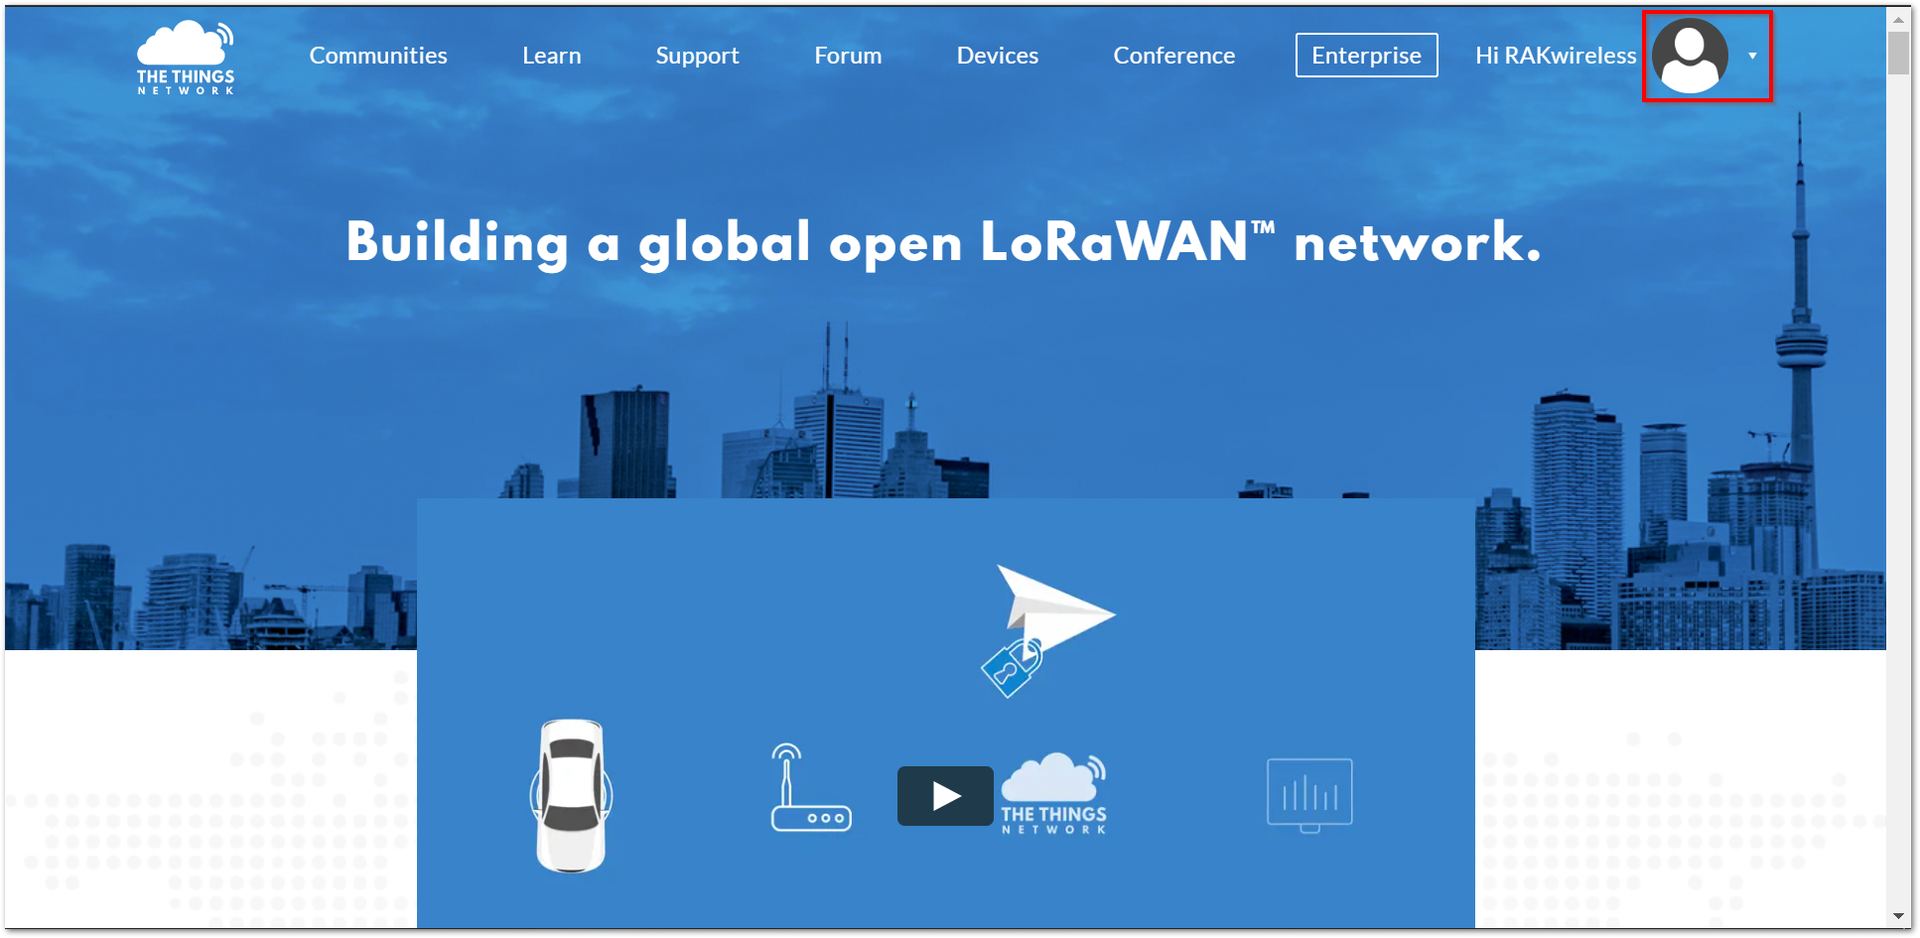 Figure 1: The Things Network Home Page
- Enter the TTN Console and click on Gateways.
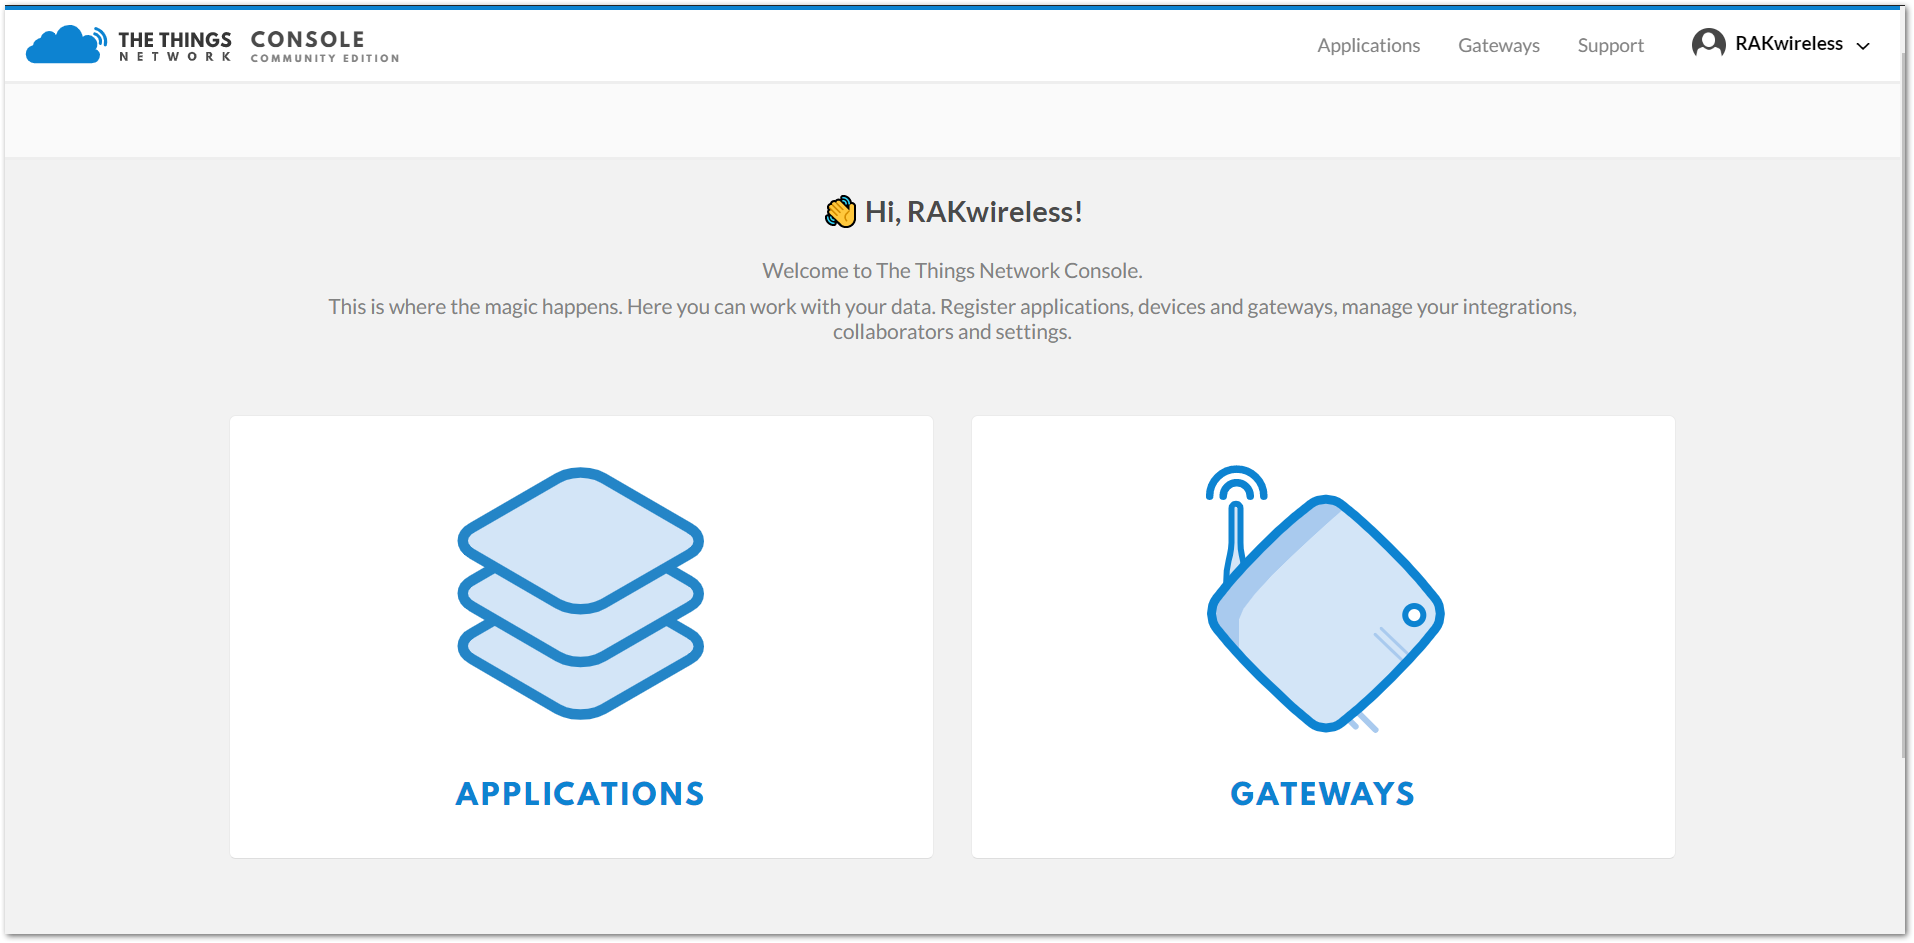 Figure 1: The Things Network Console Page
- All of your Registered Gateways will be displayed on this page. Click "register gateway"
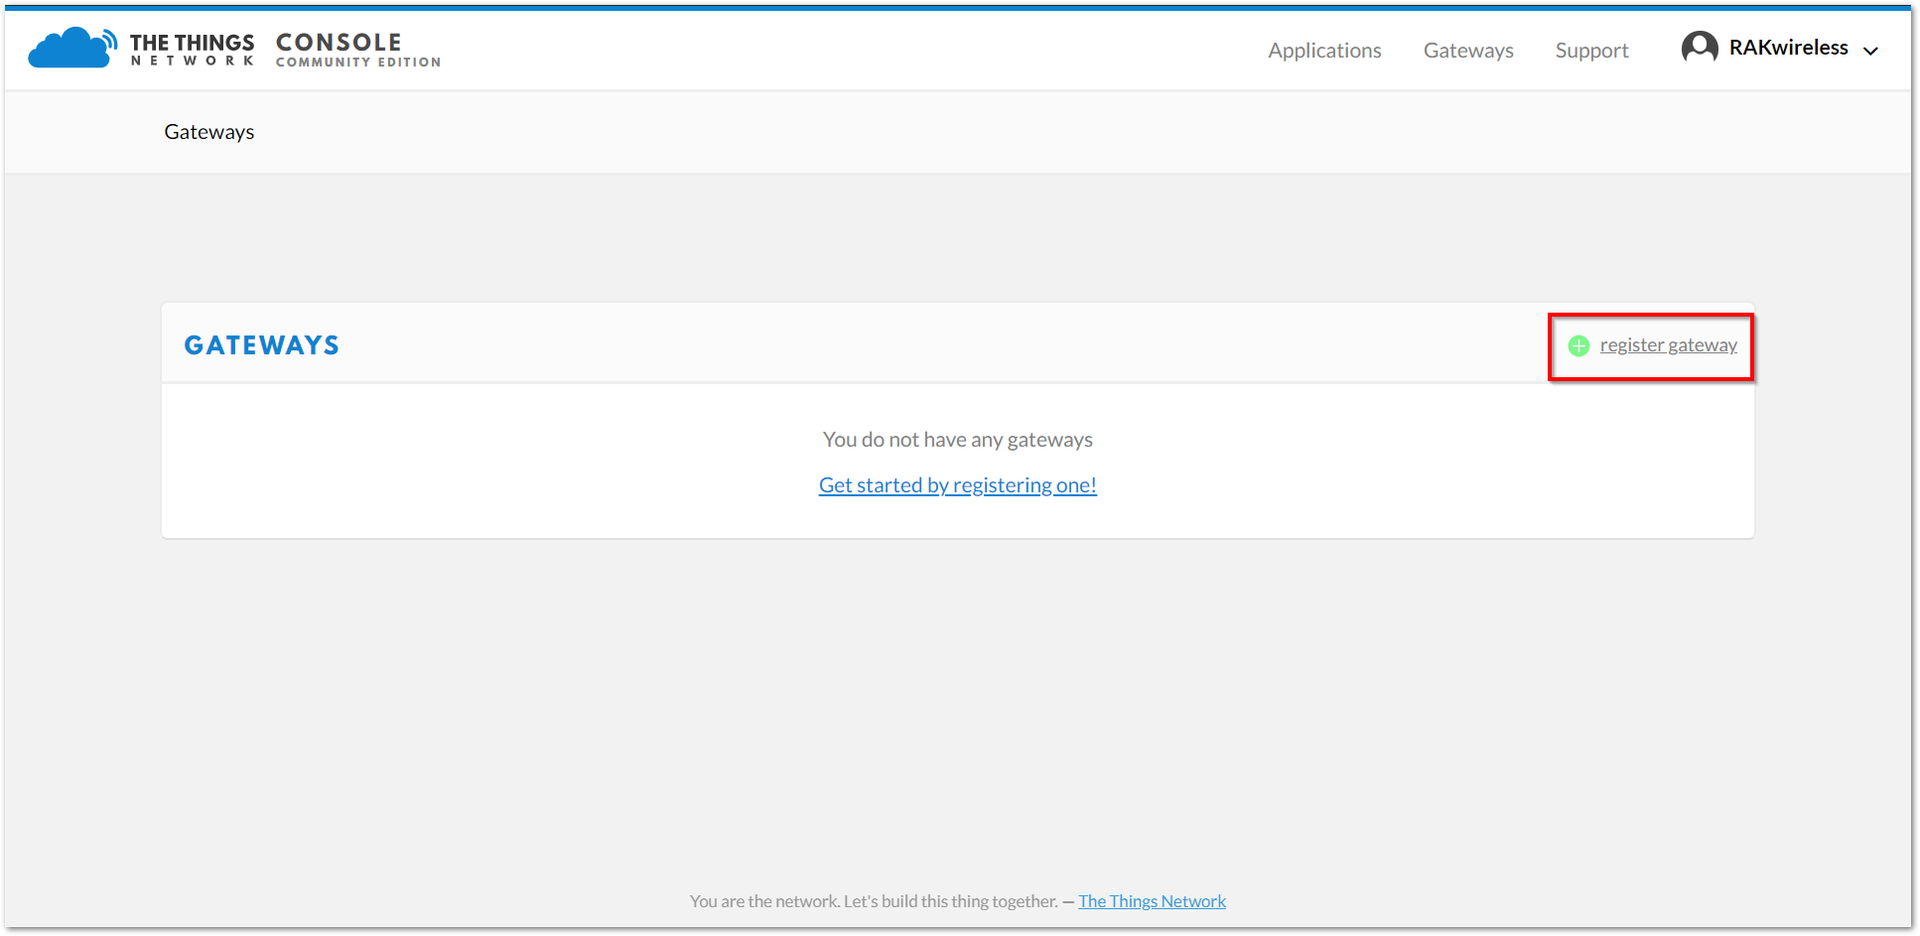 Figure 1: Adding a gateway to TTN
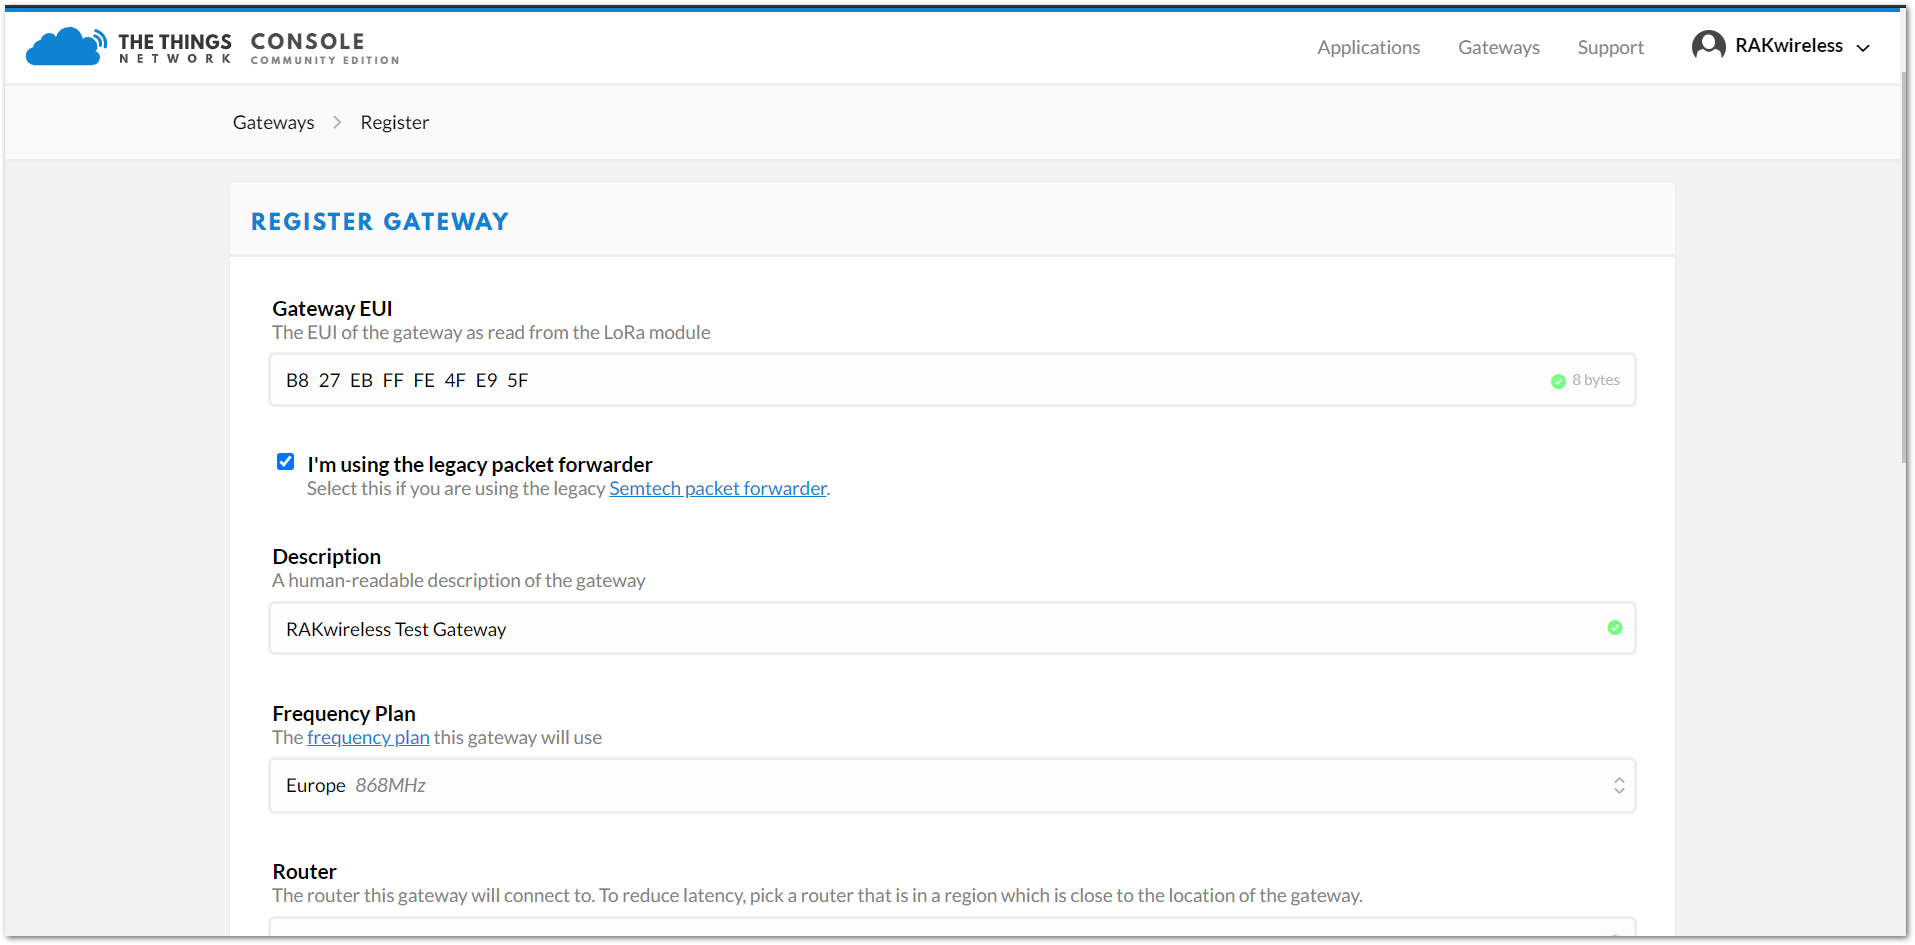 Figure 1: Registering your gateway
- Gateway EUI: Refers to the Gateway ID you obtained in the previous step. If you forgot it, simply type
gateway-versionin the command line. This ID must match the gateway's true Gateway ID; otherwise, you will not be able to register your gateway on TTN.
Make sure to select the I'm using the legacy packet forwarder check box.
- Description: Provide a human-readable description of your gateway.
- Frequency Plan: Select the frequency plan that you want to use, ensuring it matches the frequency of both the gateway and the node.
- Router: Choose the router your gateway will connect to. To minimize latency, select a router located near the gateway.
- Location: Enter the coordinates of the gateway's location. This information will be displayed on the Gateway World Map.
- Antenna Placement: Specify the placement of your antenna, whether it is indoors or outdoors.
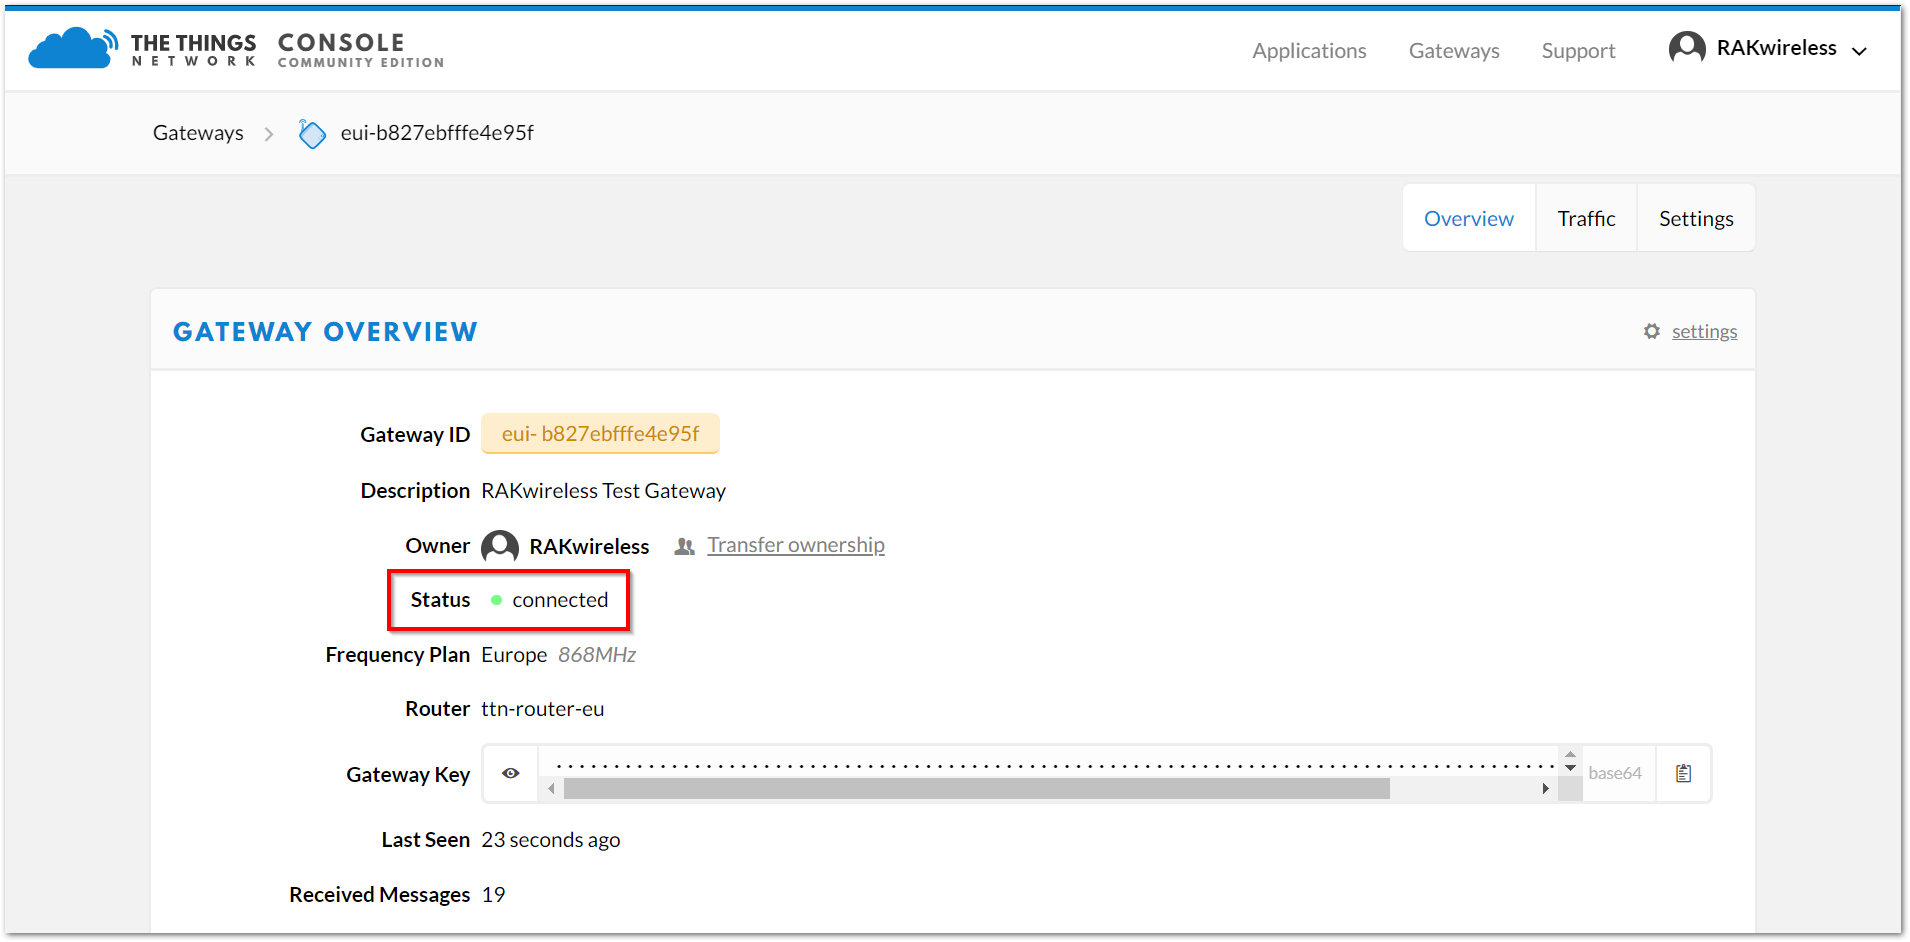 Figure 1: Gateway overview
- Click Register Gateway and wait for a few minutes. If the status of your gateway shows as Connected, your setup is successful.
Connect the Gateway with ChirpStack
The ChirpStack or previously known as the LoRaServer project provides open-source components for building LoRaWAN networks. Learn more about ChirpStack on the website.
For the RAKwireless Developer Gateways, there are 2 ways to use the ChirpStack:
Using the Built-in ChirpStack
There is a built-in ChirpStack in every RAK Developer Gateway if you use the latest firmware.
- When you use it for the first time after burning the latest firmware, the gateway will work in the EU868 Band and use the built-in ChirpStack as its default LoRa server. If you don't want to change the frequency or LoRa server, you don't have to do anything as this will be configured automatically when the gateway boots.
- However, if it is not the first time and you want to use the built-in ChirpStack as the LoRa Server, follow the steps discussed in the Configuring the Gateway section.
- Optional: If ever you disabled the AP Mode and you have connected it to your own WiFi network (Client Mode). You can search for your gateway’s IP address via Advanced IP Scanner. Copy the IP address of your gateway, it should have the Manufacturer name of Raspberry Pi Foundation:
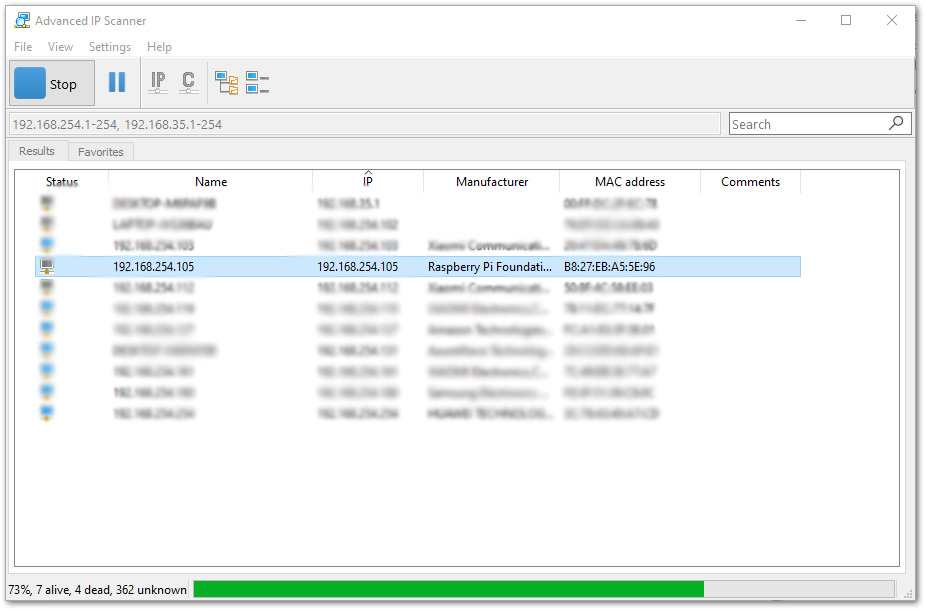 Figure 1: IP address of your LPWAN Gateway using IP Scanner
There is a web-based UI that comes with the ChirpStack instance. Simply open a browser and enter the following credentials:
- Browser Address: "Gateway IP address:8080" (Example:
http://192.168.254.176:8080) - Username: admin
- Password: admin
It is advisable to change your password to tighten the security of your account. You can change this by clicking the change password button at the user icon.
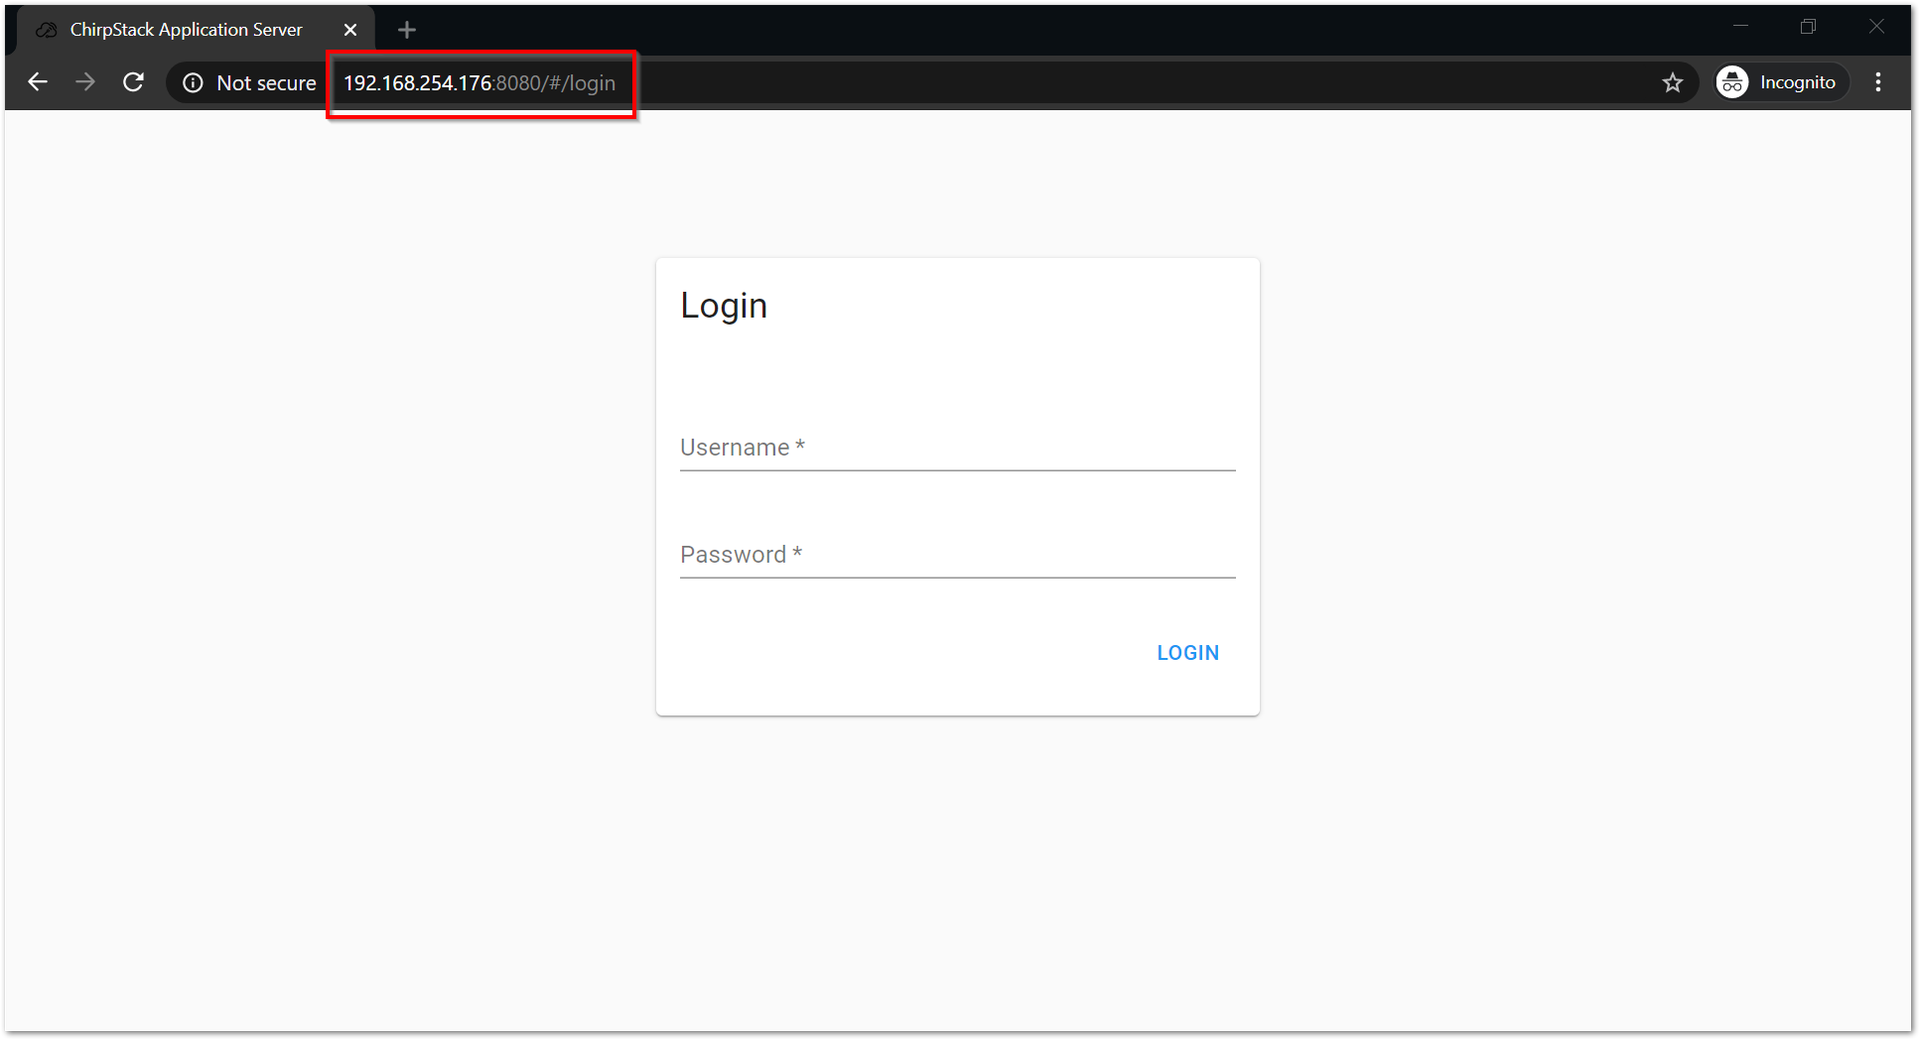 Figure 1: ChirpStack web-based UI
- If you navigate to the Gateways tab and click on rak_gateway, you should be able to view the gateway details page.
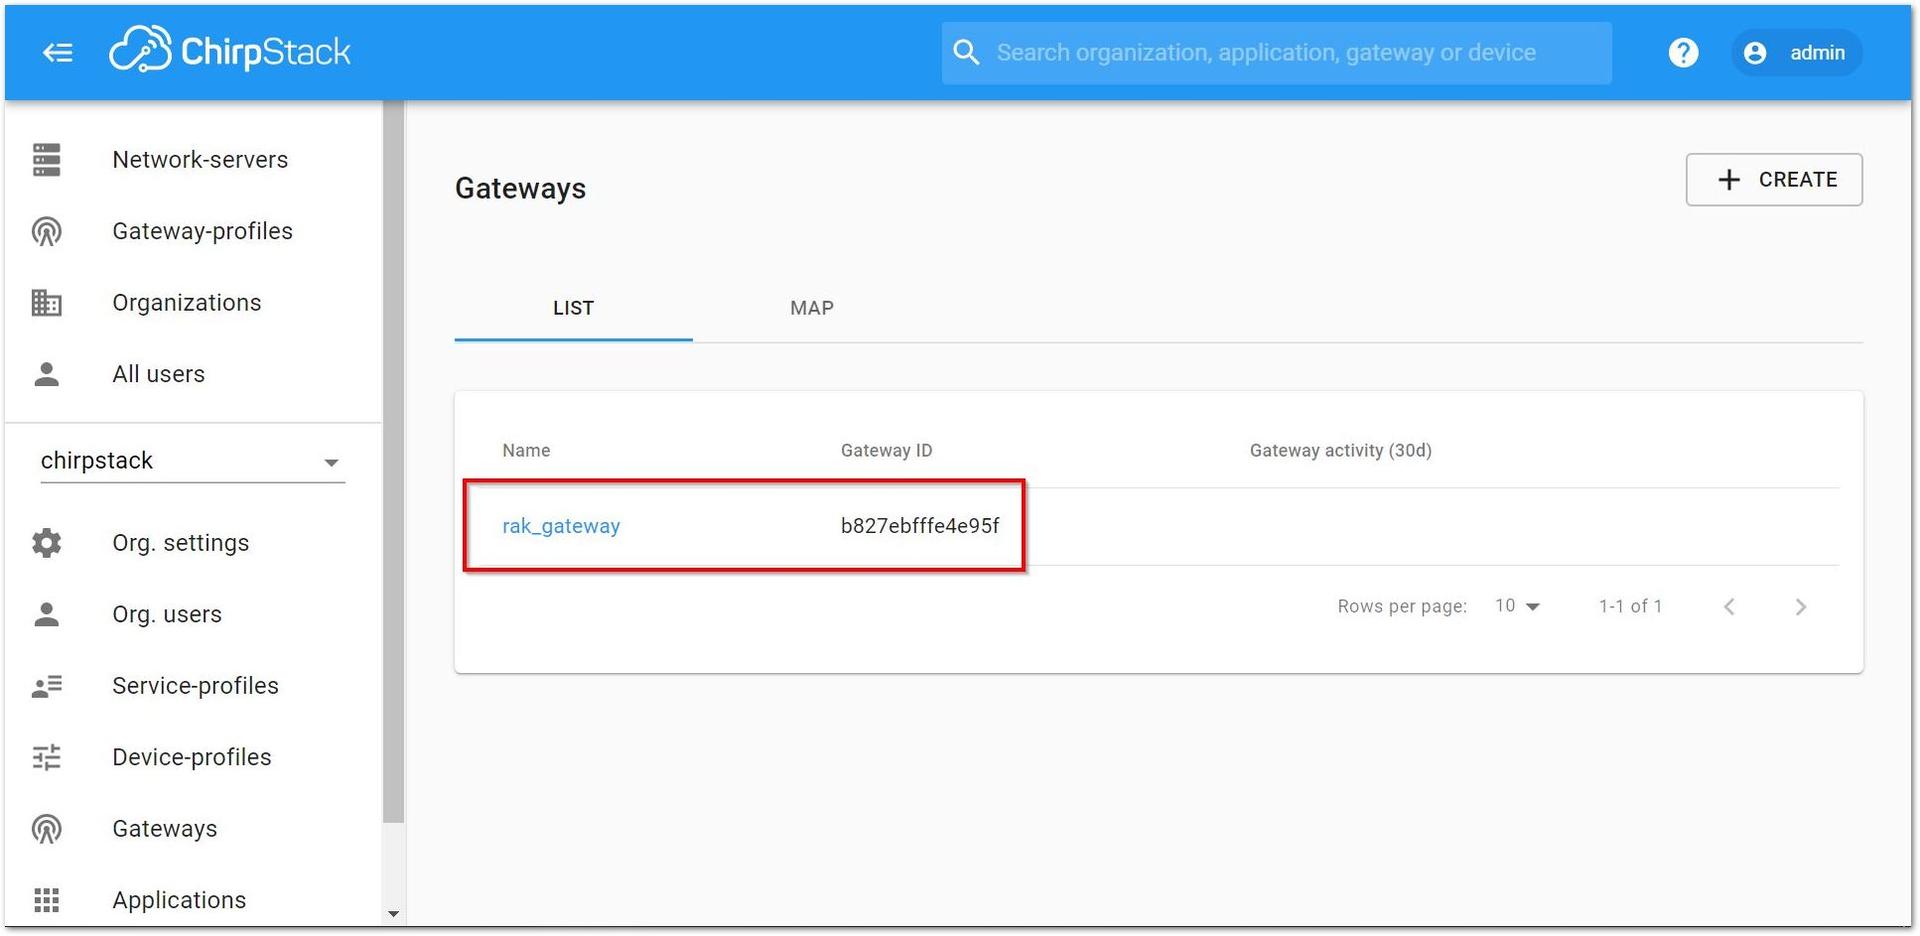 Figure 1: Available gateways in Chirpstack
- Go to the
rak_gatewayand see the Last seen status. It must be a few seconds ago which signifies that the gateway is visible in the ChirpStack server.
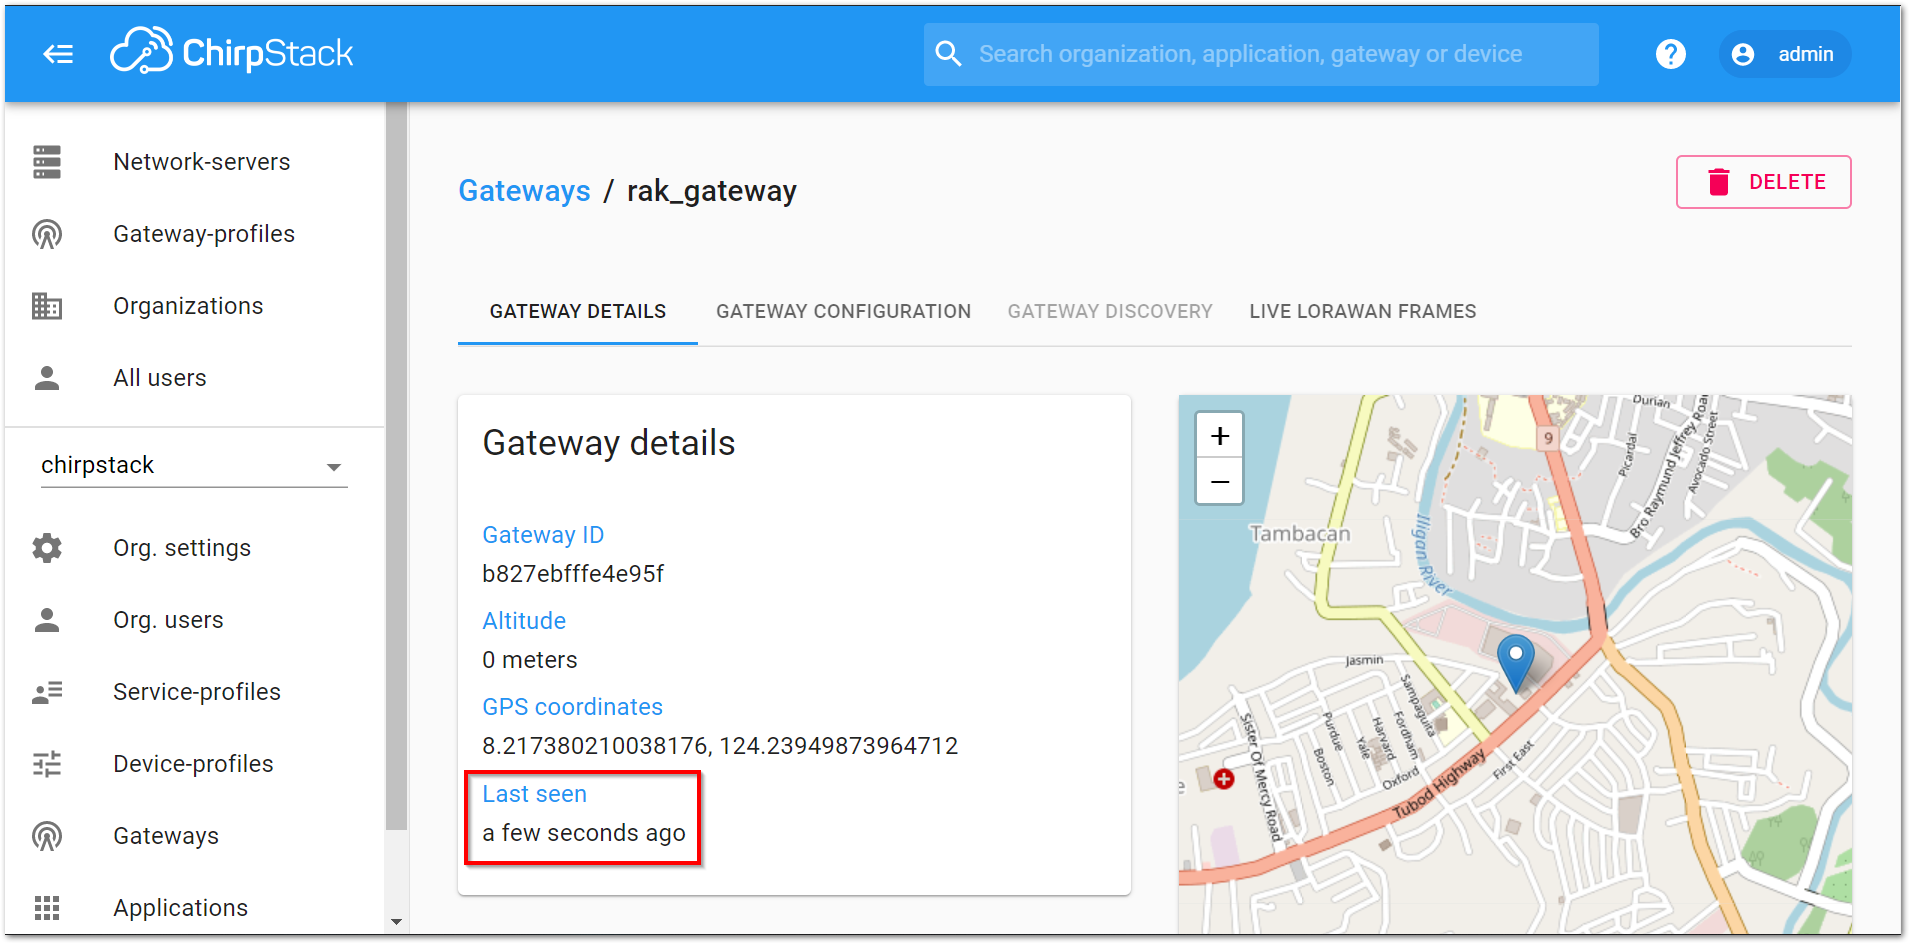 Figure 1: Last Seen Status
Using an Independent ChirpStack
You can set up an independent ChirpStack by yourself. Although this process is more complex than deploying a remote ChirpStack, ChirpStack provides a detailed guide on how to accomplish this. You can find the guide on their website.


