RAK7248 Gateway Configuration
This guide explains additional configuration options for the RAK7248 WisGate Developer D4H Gateway after completing the Quick Start Guide.
Optional Configuration
The configurations in this section are only optional and situational.
Reverting to Wi-Fi AP Mode
If you have entered either or both incorrect Wi-Fi SSID and Password in the Wi-Fi Client Mode setup for the RAK7248 WisGate Developer D4H Gateway to connect to the router, follow this set of steps to work again in Wi-Fi AP Mode and redo the setup.
- Remove the SD Card from your RAK7248 WisGate Developer D4H Gateway and insert it into your PC. Your PC should be able to detect it the same way as on the image below:
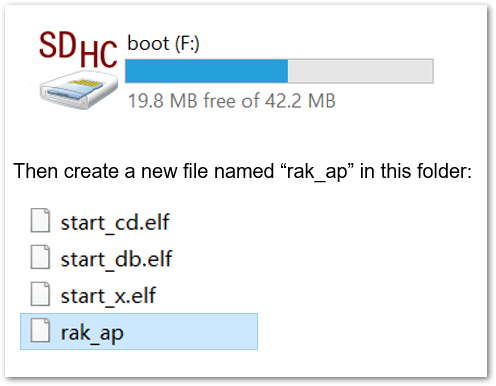 Figure 1: Creating rak_ap file to your SD Card
- Using your Command Prompt or Terminal, navigate to your SD Card and type the following command to generate the rak_ap file.
cd > rak_ap
- Check if the rak_ap file is created successfully. If so, re-insert the SD Card into your RAK7248 WisGate Developer D4H Gateway, and it should work again in Wi-Fi AP Mode.
Configuring the Gateway
If you have successfully logged into your gateway using SSH, enter the following command in the command line:
sudo gateway-config
You will see the following page:
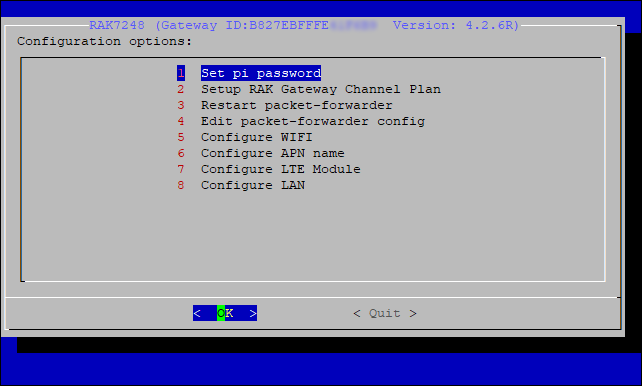 Figure 1: Configuration options for the gateway
- Set pi password: To set/ change the password of the gateway.
- Set up RAK Gateway Channel Plan: To configure the frequency, which the gateway will operate on, and the LoRaWAN Server which the gateway will work with.
- Restart packet-forwarder: To restart the LoRa packet forwarder.
- Edit packet-forwarder config: To open the
global_conf.jsonfile, to edit LoRaWAN parameters manually. - Configure WIFI: To configure Wi-Fi settings in order to connect to a network.
- Configure LAN: To configure the Ethernet adapter settings.
A unique ID will be generated for the gateway. This is also called gateway EUI, and it is essential for registering the gateway with any LoRaWAN Network Server (TTN & ChirpStack).
There is yet another way to get your Gateway ID, by just entering the following command in the command line.
sudo gateway-version
When generating the ID by using the command, you will see the following:
 Figure 1: Gateway ID using the command line
Setting a New Password for the Gateway
It is a good security practice to change the default password Raspberry Pi which is the same for all Raspberry Pi devices.
- First, choose 1 Set pi password option referred to on the image below.
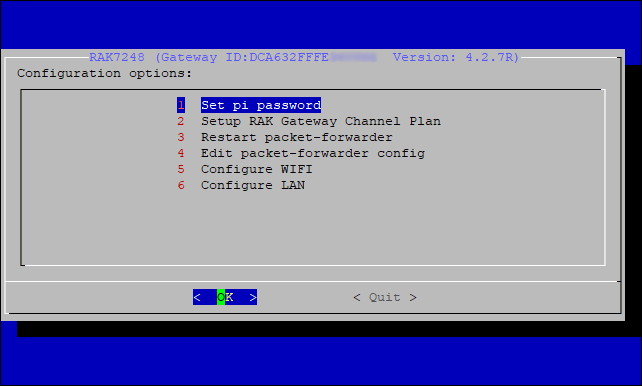 Figure 1: Set Pi password
- Next, press Yes, and you will be asked to enter your new password twice then click Enter.
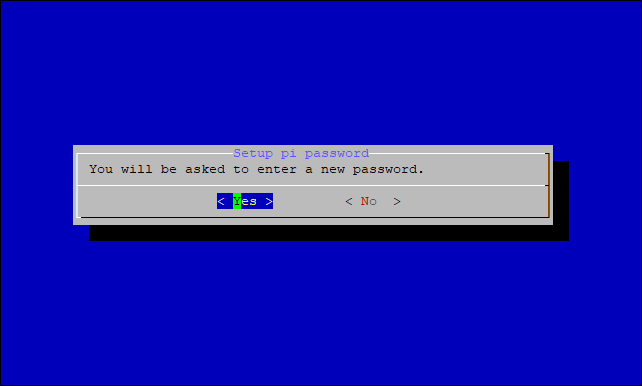 Figure 1: Confirm password change
- The success message for changing the password will then pop up.
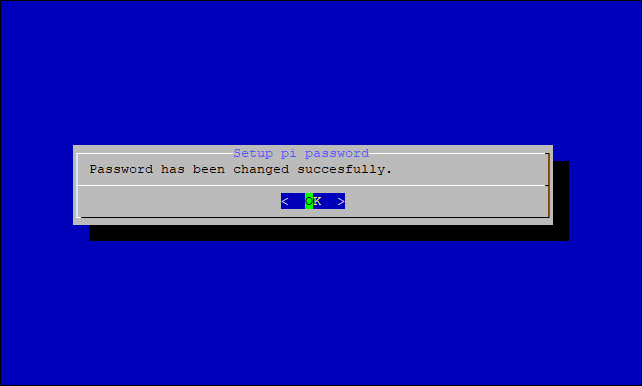 Figure 1: Successful password change
Setup RAK Gateway Channel Plan
This menu allows you to select your LoRa frequency band and one of the two available Networks Server options by choosing 2 Setup RAK Gateway Channel Plan.
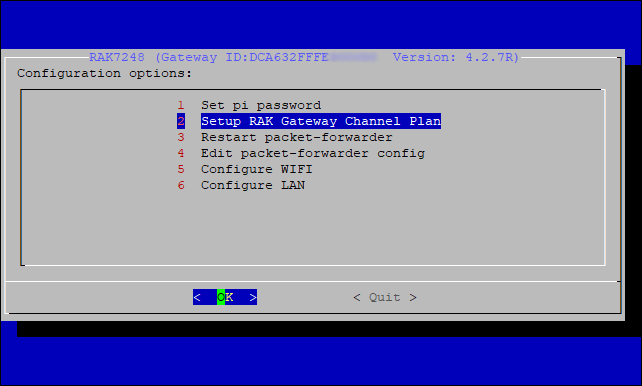 Figure 1: Choosing Setup RAK Gateway Channel Plan
You can choose one of two supported LoRa Servers: TTN or ChirpStack.
Server is TTN
If you want to use the ChirpStack for your Network server, head to the next section: Server is ChirpStack.
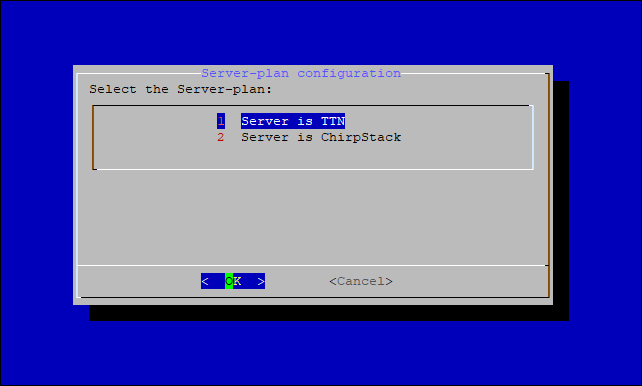 Figure 1: Server is TTN
If you choose TTN as the LoRa Server, you will see the page. Visit the LoRa Alliance Regional Parameter for more information on your local frequency plan. This will allow you to choose the correct plan.
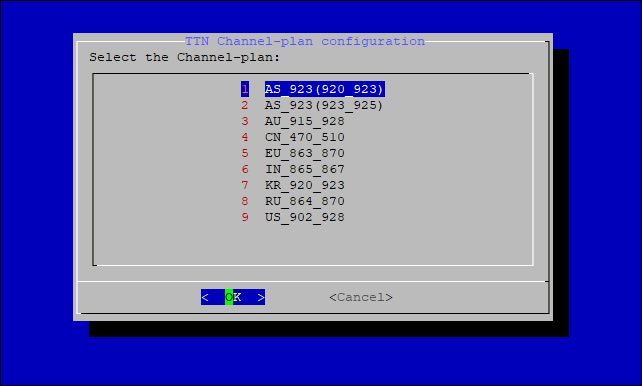 Figure 1: Selecting the TTN channel plan
After choosing the correct frequency, the success message will appear.
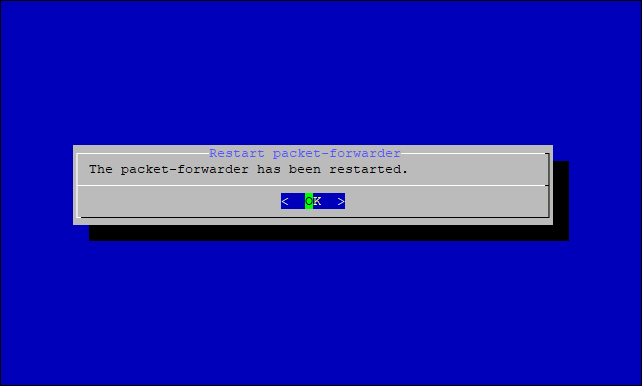 Figure 1: Selecting the TTN channel plan
-
When a Channel plan is selected, the gateway is configured to connect to the nearest cluster to the region. If new clusters are presented, the channel plans will be updated. For now, the only available clusters are:
- eu1.cloud.thethings.network (European)
- au1.cloud.thethings.network (Australian)
- nam1.cloud.thethings.network (North American)
-
If you want to use another cluster, you can change the server address by selecting 4 Edit packet-forwarder config.
-
If you want to use TTN for the LoRa Network server, you can skip the If the Server is ChirpStack section and head to registering the gateway in TTN.
Server is ChirpStack
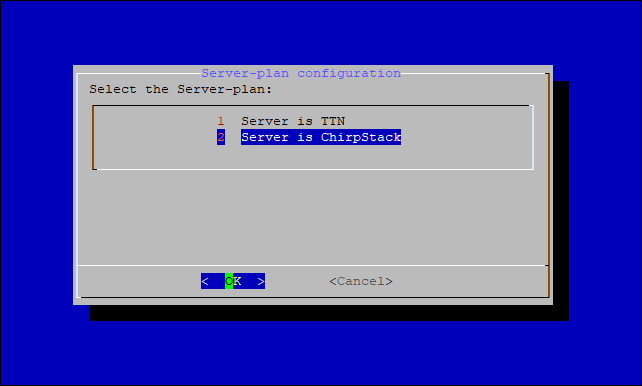 Figure 1: Server is ChirpStack
If you choose ChirpStack as your LoRa Server, you will see the following page with two options available:
- ChirpStack Channel Plan Configuration: To configure your Regional Frequency Band.
- ChirpStack ADR Configure: To enable/disable the Adaptive Data Rate (ADR) functionality.
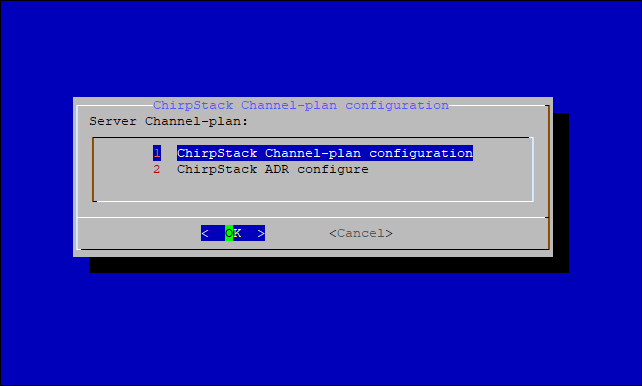 Figure 1: Configure ChirpStack channel plan
Select 1 ChirpStack Channel-plan configuration for configuring your frequency channel. Then, set the IP address of the ChirpStack.
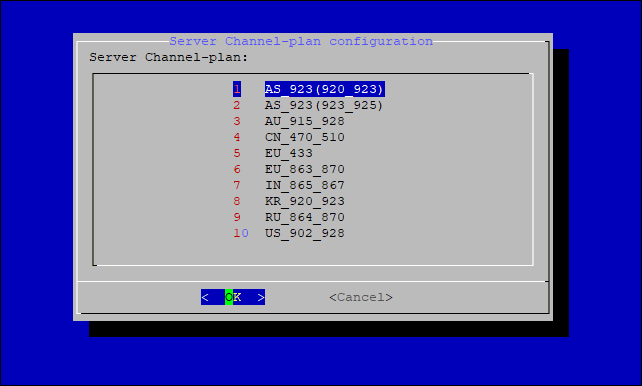 Figure 1: Regional Frequency Band Option
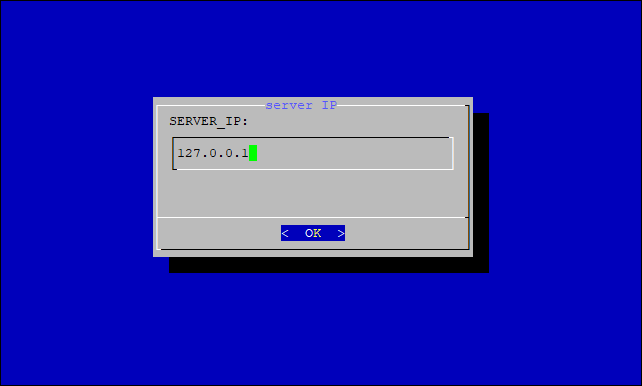 Figure 1: Default ChirpStack IP Address
- The default IP Address is
127.0.0.1. The latest firmware/GitHub repository installs ChirpStack on the Raspberry Pi.
-
If you want to use an external ChirpStack, you need to set it to its IP Address.
-
If you have selected ChirpStack ADR Configure instead, you can enable/disable the Adaptive Data Rate (ADR) functionality:
 Figure 1: ChirpStack ADR Enable/Disable
 -
If you want to use ChirpStack for the LoRa Network server, you can head to registering the gateway in ChirpStack.


