
WisMesh Station Quick Start Guide
Prerequisites
- WisMesh Station (standard version or high power version)
- DC power adapter
- Ethernet cable (optional, for wired setup)
- Computer or phone for configuration or Meshtastic Web Interface access
About the Firmware
The stock image (or firmware) that comes with the WisMesh Station is built based on RAKPiOS with Docker removed for a smaller image size, and meshtasticd pre-installed. You can find the source code on GitHub.
If you decide to use the standard Raspberry Pi OS image instead, you can flash the SD card and then manually install the meshtasticd package.
Follow the Meshtastic official installation guide for your distribution.
After installing meshtasticd, you need to add the following content to /boot/firmware/config.txt so that the EEPROM chip on the RAK6421 can be recognized by the Raspberry Pi:
dtparam=i2c_vc=on
dtoverlay=i2c0
Then reboot the device.
For more detailed information about the EEPROM chip, including the HAT+ background and how to flash the EEPROM, refer to the RAK6421 Pi HAT EEPROM Flashing Guide.
Product Configuration
Step 1. Power Up & Connect
Wired Setup: By default, the firmware runs in DHCP client mode, so you should be able to connect it to your router via one of the Ethernet ports and simply look up the IP address it is assigned in your router.
Wireless Setup: If Ethernet is not available, simply power on the station without connecting a cable. When the station has no network connection (neither Ethernet nor Wi-Fi), it will bring up a temporary Configuration AP for initial setup.
Plug in the DC power adapter to supply power to the station.
Step 2. Connect to the Configuration AP
The station provides a Configuration AP, temporary Wi-Fi hotspot used solely for initial setup. This AP only appears when the station has no network connection (no Ethernet cable connected and no Wi-Fi client connection). Once you configure the station to join your network, the Configuration AP will no longer be broadcast.
The Configuration AP uses the SSID RAK_XXXX (where XXXX are the last four digits of the device's MAC address).
On your computer or phone, find and connect to the Configuration AP (RAK_XXXX).
- Password:
rakwireless
On Windows 10/11 The Wi-Fi connection dialog may default to Enter PIN (WPS authentication) instead of Enter password. The Configuration AP uses WPA2 password authentication, not WPS. A WPS PIN is an 8-digit numeric code and is unrelated to the network password.
To connect successfully: in the Windows Wi-Fi connection prompt, look for and select the option to Use a security key instead or Enter password, then enter rakwireless. Do not use the PIN field, it will not work with the Configuration AP.
Configure Wi-Fi to Join Your Network
When connected to the Configuration AP, you have two ways to access the station:
- SSH: Connect to
192.168.230.1for advanced configuration (see Step 3 below). - Web browser: Open
http://192.168.230.1in your browser to use the built-in Wi-Fi configuration page.
The web interface lets you configure the WisMesh Station to connect to a nearby Wi-Fi network (your home or office router). Select your network's SSID from the dropdown list, enter the passphrase, and click Connect. Once the station successfully joins your network, it will switch from AP mode to Station mode, the Configuration AP will stop broadcasting, and the station will obtain an IP address from your router. You can then access the Meshtastic Web UI using the new IP address (see Step 3).
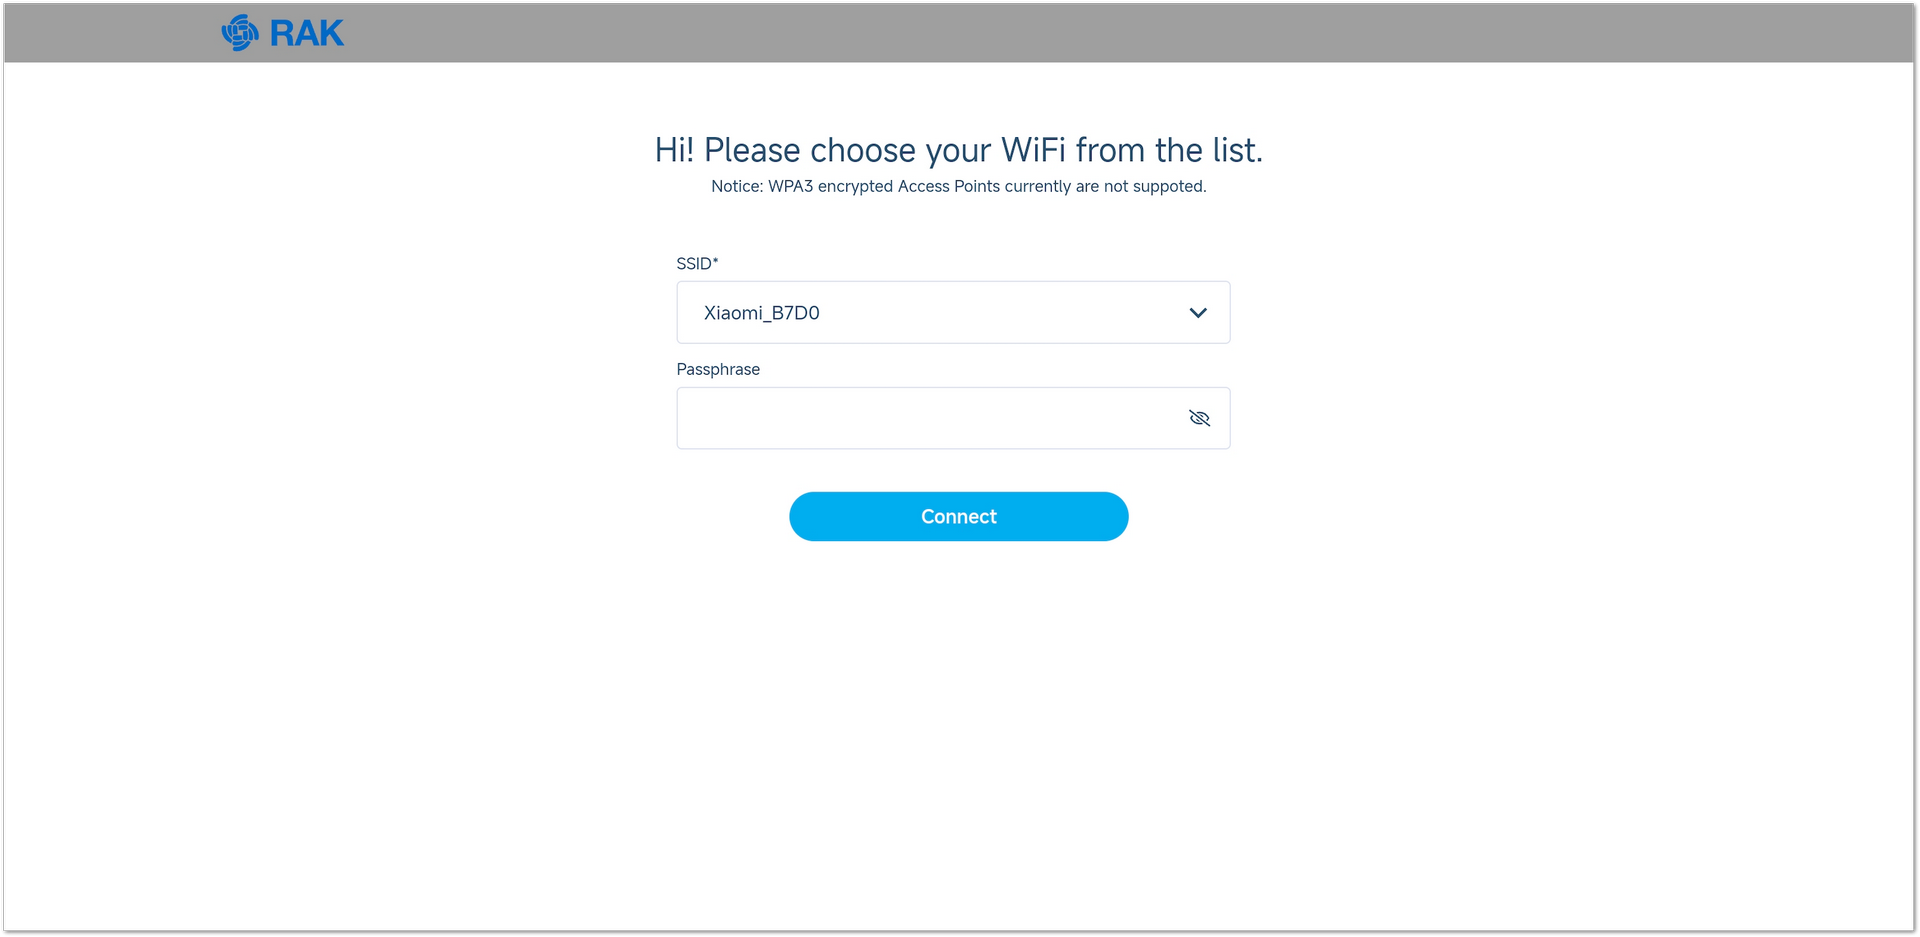 Figure 1: WisMesh Station Wi-Fi configuration
WPA3-encrypted access points are currently not supported. Use WPA2 or WPA/WPA2 mixed mode networks.
Step 3. Access the Device & Web Interface
Via SSH (Advanced Configuration)
| Item | Value |
|---|---|
| Address | Configuration AP: 192.168.230.1 Ethernet/Wi-Fi (station mode): IP from your router (check your router's admin panel) |
| Username | rak |
| Default Password | changeme |
The default RAKPiOS username is rak, and the password is changeme. You will be prompted to change your default password upon your first login. For example, if you log in via SSH for the first time, you will have to create a new one by entering the default one first, followed by a new one.
After a successful SSH login, you will see a command-line prompt indicating that you are connected to the WisMesh Station. You can now run configuration commands or proceed to access the Meshtastic Web UI.
Access the Meshtastic Web UI
Open your browser and go to: https://<pi-ip-address>:9443
- If using Ethernet: Replace
<pi-ip-address>with the IP found in your router's admin panel. - If connected via the Configuration AP (Step 2): You can directly visit:
https://192.168.230.1:9443 - If the station has joined your Wi-Fi network (via the web config in Step 2): Look up the station's IP in your router's admin panel, then visit
https://<pi-ip-address>:9443
Once connected, you will see the Meshtastic Web UI, the main interface for configuring and monitoring your WisMesh Station.
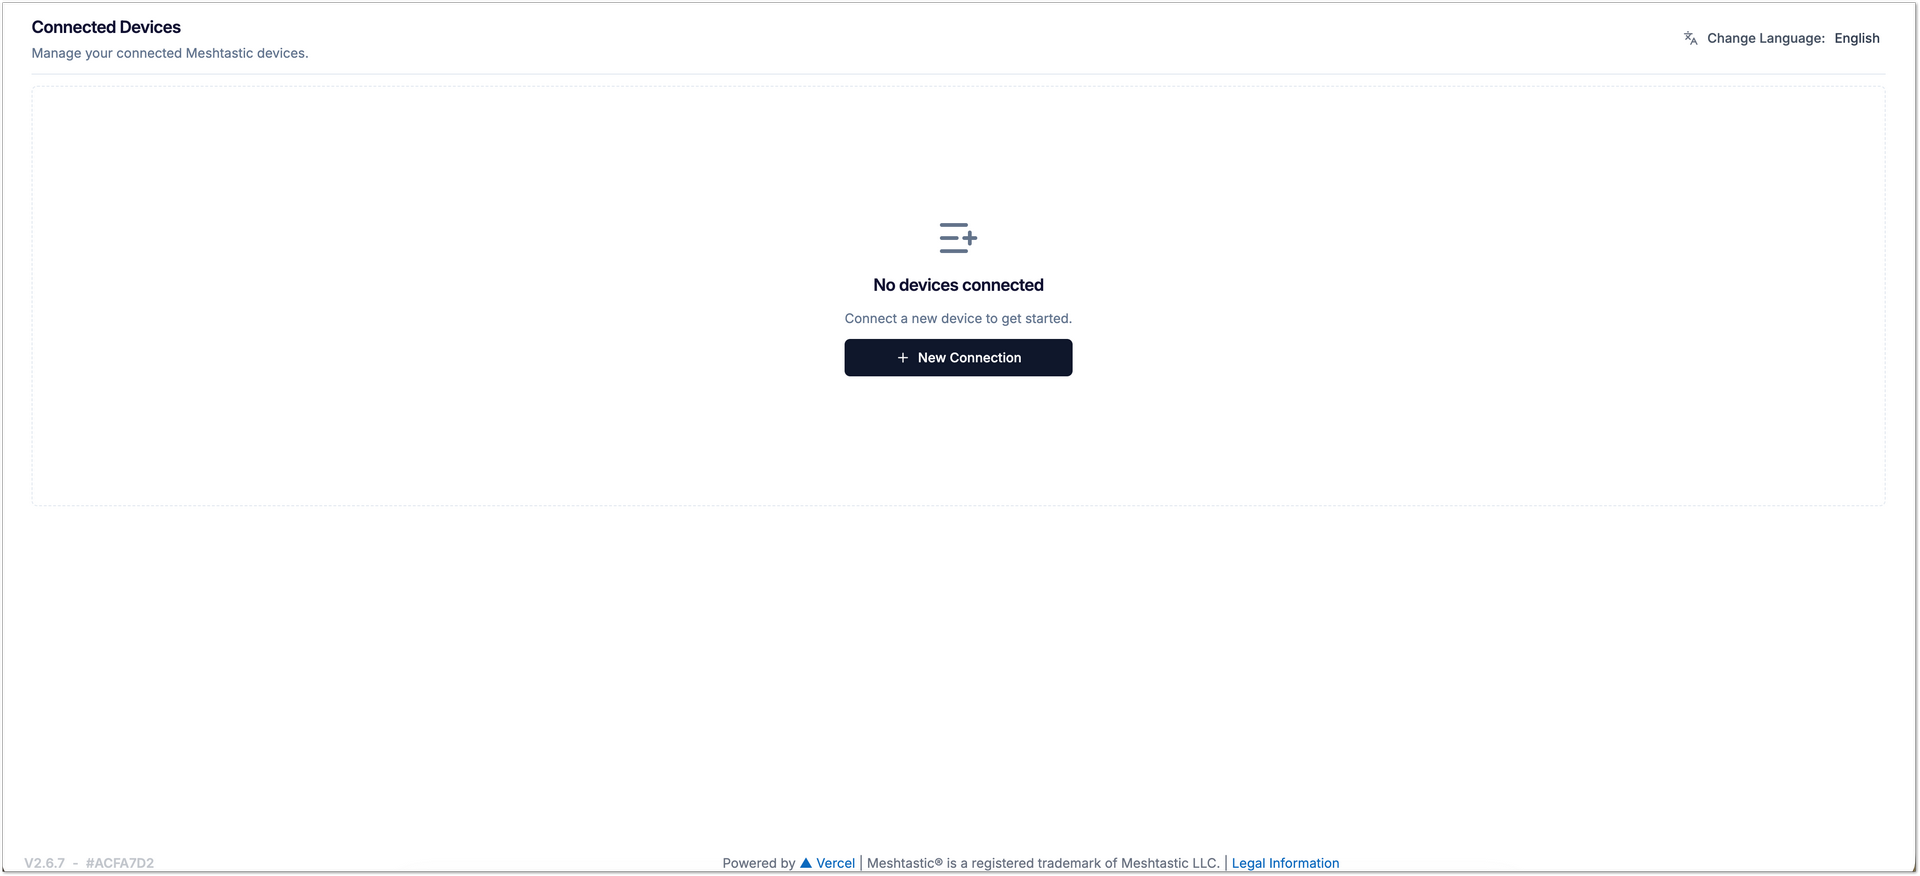 Figure 1: Meshtastic Web UI
Step 4. Next Steps
For advanced features such as Grafana dashboards to visualize telemetry (environmental and device metrics) from your Meshtastic network, refer to the dedicated guide:


