RAK10730 WisMesh Pad Hardware Setup
This guide shows the package contents and the steps for assembling and powering on your RAK10730 WisMesh Pad.
Package Inclusions
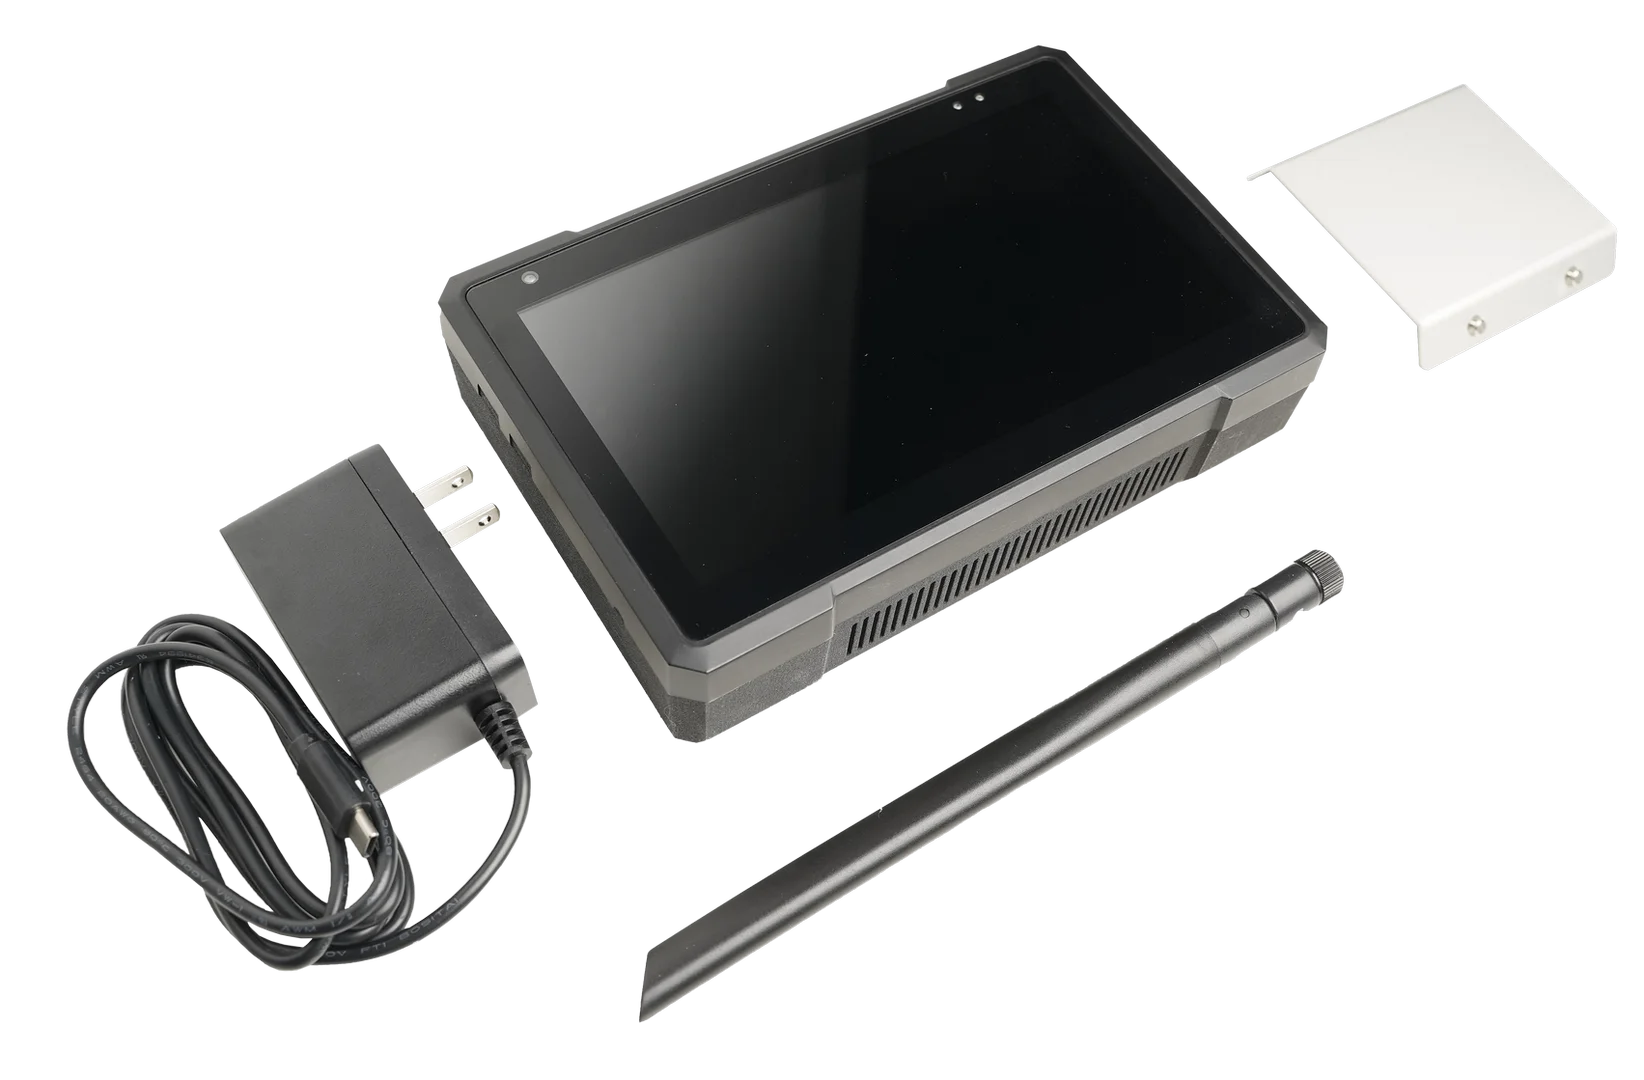 Figure 1: Package contents of the WisMesh Pad
The package includes:
- WisMesh Pad
- 2.3 dBi LoRa® Antenna
- DC Power Adapter
- Type-C USB Cable
- MicroSD Card Reader
- Desktop Stand
- User Manual
Install the LoRa Antenna
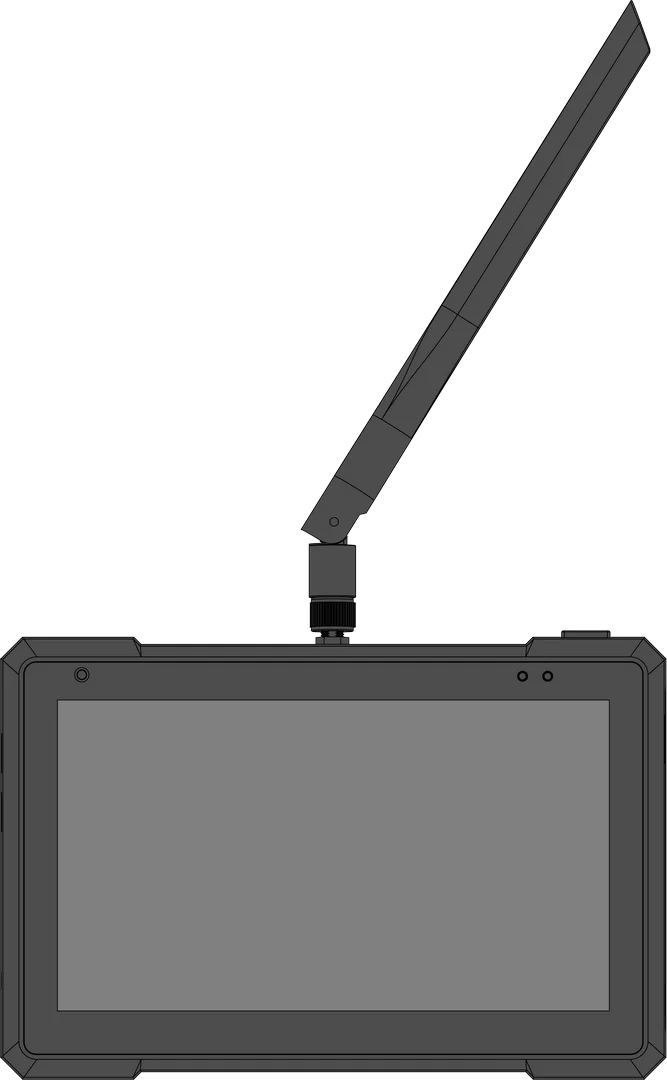 Figure 1: Install the LoRa antenna on the WisMesh Pad
- Locate the antenna connector on the top of the device.
- Align the LoRa antenna with the connector.
- Rotate the antenna clockwise until it is securely tightened.
Attach the Metal Stand
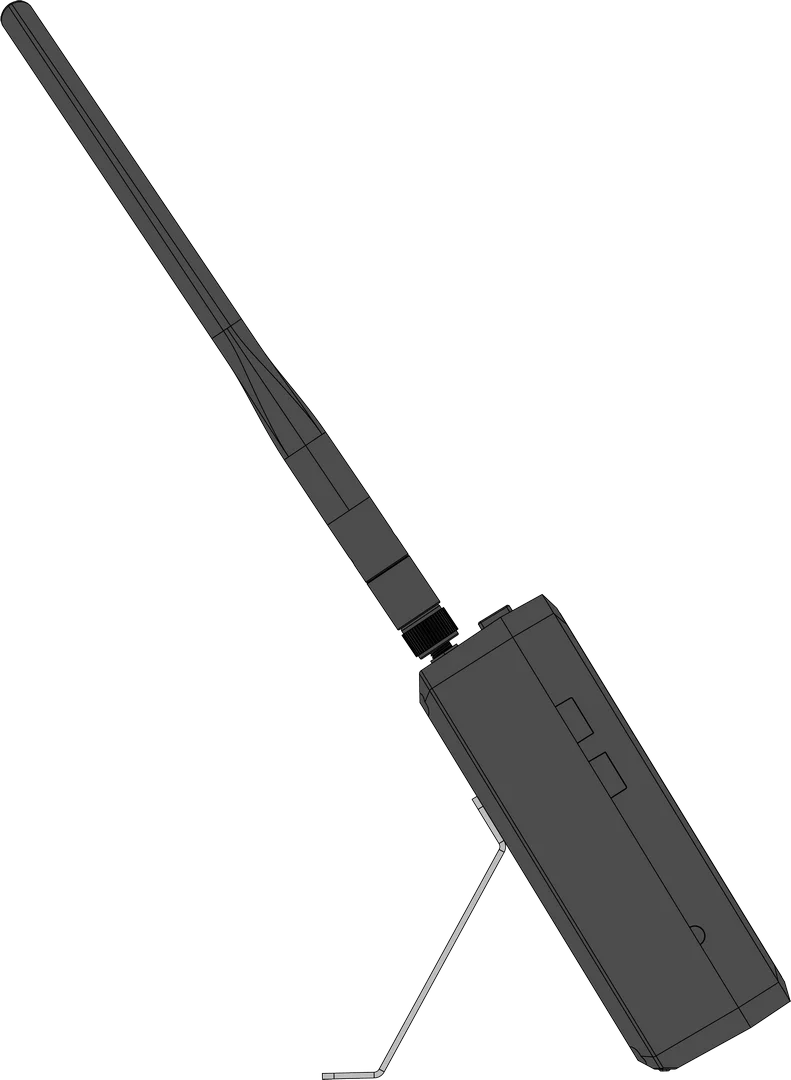 Figure 1: Install the Metal stand on the WisMesh Pad
- Place the metal stand on a stable, flat surface.
- Insert the back of the WisMesh Pad into the bracket slot.
- Adjust the viewing angle as needed.
Power On the Device
Battery Power
Battery power is ideal when the device needs to be moved or used in locations without access to a constant power supply.
To ensure optimal performance, charge the device fully before turning it on for the first time.
- Insert the power adapter into the DC input port.
- Connect the other end of the power adapter to a wall outlet.
- The device will begin charging automatically. Allow the device to charge for 10 hours before using it for the first time.
Once the battery is charged, press the Power button to turn on the device. The device will now operate on battery power.
External Type-C Power Supply
Use USB Type-C to power the device for bench testing, demos, or long-duration operation when a stable power source is available. In this mode, USB Type-C powers the device only and does not charge the battery.
- Insert the Type-C cable into the device's USB 2 port.
- Connect the other end to an external power supply (5 V, ≥2 A).


