WisgateOS Configuring DDNS
This guide discusses on how to configure the Dynamic Domain Name System Service to access the gateway.
If the gateway is behind a router, you need to implement the Port Forwarding or Demilitarized Zone (DMZ). For example, if the router has assigned IP 192.168.0.125, allow the DMZ on that IP. It is recommended to change the default password of the gateway when DMZ is allowed for security reasons, as the gateway is exposed to the Internet.
In using Dynamic Domain Name System (DDNS), you can assign a domain name that you have linked to your gateway’s dynamic IP address. This allows you to access your gateway with a domain name that is static. It will also not change even if a new IP address is assigned to the gateway making sure they don’t have to keep a list of addresses that needs to be constantly updated.
In this example, afraid.org DDNS provider will be used.
- First, create an account in a DDNS service provider like freedns.afraid.org or other. Go to the site, click on the Sign up Free button and follow the registration instructions.
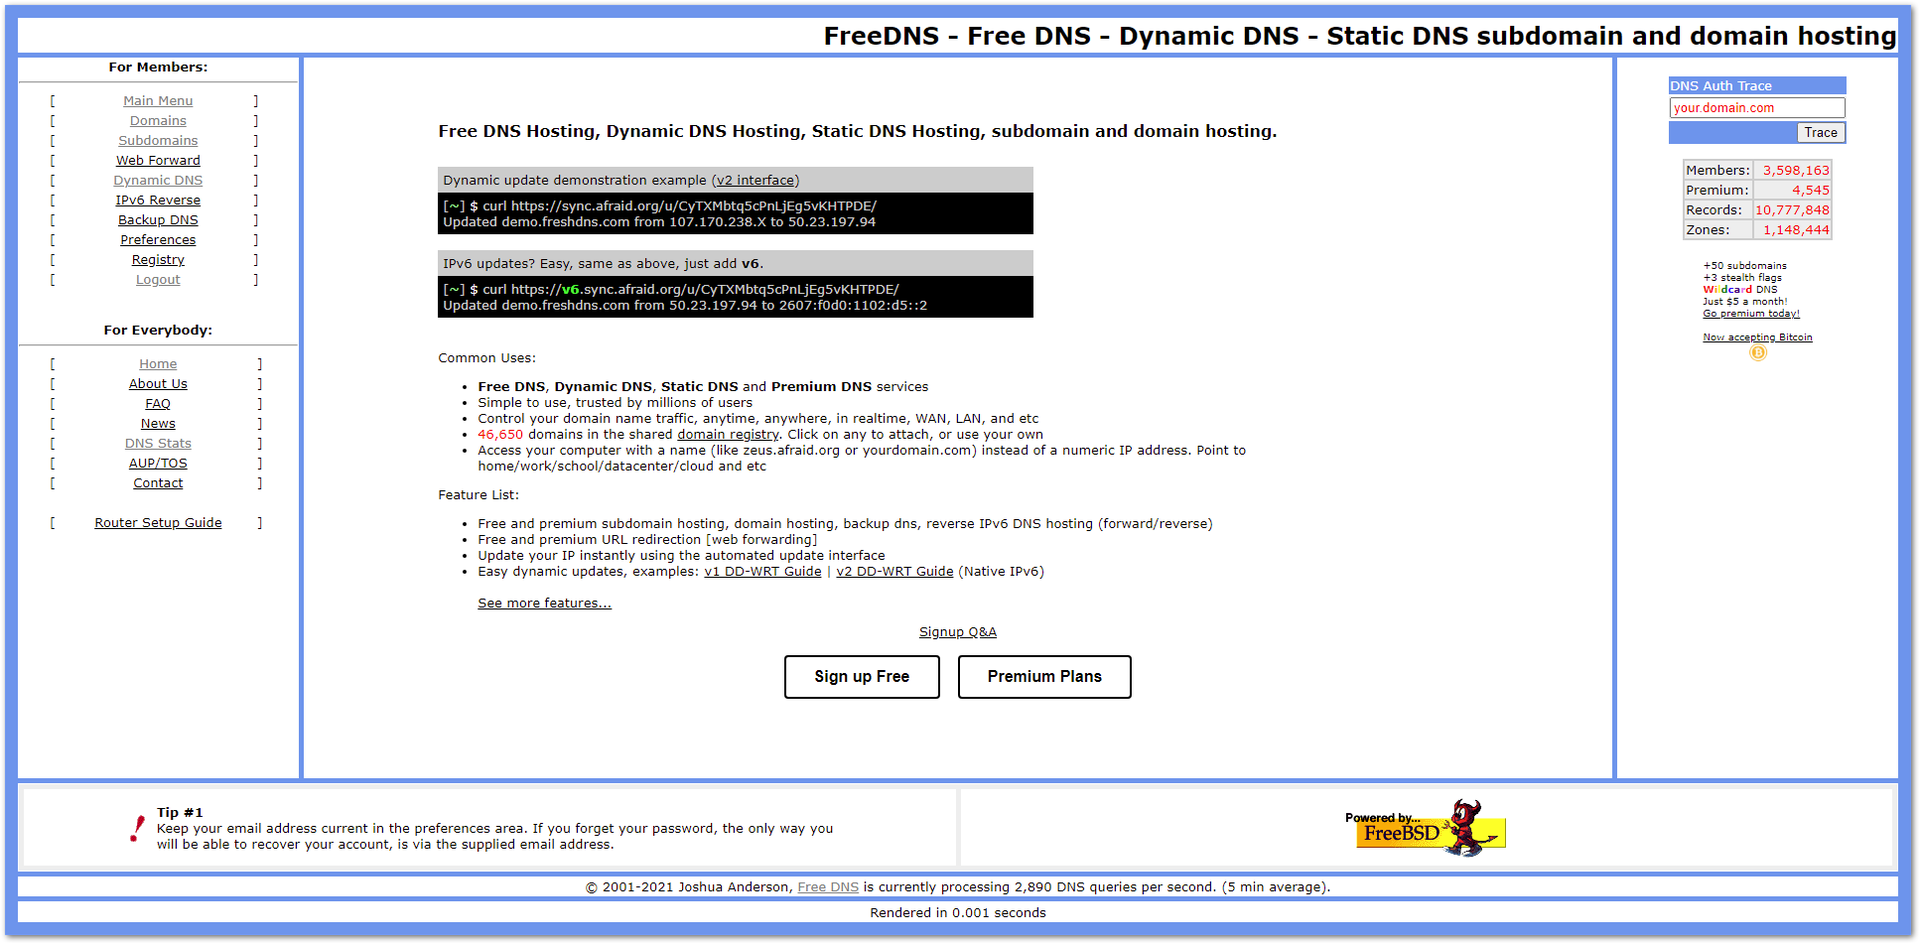 Figure 1: Making an account
Activate the accounts from the link sent in their e-mail.
- After successful registration and activation, log in and navigate to the Subdomains menu.
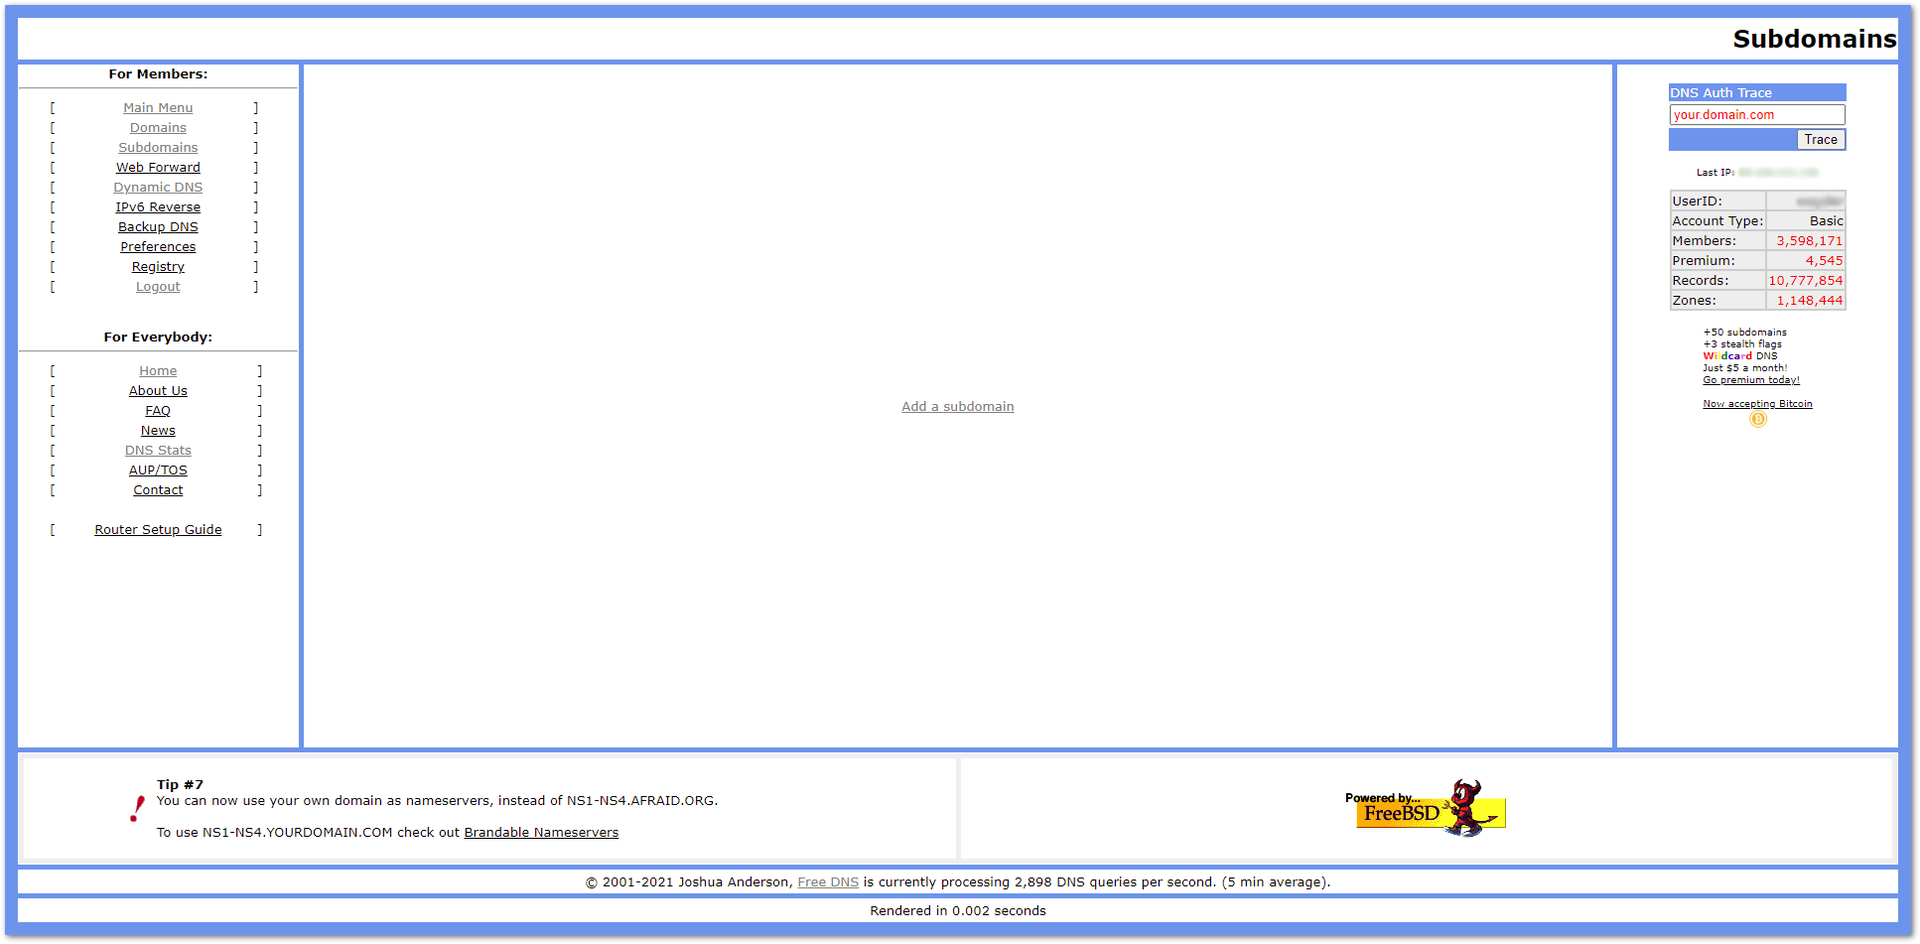 Figure 1: Subdomains menu
- Proceed by clicking on Add a subdomain.
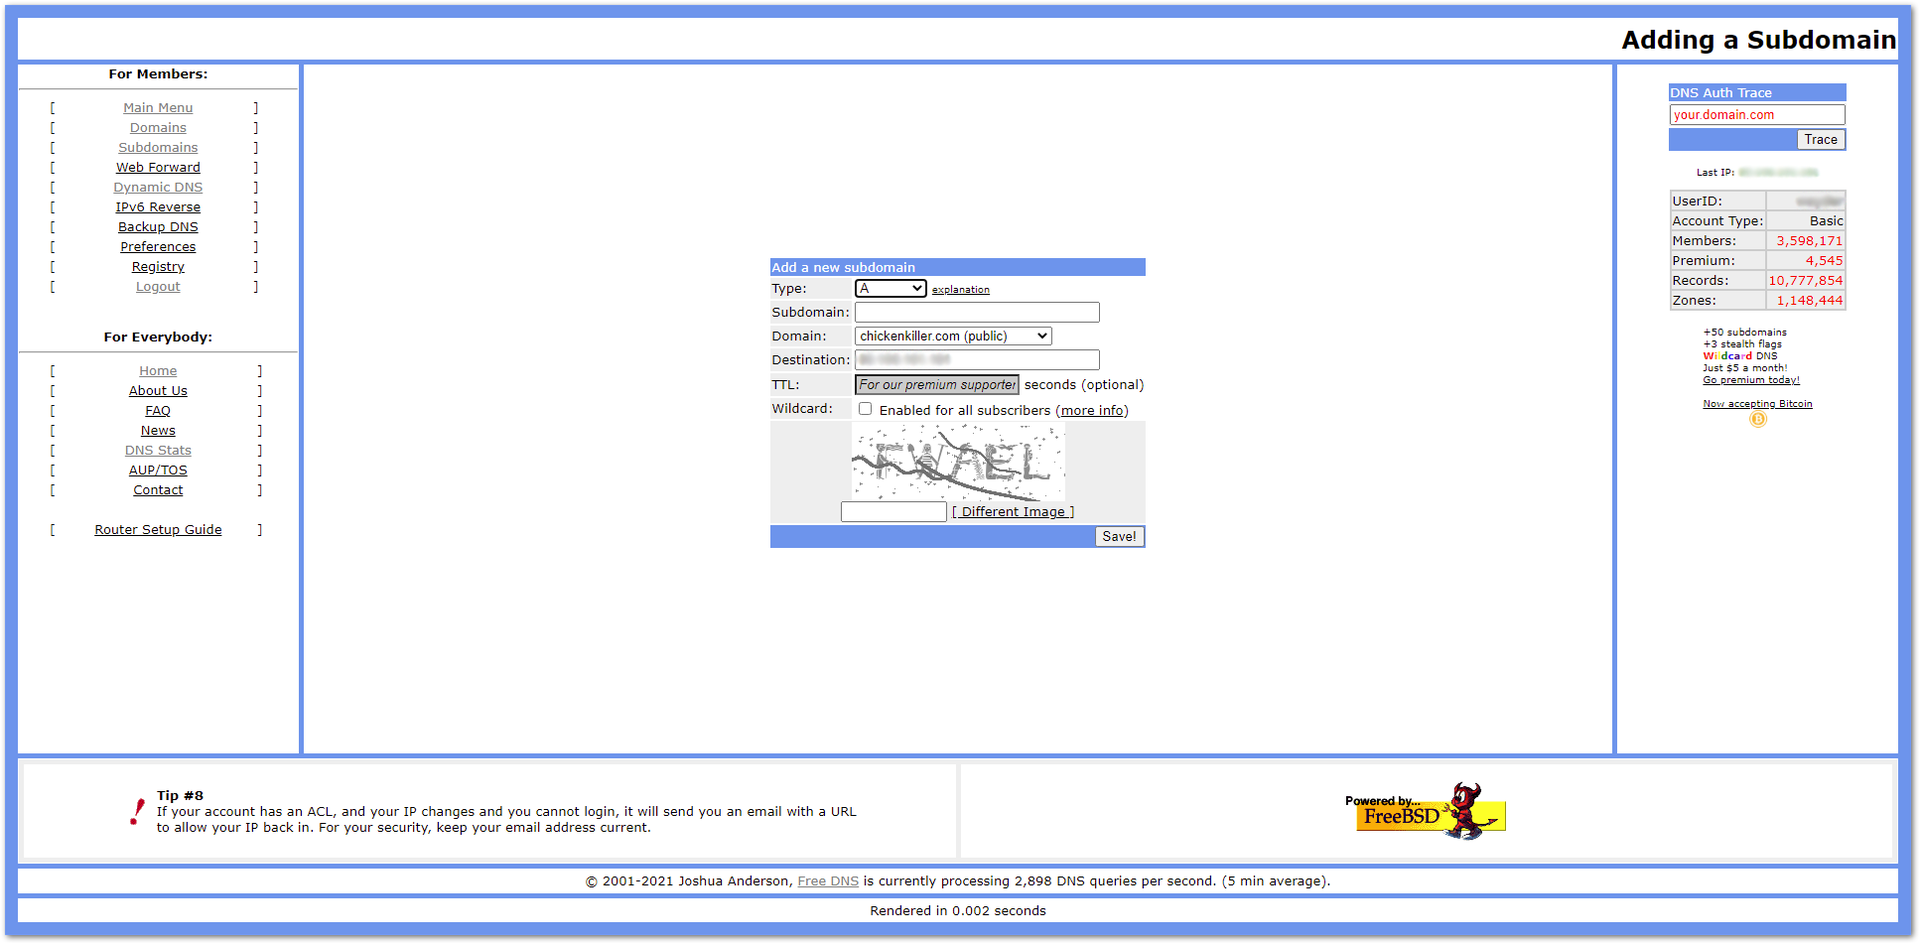 Figure 1: Adding a subdomain
In the Add a new subdomain menu, you must type the following information:
- Type – The type of the subdomain. More information about each type can be found in the explanation button (in this example, it will be left as default).
- Subdomain – The name of the subdomain.
- Domain – From the drop-down menu, choose a preferred domain (in this example, it will be left as default).
- Destination – The dynamic IP of the gateway.
- TTL (only for premium accounts) - A value for the period of time that a packet or data should exist on a computer or network before being discarded.
- Enable/disable Wildcard – More information about the Wildcard can be found in the button more info.
- After filling in all the required information, type the verification image in the field and click on Save!. You will be redirected to the page of registered subdomains.
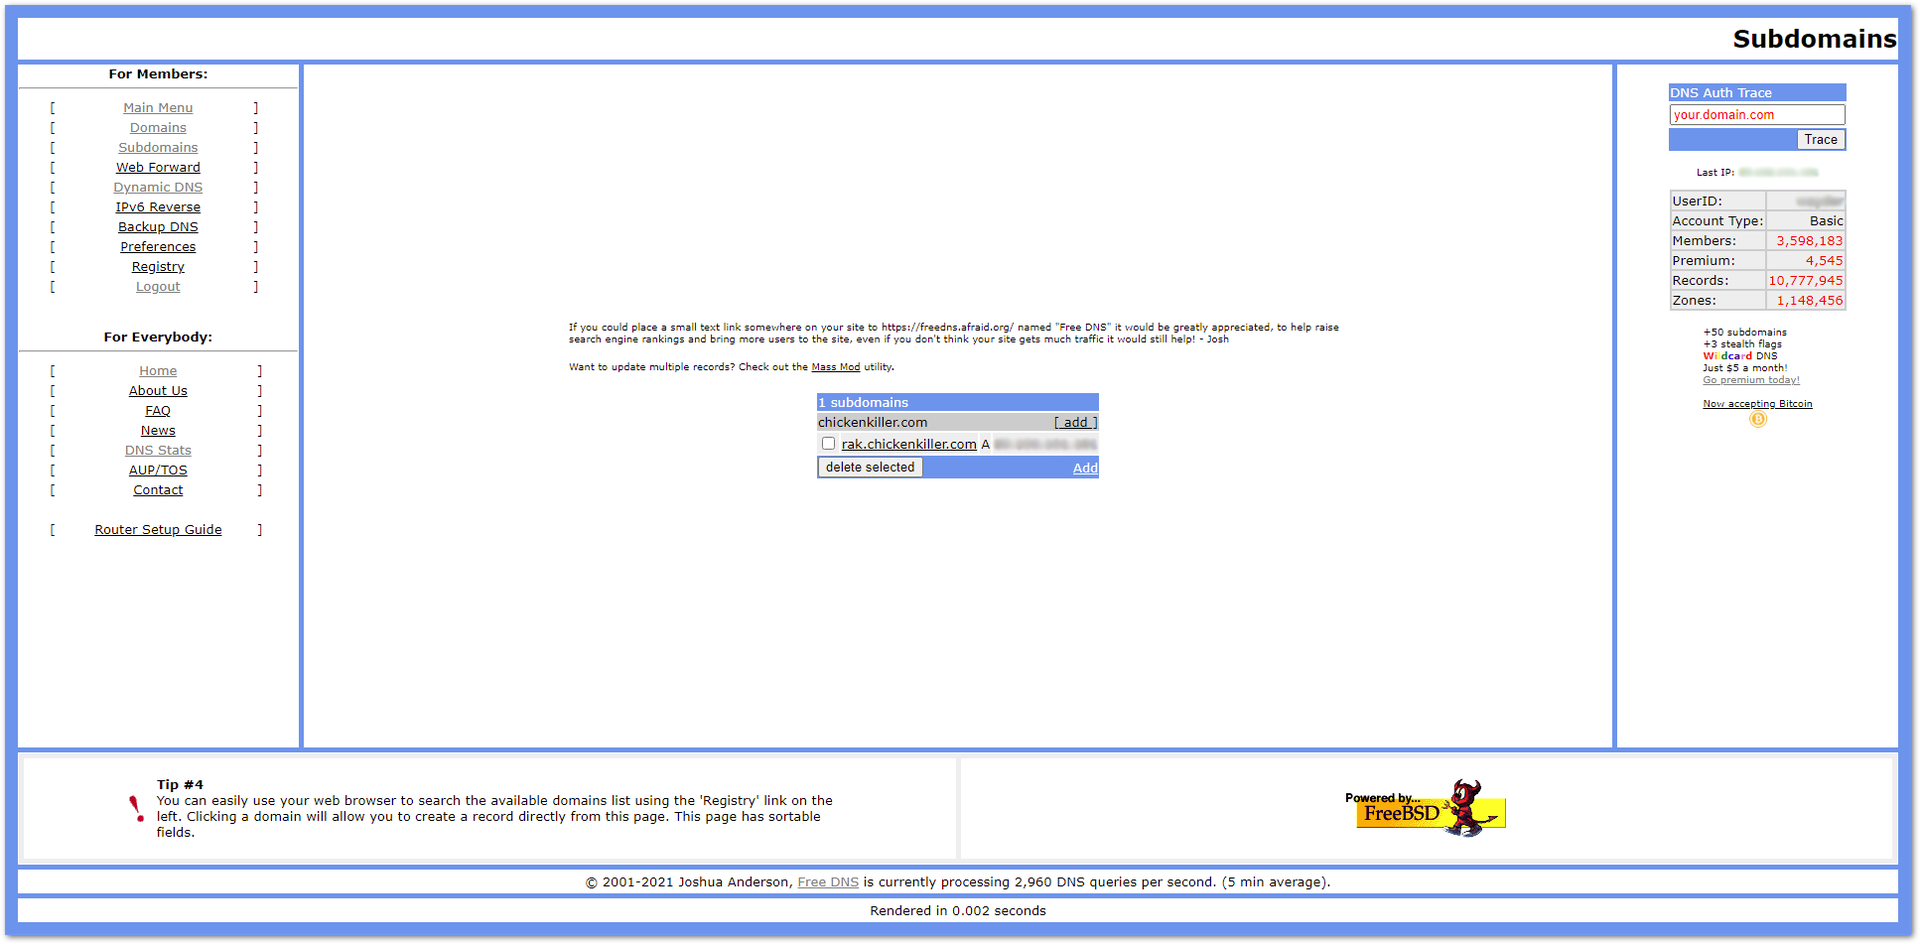 Figure 1: List of Registered Subdomains
- To configure the gateway, the user needs to navigate to Services -> Dynamic DNS (Beta) tab in the Web UI. In the Overview menu, they should type a name for the configuration and click on the Add button.
 Figure 1: Adding a DDNS Configuration
- This will redirect them to the configuration menu.
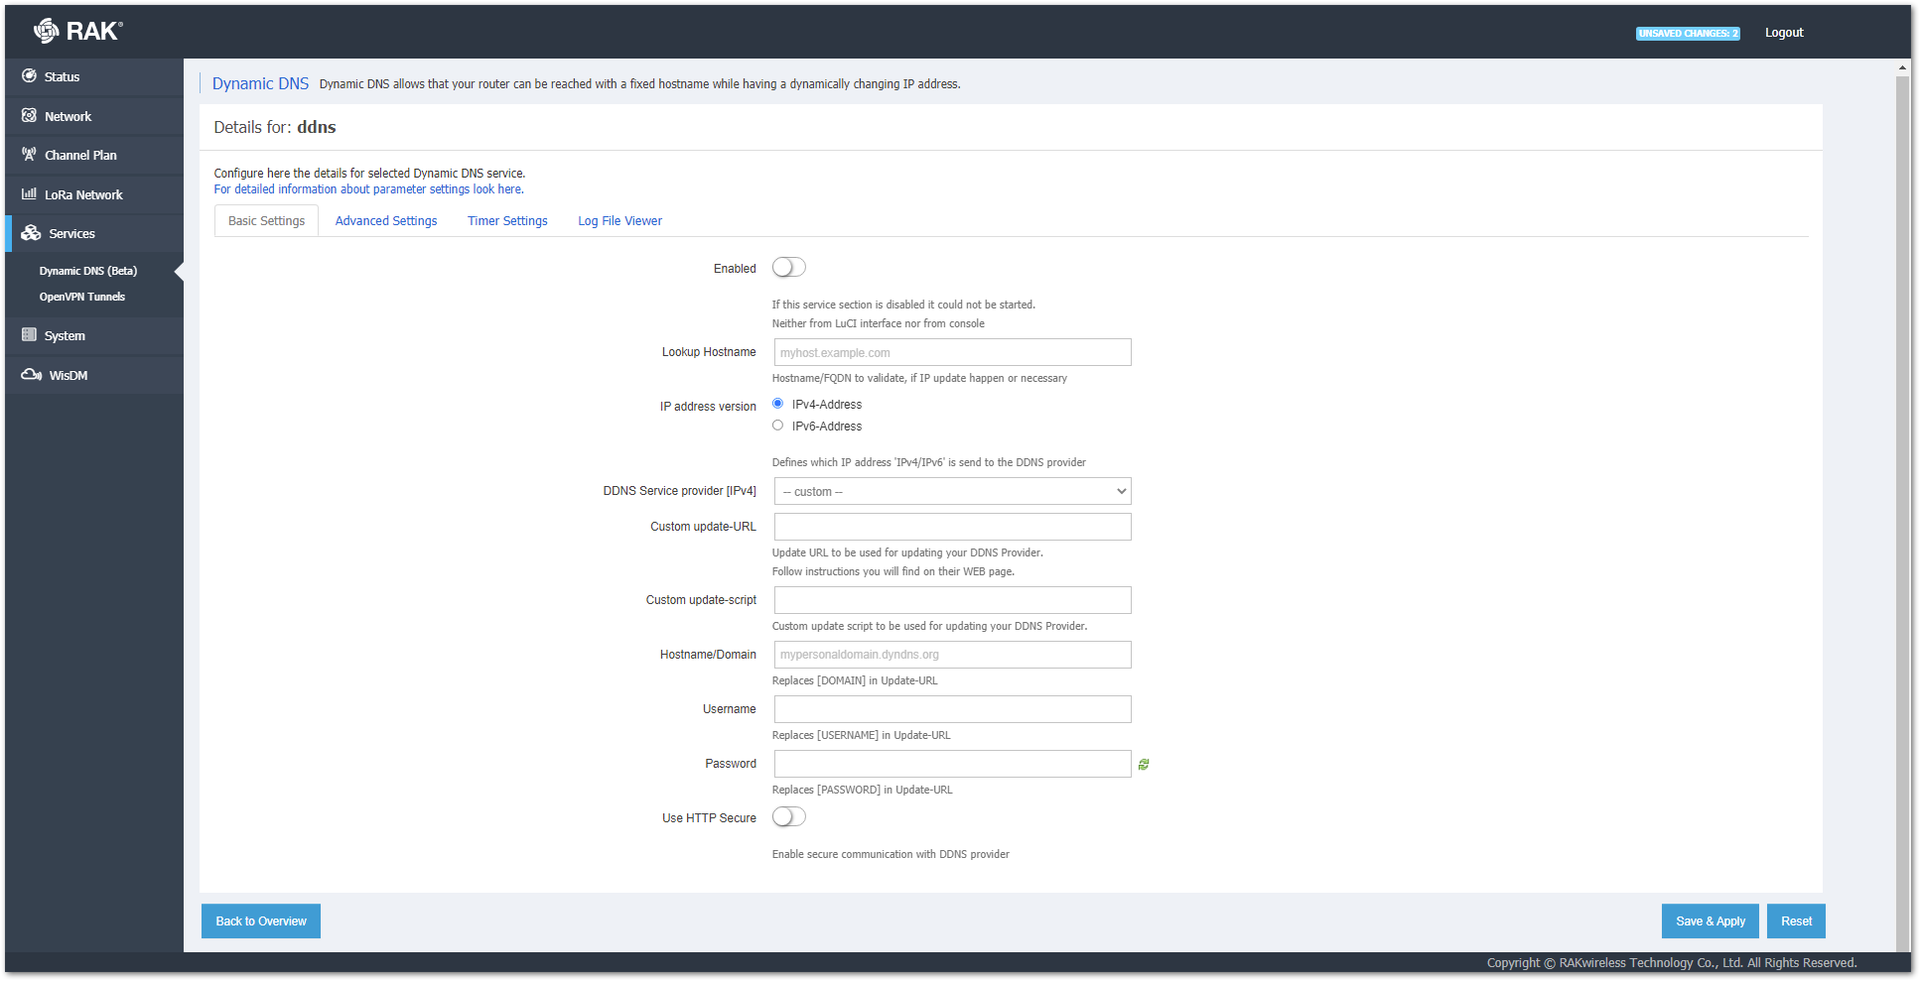 Figure 1: Configuration Menu
- First, you must enable the service by click on the Enable button in the Basic Settings. Then fill in the required information:
- Lookup Hostname – The hostname of the DDNS provider (in this example – afraid.org).
- IP address version – The version of the IP address (in this example, it will be left as default).
- DDNS Service provider [IPv4/IPv6] – From the drop-down menu, then choose which DDNS provider you are using (in this example – afraid.org-basicauth).
- Hostname/Domain – Fill in the subdomain name.
- Username – The name used to register the DDNS account.
- Password – The password of the DDNS account.
-
In the Advanced Settings tab, you can configure the details for the selected Dynamic DNS.
-
Configure also the gateway to check its IP. To do this, from the drop-down IP address source [IPv4/IPv6] menu, you need to choose URL. The gateway will fill in the URL to detect [IPv4/IPv6] field automatically. Change the link to another desirable page that reads the gateway’s IP, but it is not necessary. The IP assigned to the gateway is read and sent to the DDNS provider.
-
In the Event Network [IPv4/IPv6] drop-down menu, choose the Network in which the DDNS-updater scripts will be started.
The other fields are optional and will be left as default. The Log to syslog drop-down menu selects the level of the system logs. The Log to file button will allow syslogs to be saved in a file on the gateway’s SD card.
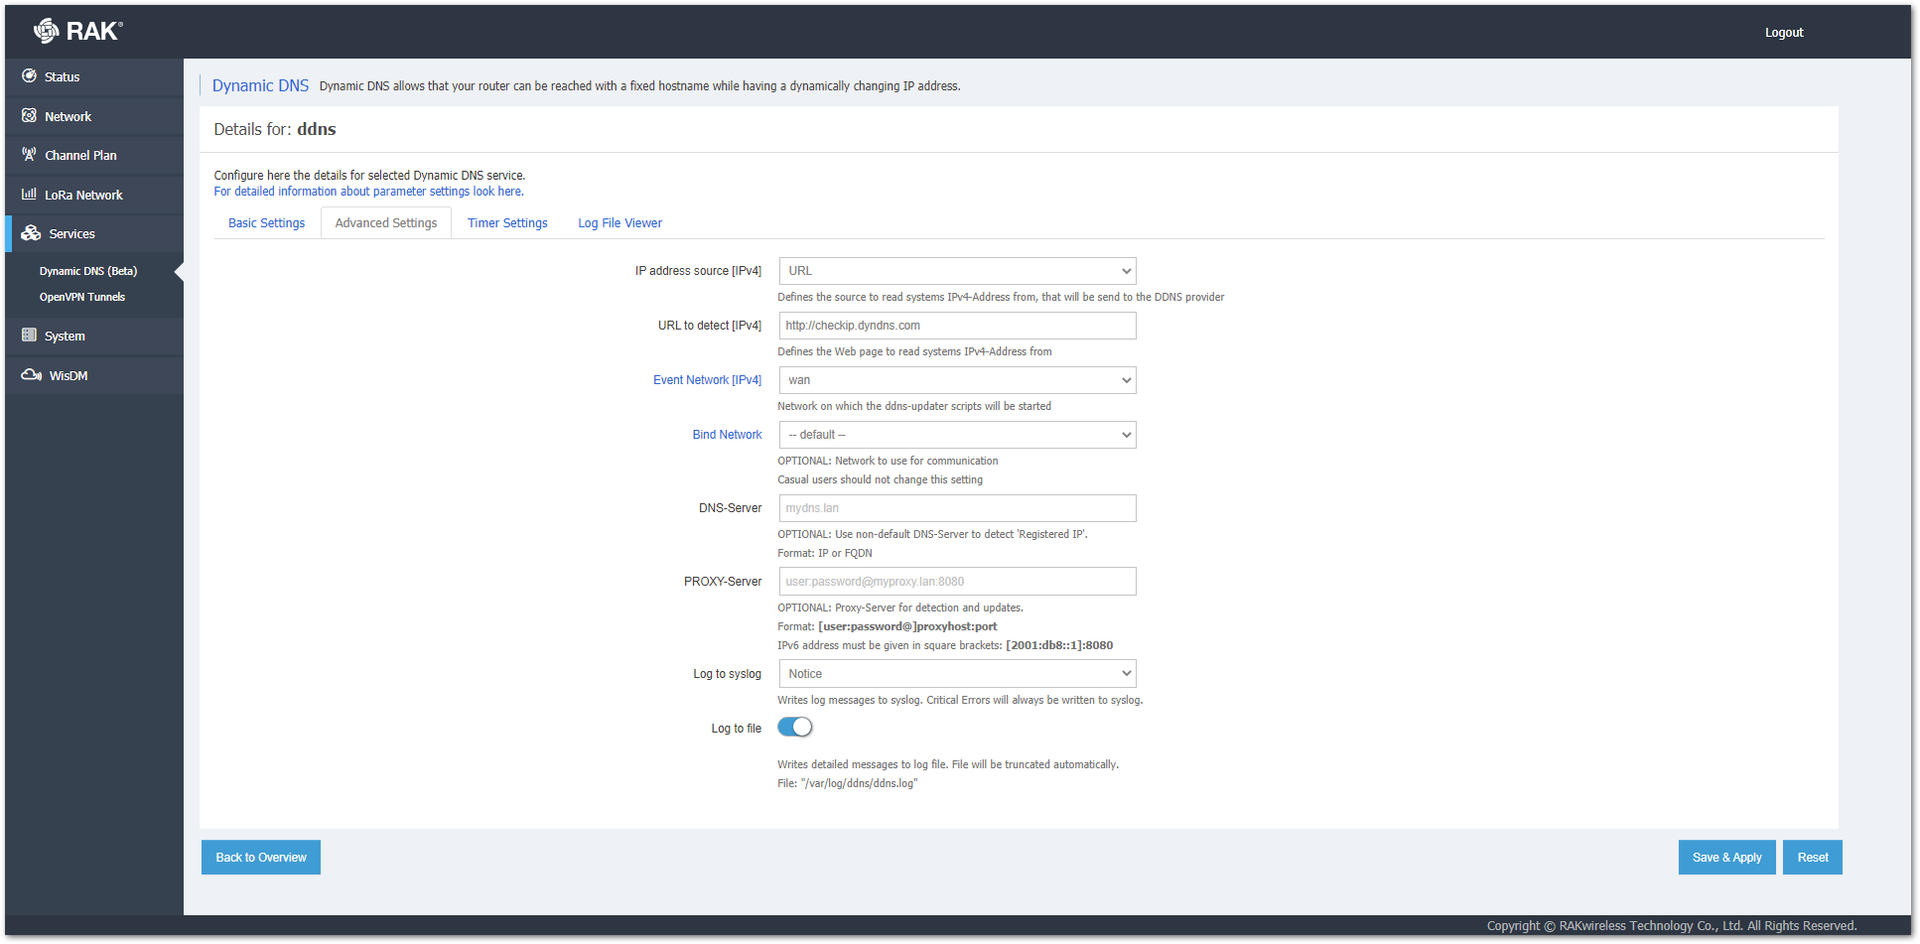 Figure 1: Advanced Settings Tab
- In the Timer Settings tab, you can configure the details for the timer to check for changes of IP and errors.
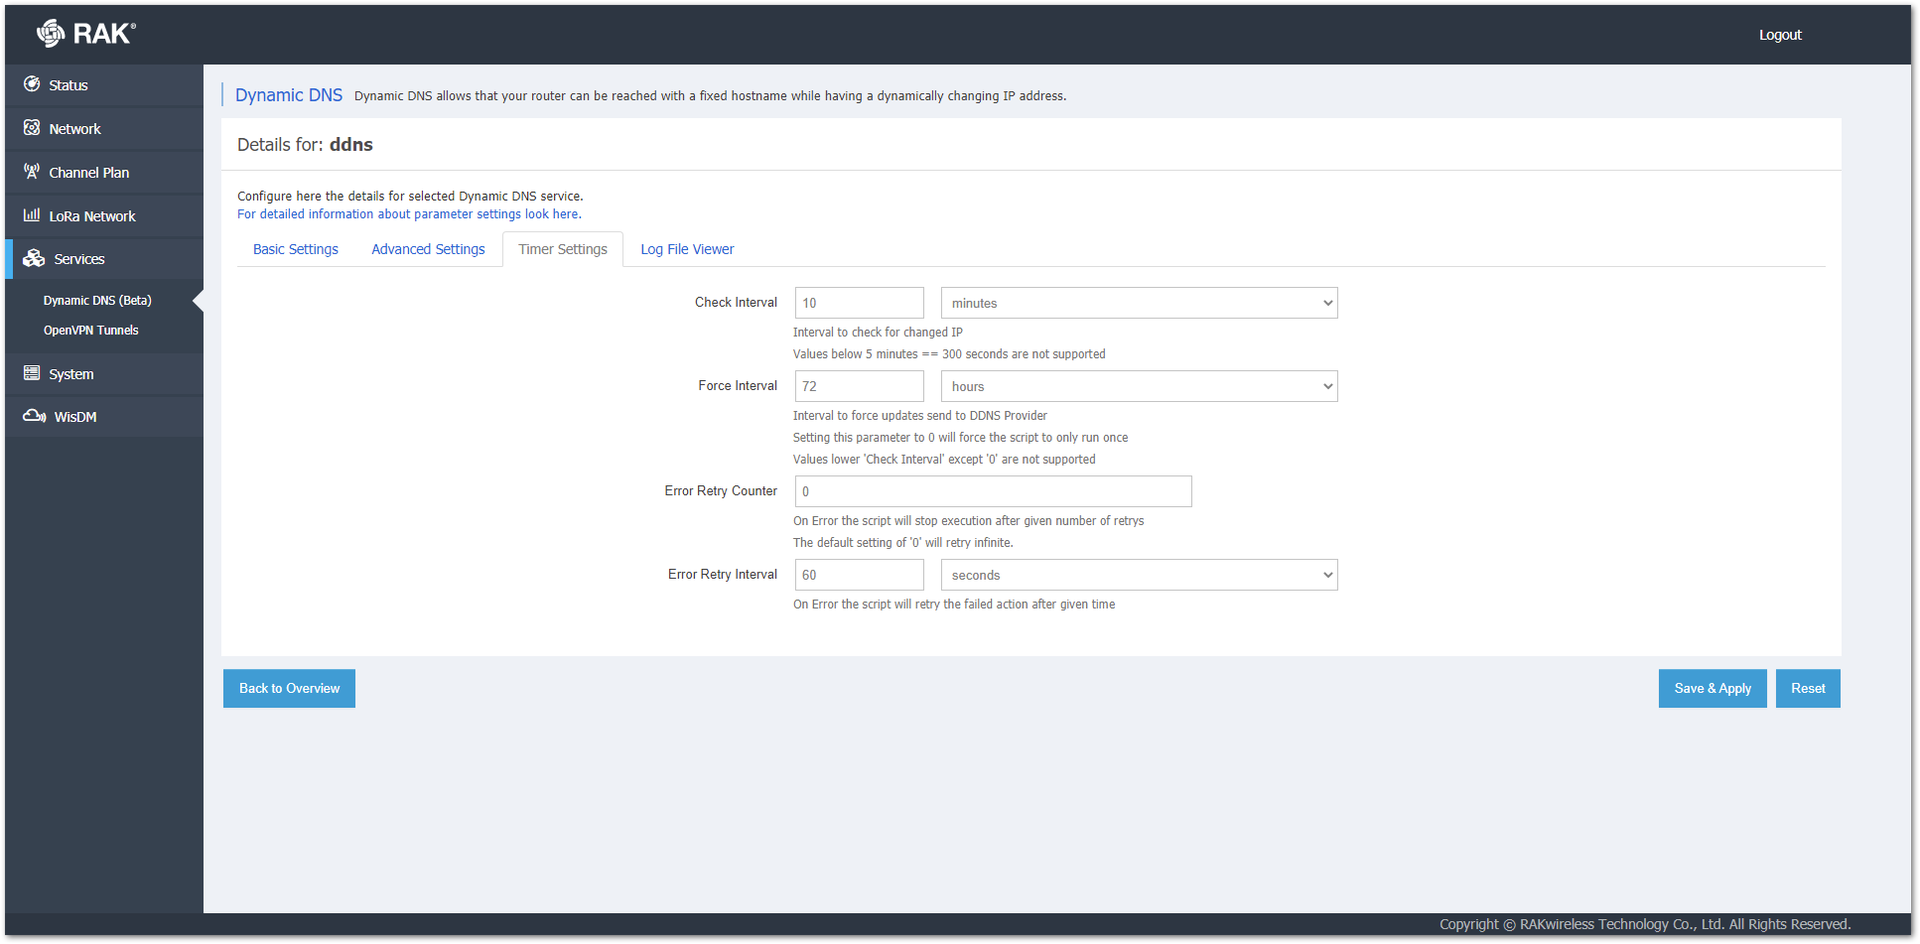 Figure 1: Timer Settings Tab
- Check Interval – The interval to check if there is a change of the IP for the gateway.
- Force Interval – The interval to force updates to be sent to the DDNS provider.
- Error Retry Counter – How many errors are allowed to occur before the script stops.
- Error Retry Interval – The interval after which the script will start running again after an error.
For this example, Timer Settings will be left as default.
- In the Log File Viewer tab, you can view the system logs, and it is helpful in the case of debugging. To see the logs, click on Read / Reread log file.
 Figure 1: Log File Viewer Tab
-
To save the settings, click Save & Apply.
-
If everything is configured correctly, the user will be able to access the gateway via the name of the subdomain in the list of the added subdomains in the DDNS provider.
 Figure 1: Name of the Subdomain
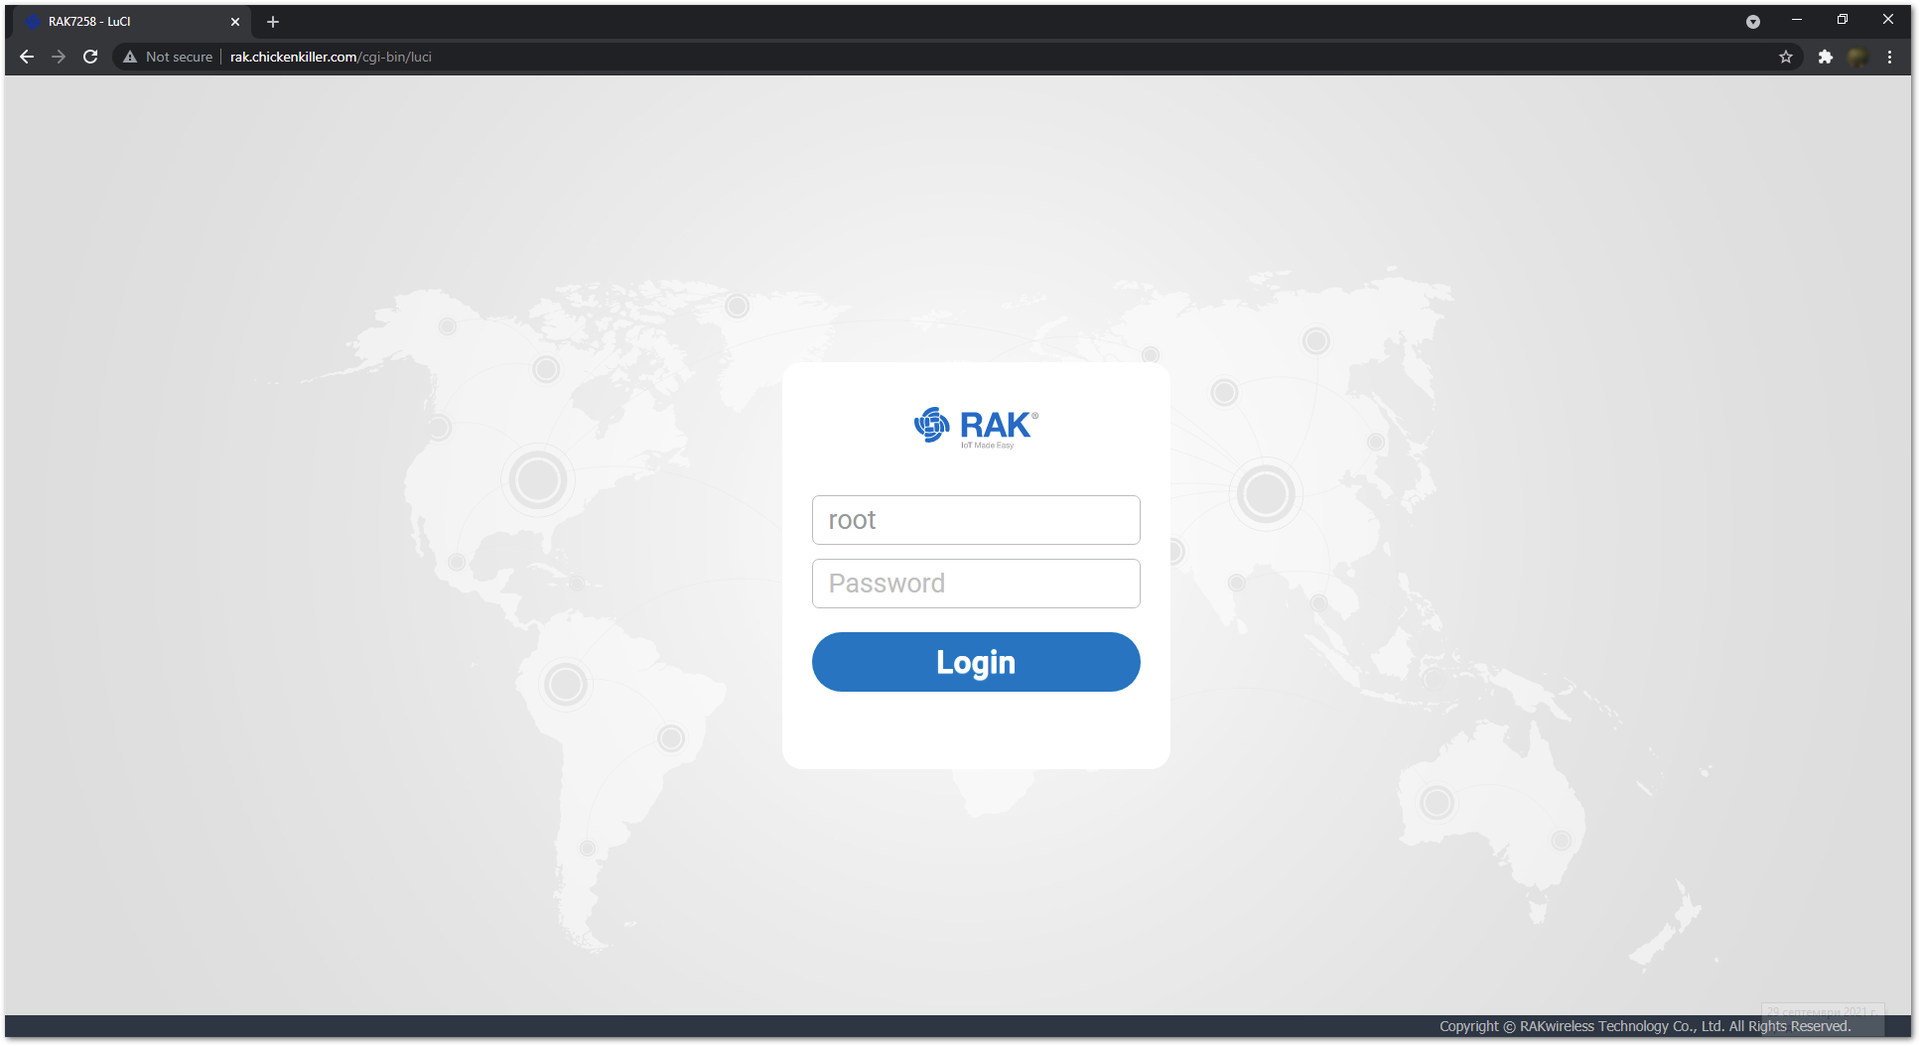 Figure 1: Accessing the Gateway via the Domain Name