WisgateOS Global Integration
This tutorial covers a detailed look at one of the connectivity options of WisGateOS – Global integration. More specifically, two use cases is considered:
Connecting a WisGate Edge Gateway with AWS IoT Core
A separate detailed guide for the AWS IoT Core Integration can be found in the Knowledge Hub.
Connecting a WisGate Edge Gateway with External MQTT Broker
Introduction
MQTT or Message Queuing Telemetry Transport protocol is a machine-to-machine connectivity protocol used in the IoT world. MQTT relies on the TCP (Transmit Control Protocol), which on its own do not allow encrypted communication between the server and the client. To make MQTT more secure, many MQTT brokers (servers) use TLS (Transport Layer Security) instead of plain TCP, which will be tackled in this tutorial.TLS has different modes of working, which represents different levels of encryption. For this guide, the Self-signed server certificate mode is used.
Requirements
This is what you will need to prepare before they can make the connection itself:
- WisGate Edge series gateway running latest WisGateOS version: It will work on all of the products of this series without any difference.
- A host to run the MQTT broker on: The possibility of options here is limitless, but for this tutorial, the Raspberry Pi 4 running Raspberry Pi OS Lite is used.
To know how to flash an image using balenaEtcher, refer to WisGate Developer Gateway Firmware guide found in Knowledge Hub.
Making the Connection
- Installing the MQTT Broker to the host.
For the tutorial, the Mosquitto broker will be used, but another broker can be selected depending on the project’s needs. This is the set of commands to install the Mosquitto broker on the Raspberry Pi 4:
wget http://repo.mosquitto.org/debian/mosquitto-repo.gpg.key
sudo apt-key add mosquitto-repo.gpg.key
wget http://repo.mosquitto.org/debian/mosquitto-buster.list
sudo apt-get update -y
sudo apt-get install mosquitto
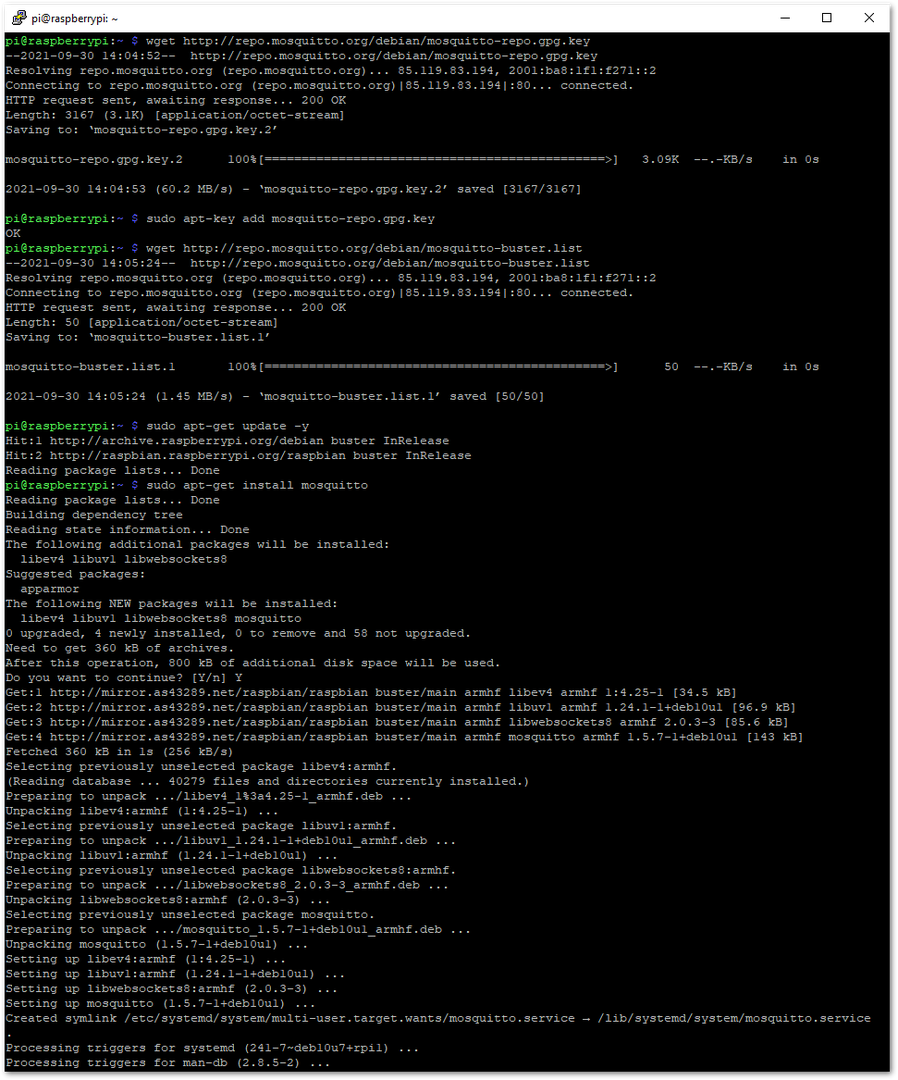 Figure 1: Installing Mosquitto Broker
- Generating the authentication files.
For self-signed server certificate mode TLS, you will need a Server Certificate, Server Key, and a CA Certificate. To create them, OwnTracks Tool is used, which has a script that automatically creates the required keys, and this tool is using OpenSSL. First, you need to clone the repository, and make sure to have git installed:
sudo apt-get install git
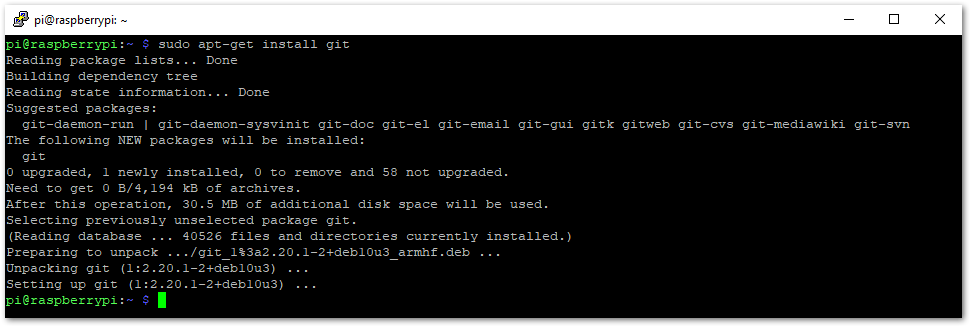 Figure 1: Installing git
- Now, you have to clone the tool and run the generate-CA.sh script. After the execution, the newly created files will be in the same directory as the script itself:
sudo git clone https://github.com/owntracks/tools.git
cd tools/TLS
sudo ./generate-CA.sh
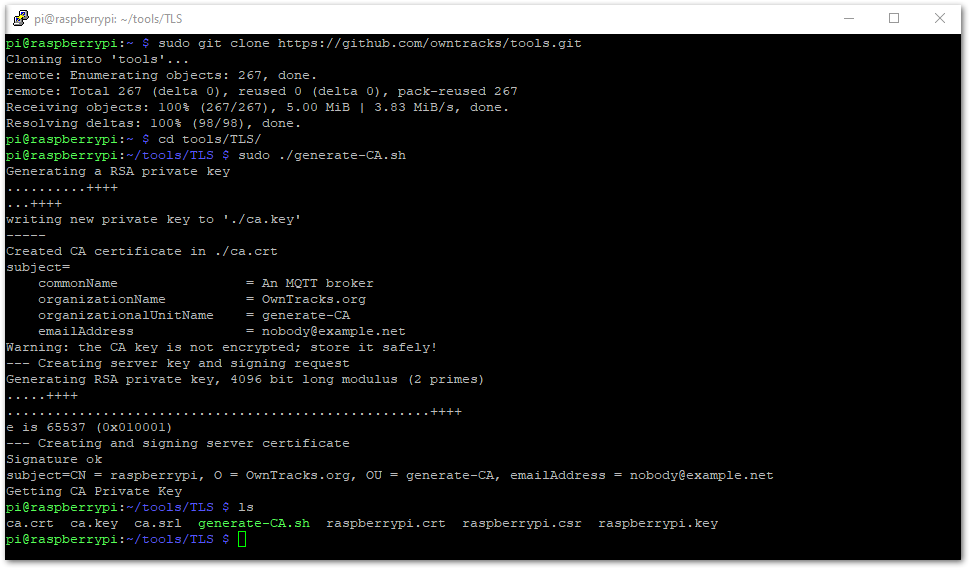 Figure 1: Generating the Certificates
- Set up the Mosquitto Broker
In setting up the Mosquitto Broker, give it an access to the three needed files: ca.crt, raspberrypi.crt, and raspberrypi.key. The last two (2) files can have different names depending on what device is used for the host. Copy ca.crt to location /etc/mosquitto/ca_certificates and the other two files under location /etc/mosquitto/certs with the commands:
sudo cp ca.crt /etc/mosquitto/ca_certificates/
sudo cp raspberrypi.crt /etc/mosquitto/certs/
sudo cp raspberrypi.key /etc/mosquitto/certs/
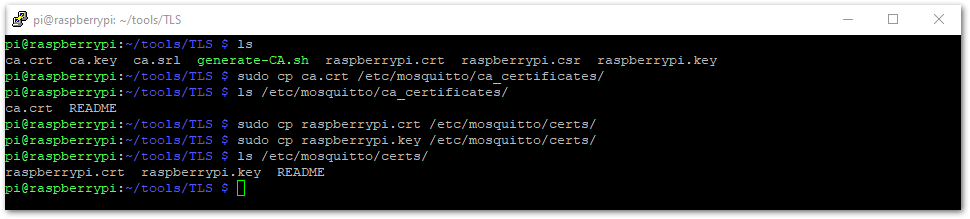 Figure 1: Moving the Certificates
- To finish the broker setup, you need to configure it. Navigate to /etc/mosquitto/mosquitto.conf with the command:
sudo nano /etc/mosquitto/mosquitto.conf
The changes that need to be made in the file are listed in the table:
| Content of the line | Description |
|---|---|
| listener 8883 | This will add a listener on port 8883, which is the default port for TLS communication. This line should be at the very beginning of the file. |
cafile /etc/mosquitto/ca_certificates/ca.crt | This line will specify where the ca.crt file is. It should be at the end of the file. |
keyfile /etc/mosquitto/certs/raspberrypi.key | This line will specify where the raspberrypi.key file is. It should be at the end of the file. |
certfile /etc/mosquitto/certs/raspberrypi.crt | This line will specify where the raspberrypi.crt file is. It should be at the end of the file. |
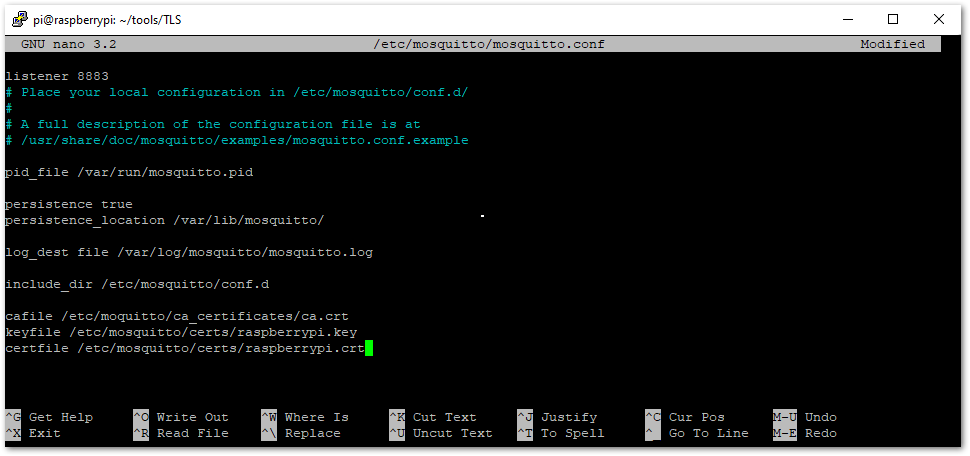 Figure 1: Mosquitto Configuration
- Restart the Mosquitto service to load the configuration file.
sudo systemctl restart mosquitto.service
- Global integration setup.
You need to provide the ca.crt file to the gateway that you want to connect to this broker. The first step is to copy the content of the ca.crt file to the clipboard. Do that by using the cat command. Issue the following command to display the certificate’s content and then copy it like this:
cat ca.crt
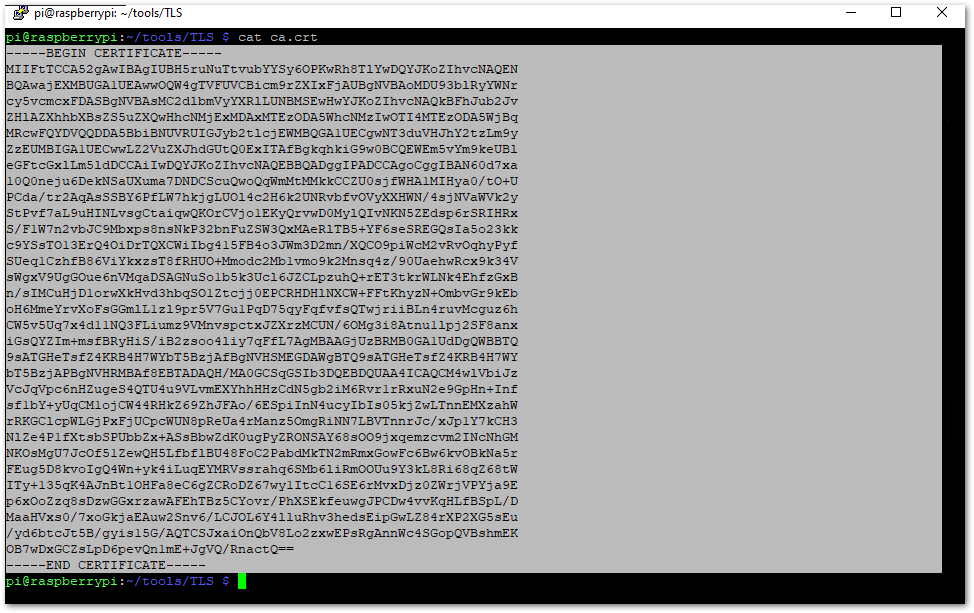 Figure 1: Mosquitto Configuration
Make sure to copy only the certificate as even one extra symbol could make the certificate invalid.
- In the gateway’s Web UI, navigate to LoRa Network > Global Integration and do the following setup:
-
MQTT Broker Address – Enter the MQTT broker host’s address.
-
MQTT Broker Port – The value should be 8883.
-
SSL/TLS Mode – From the drop-down menu, select Self-signed server certificate.
-
TLS Version – From the drop-down menu, select TLSv1.2.
-
CA Certificate – Paste the copied CA Certificate. Make sure that there are no spaces before and after the certificate.
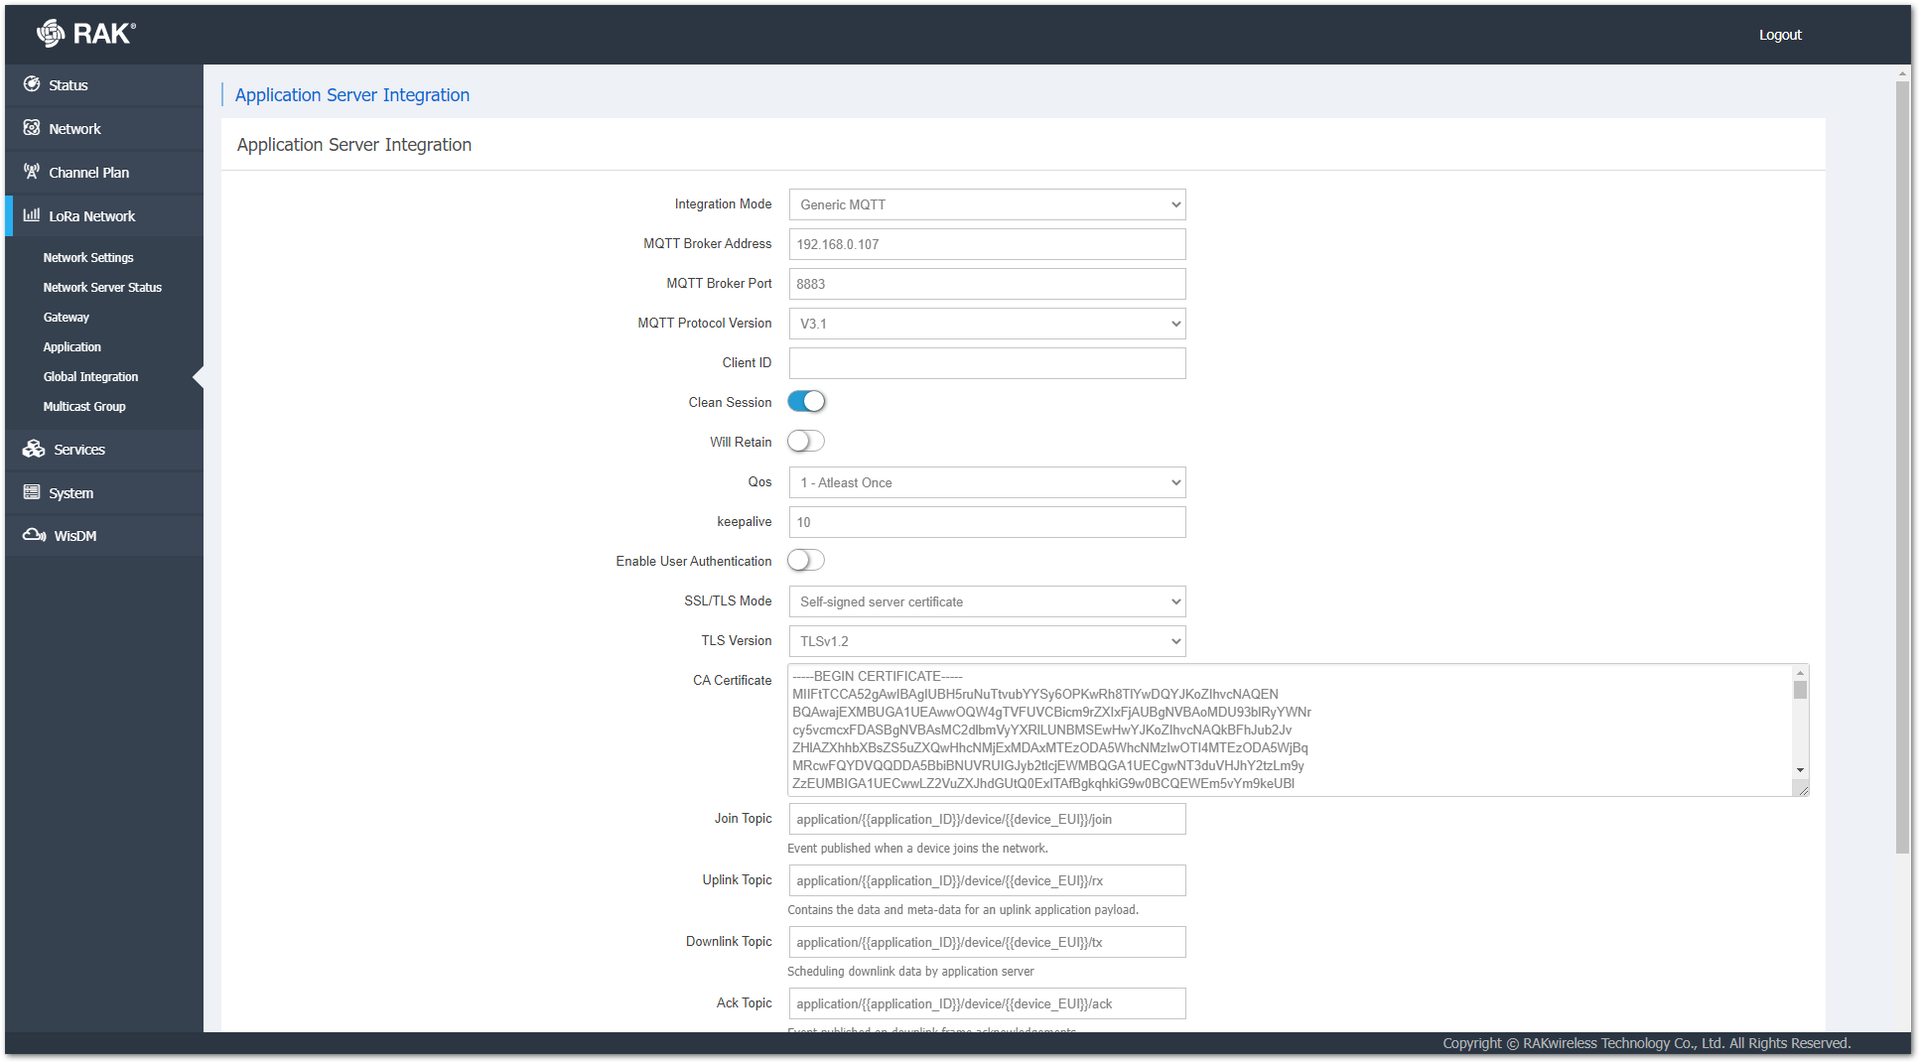 Figure 1: Global Integration setup
-
Click Save & Apply and the configuration will be ready.
-
Test on the connection by subscribing to one of the gateway’s topics via Mosquitto clients. To install mosquitto-clients, use the following command:
sudo apt-get install mosquitto-client
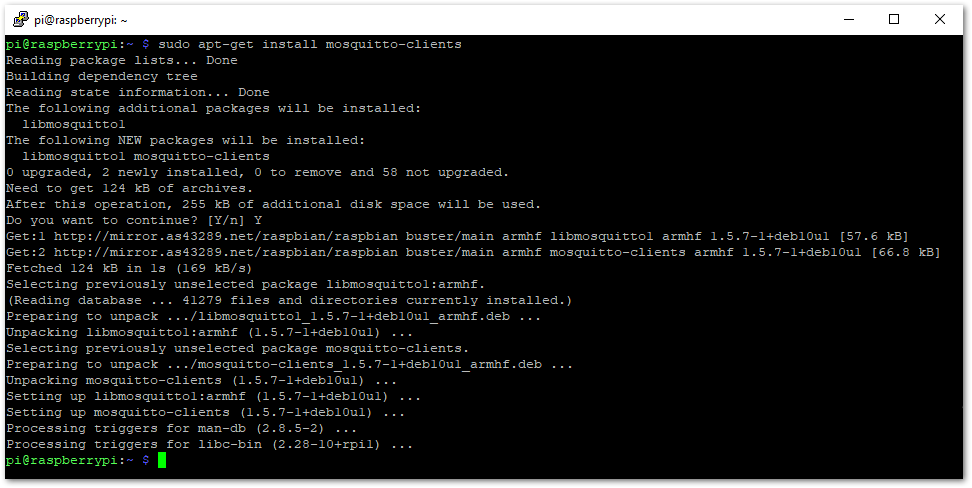 Figure 1: Install Mosquitto Clients
Now, use mosquitto_sub to subscribe to a topic and see if uplinks are received:
mosquitto_sub -h <host’s IP> -p 8883 -t application/1/device/+/rx –cafile /etc/mosquitto/ca-certificates/ca.crt
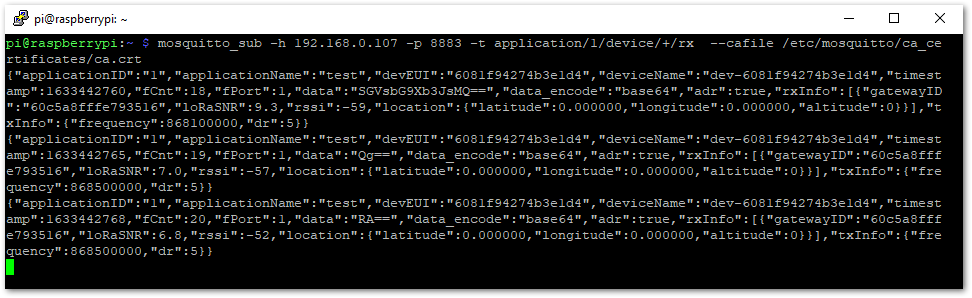 Figure 1: Received Uplinks from the End-Device