Manage Templates with WisToolBox Desktop
Use a template to define your LoRa preferences and apply them to RAK devices. If you sign in using a RAK ID, the templates are stored in the cloud and can be synced on different PCs.
Create a Template
- Click the + NEW TEMPLATE button to create a template.
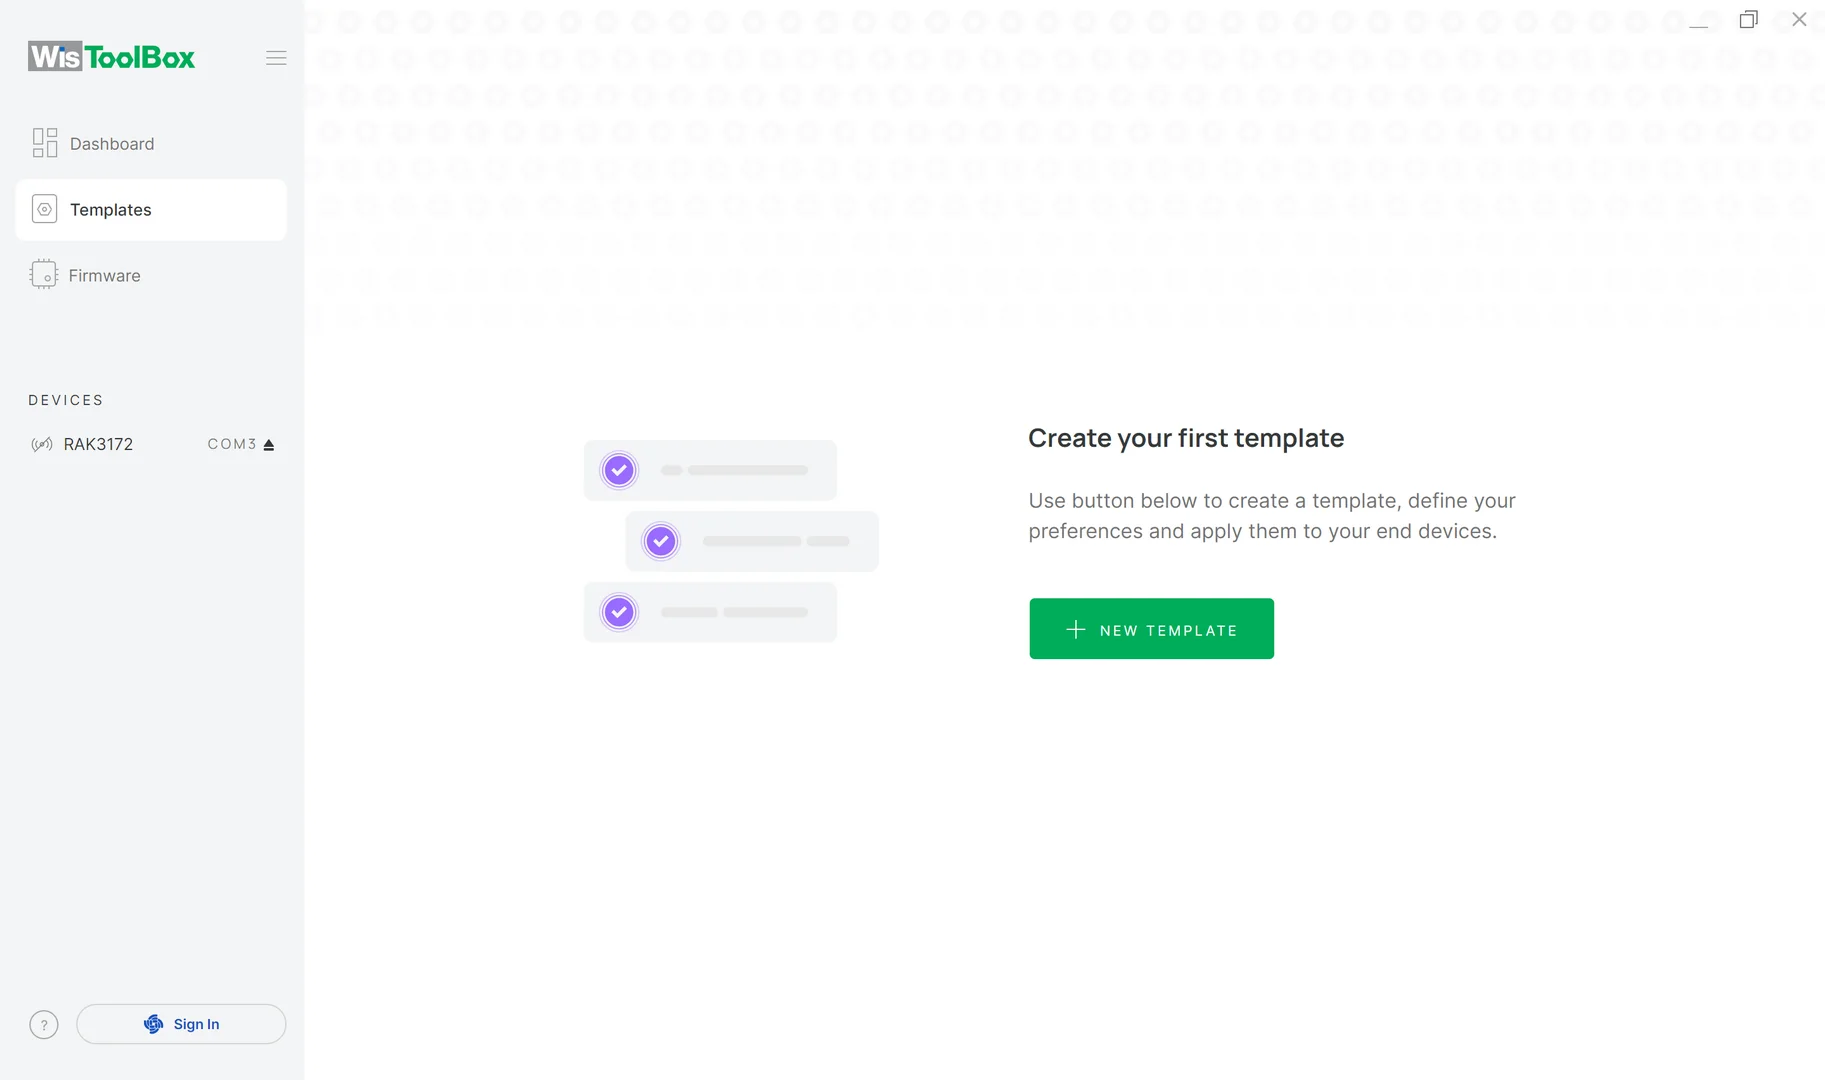 Figure 1: WisToolBox Desktop new template screen
- Select Create new template from the SELECT OPTION menu.
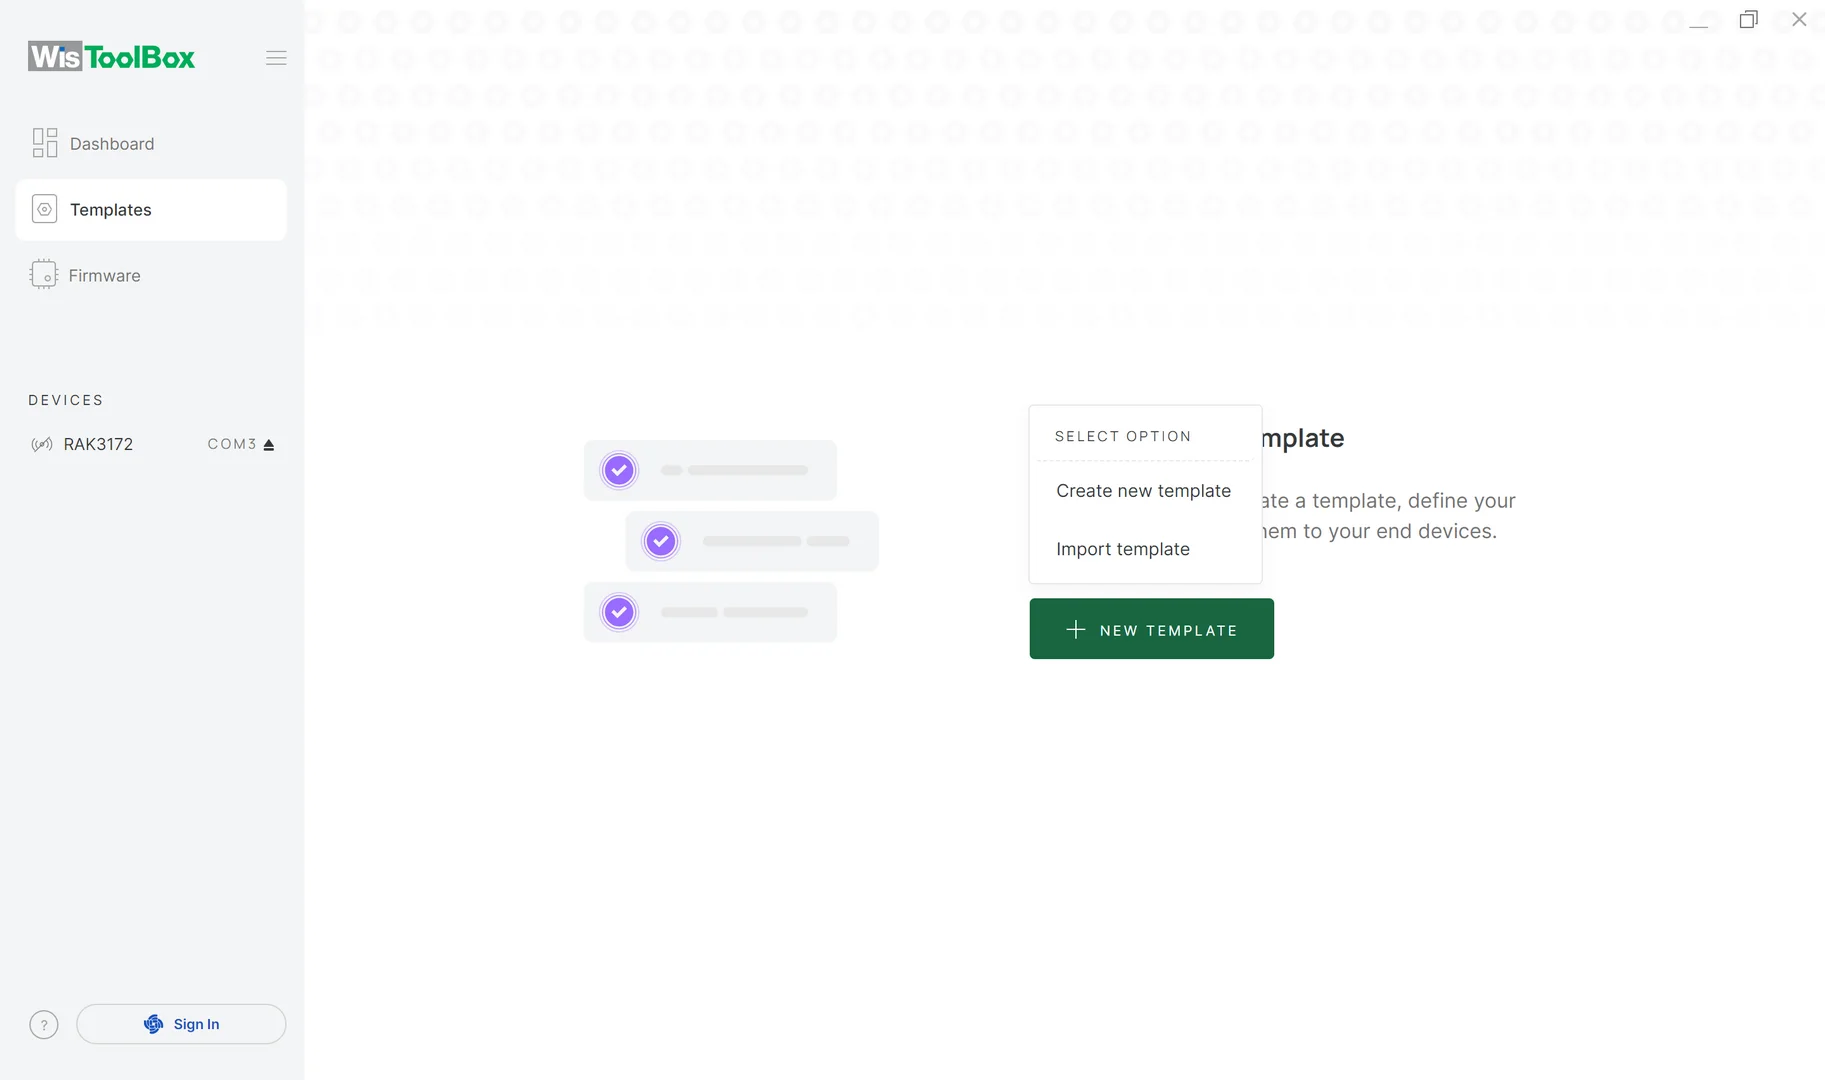 Figure 1: WisToolBox Desktop template device list
- In the Select device window, use the mouse scroll button to find the RAK device for the new template. Then click SELECT DEVICE.
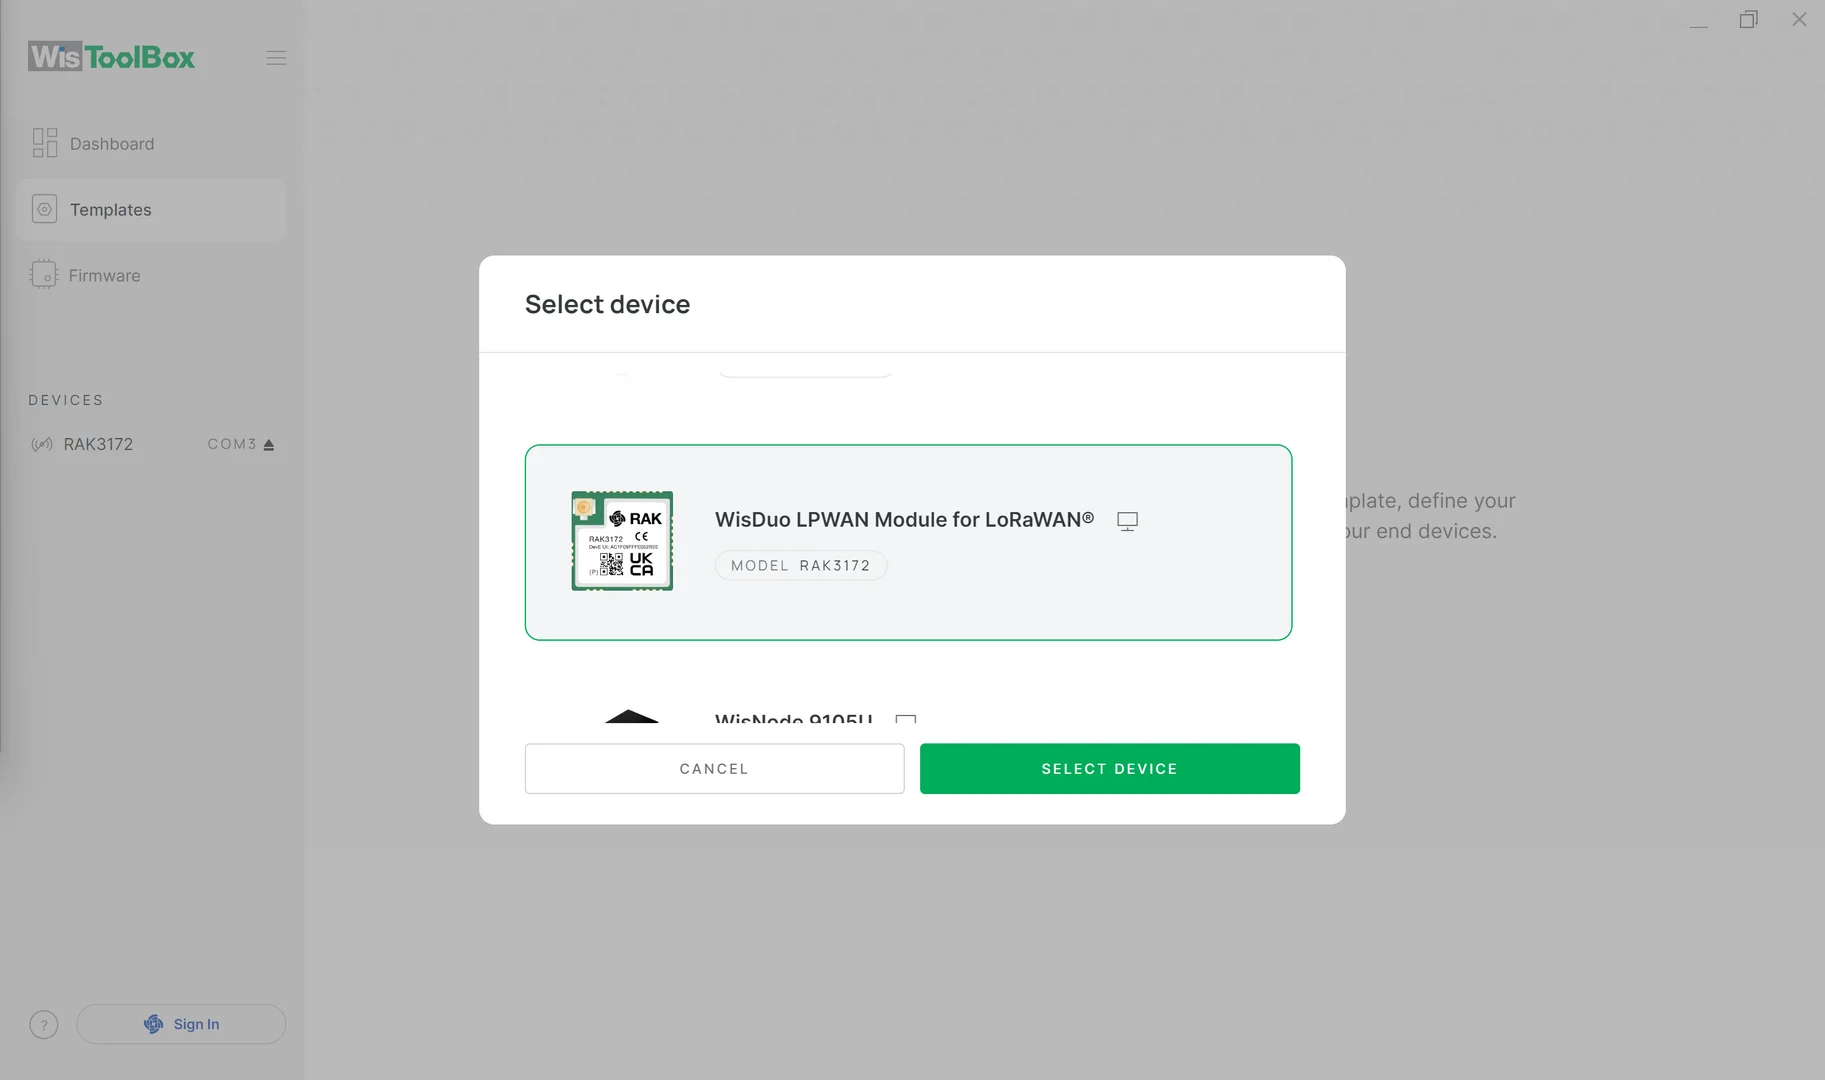 Figure 1: WisToolBox Desktop template scroll list
- Enter a name for the new template. Click each configuration section to expand it and enter the corresponding template parameters. Then click SAVE TEMPLATE.
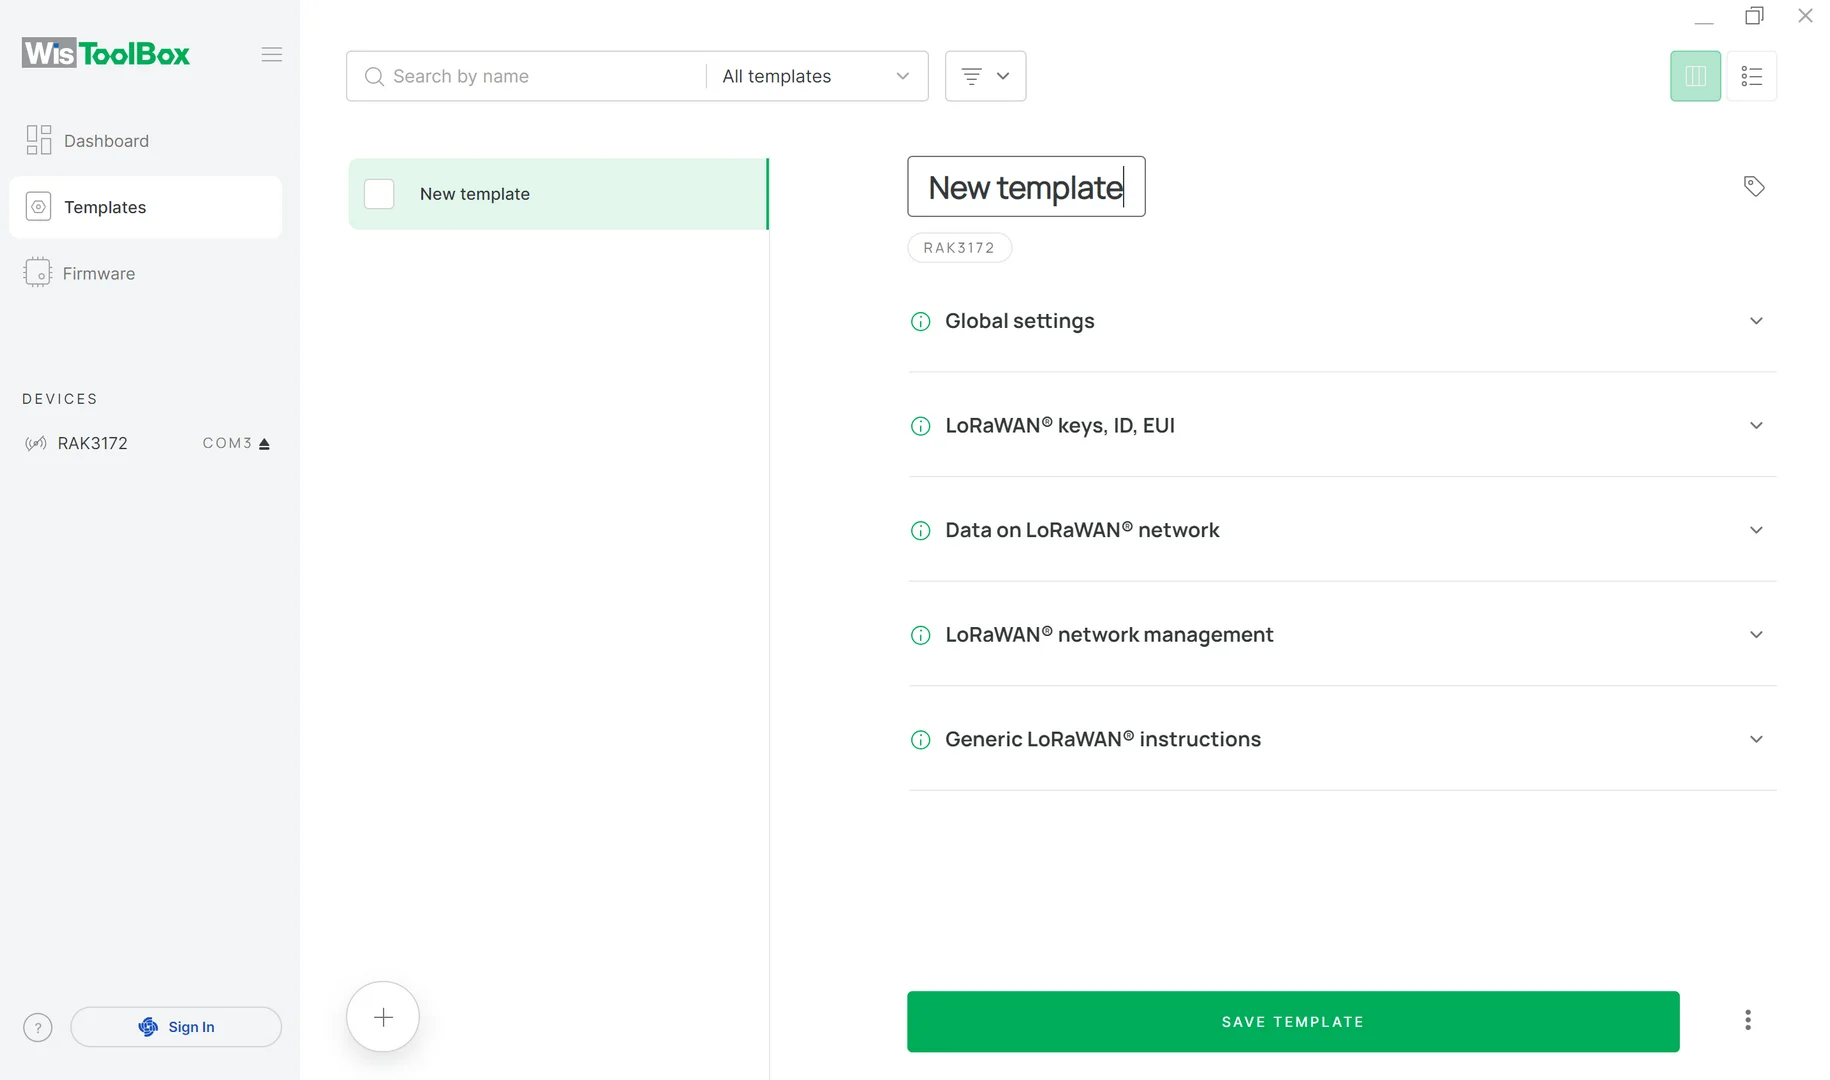 Figure 1: WisToolBox Desktop template fill parameters
Configure Template Parameters
Global Settings Parameters
Choose the Network mode, Join mode, and LoRa Active Region.The Join Mode is configured on your LoRa gateway.
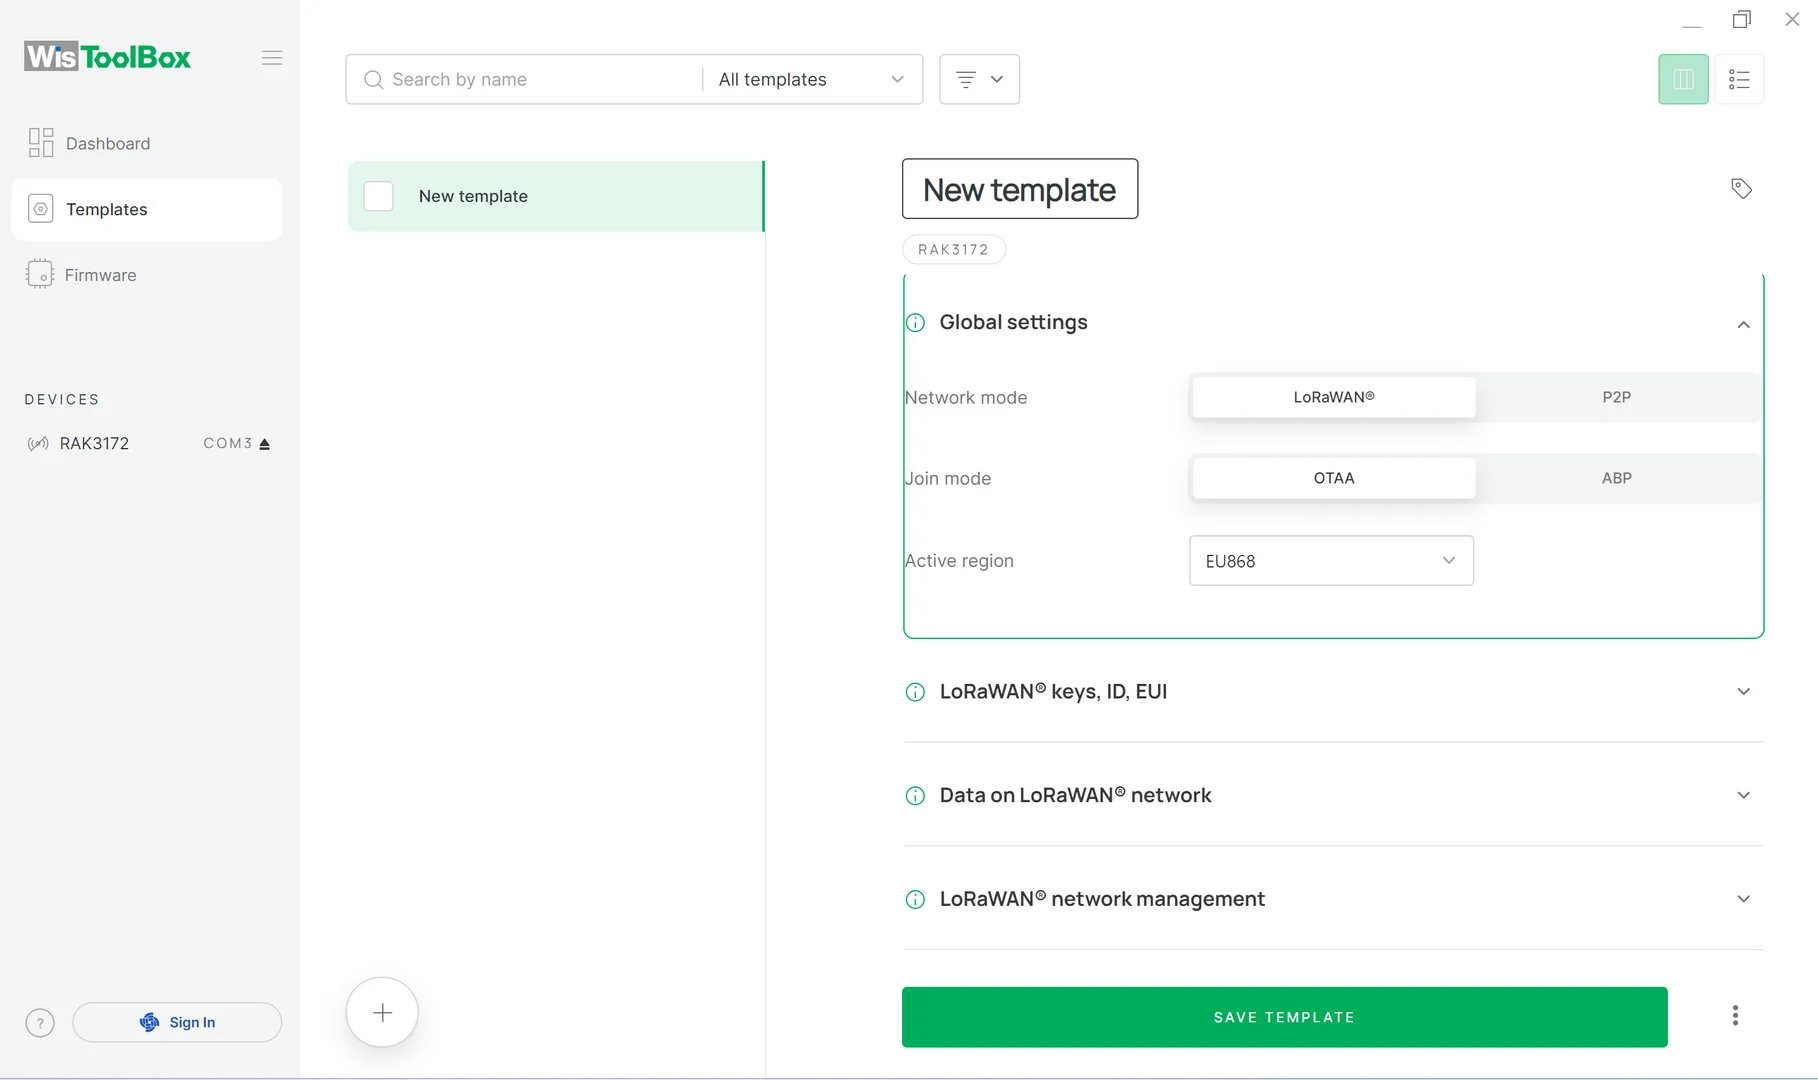 Figure 1: WisToolBox Desktop Template Global Settings parameters
LoRaWAN Keys, ID, EUI Template Parameters
Configure the LoRaWAN keys, ID, and EUI parameters.
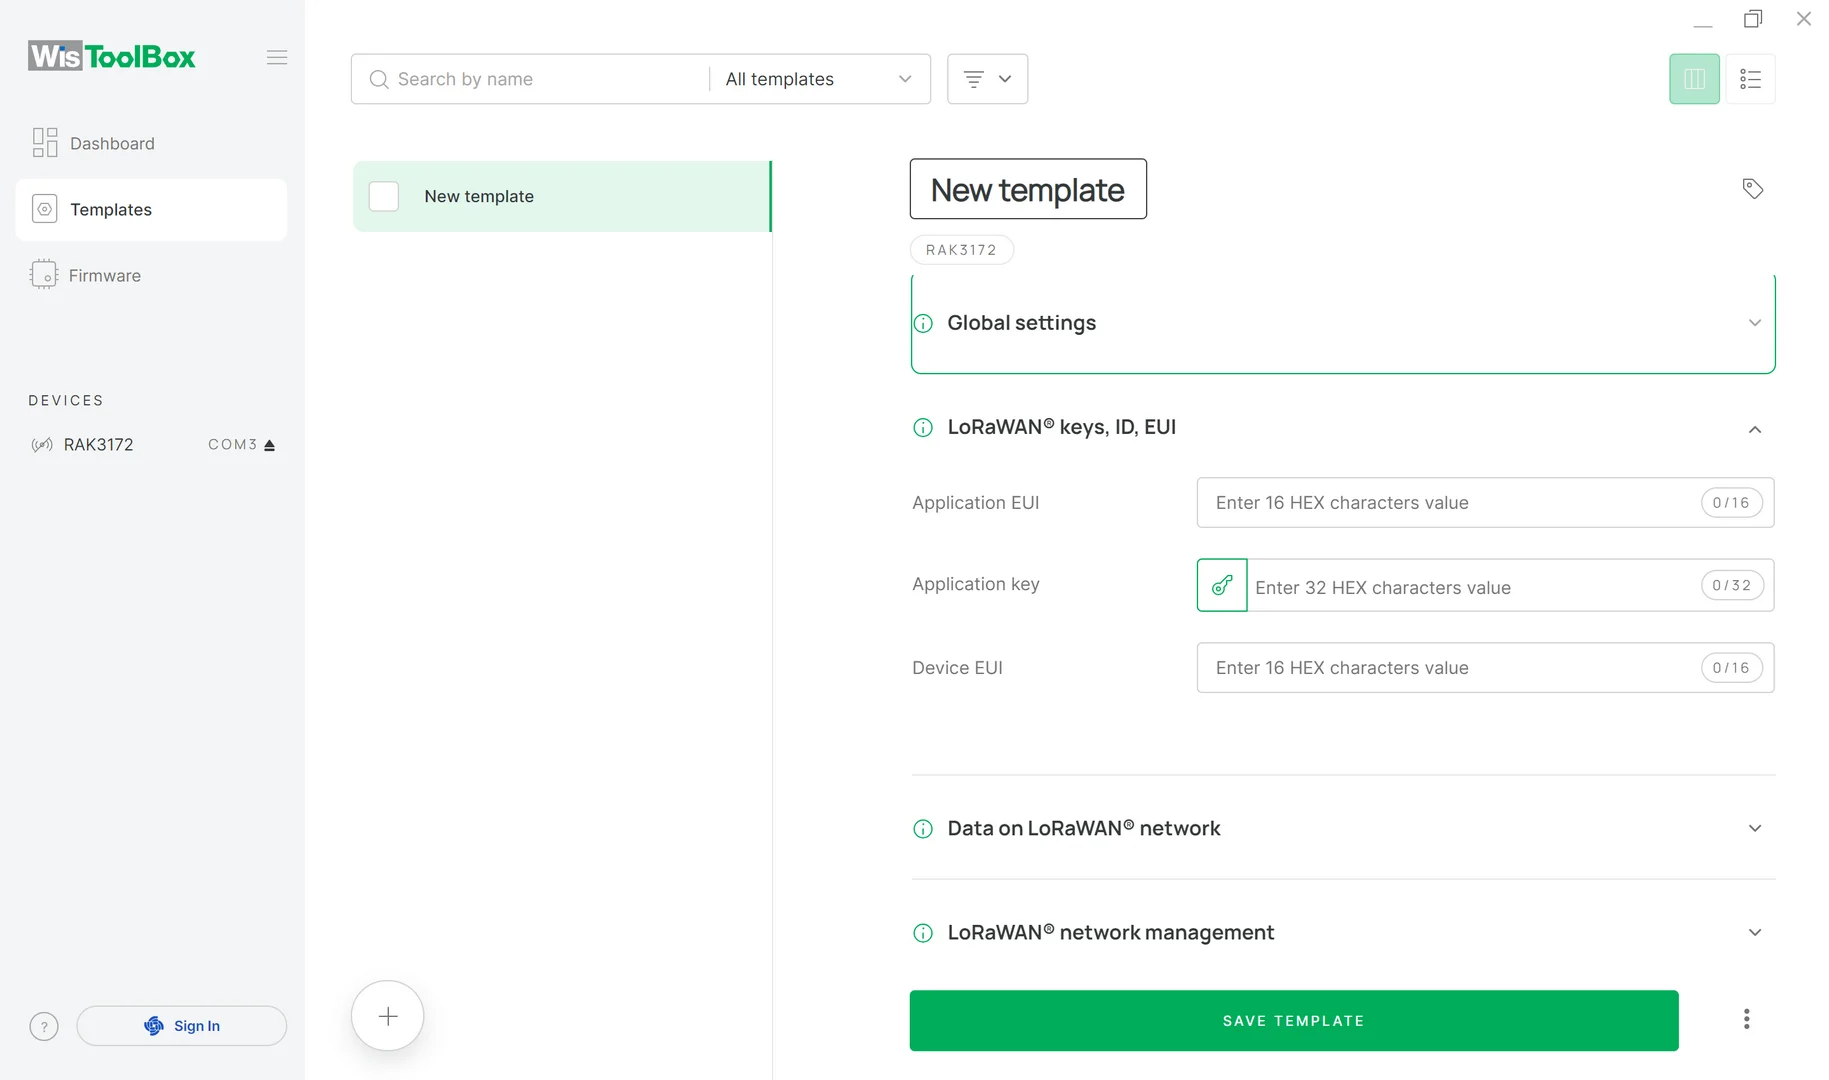 Figure 1: WisToolBox Desktop Template LoRaWAN keys, ID, and EUI parameters
The Application EUI and Application Key parameters have been configured on your LoRaWAN gateway.
If you do not have a Device EUI, use the QR code printed on the sticker of your RAK device.
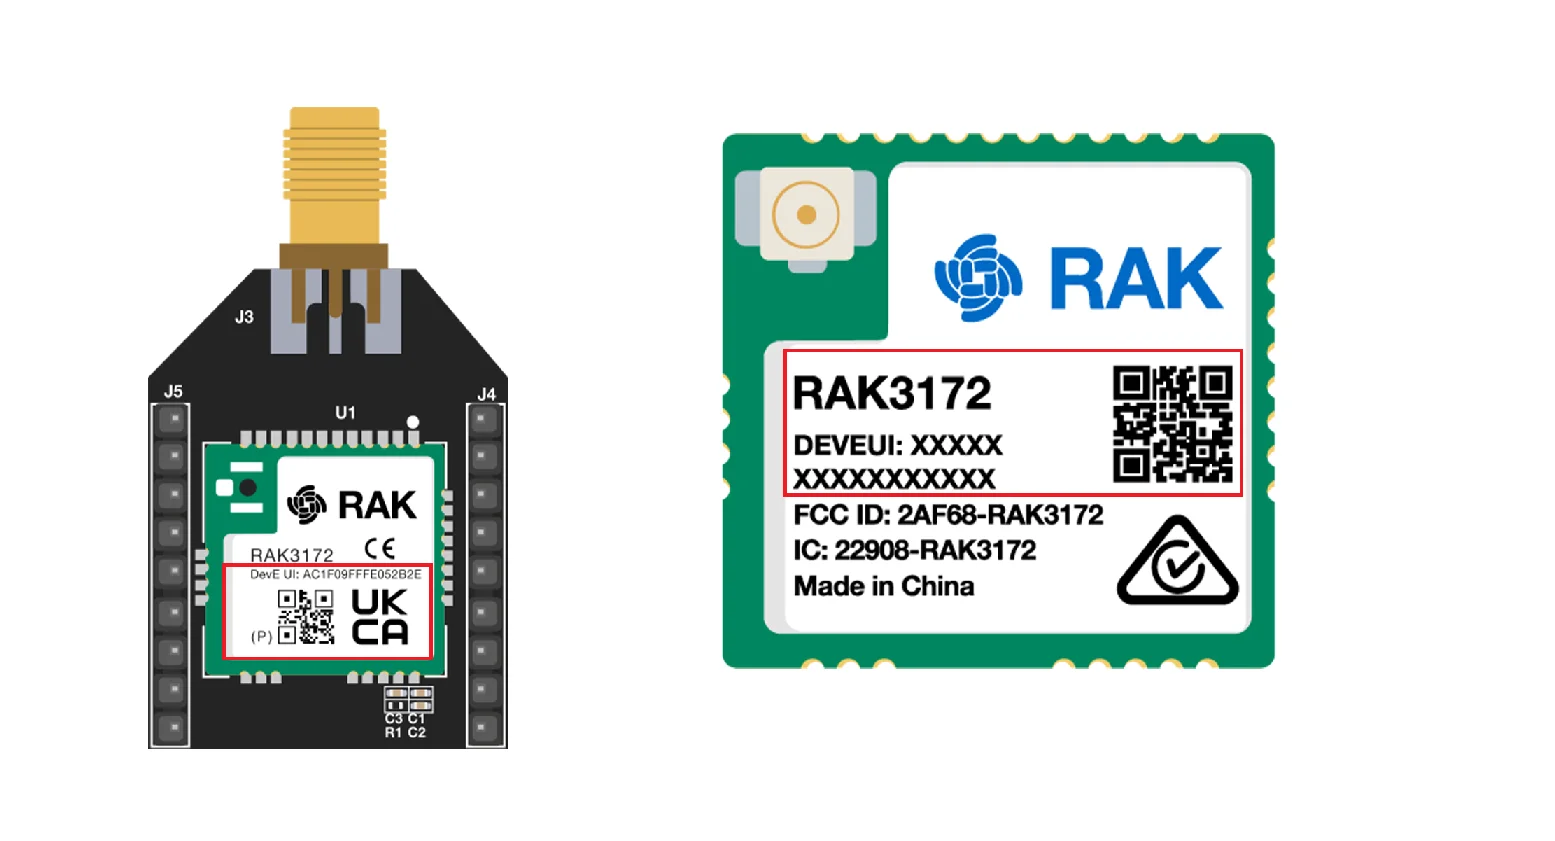 Figure 1: Device EUI QR code
Save Template
To finish creating the template, click the SAVE TEMPLATE button.
The saved template appears in the list of templates when you launch WisToolBox Desktop.
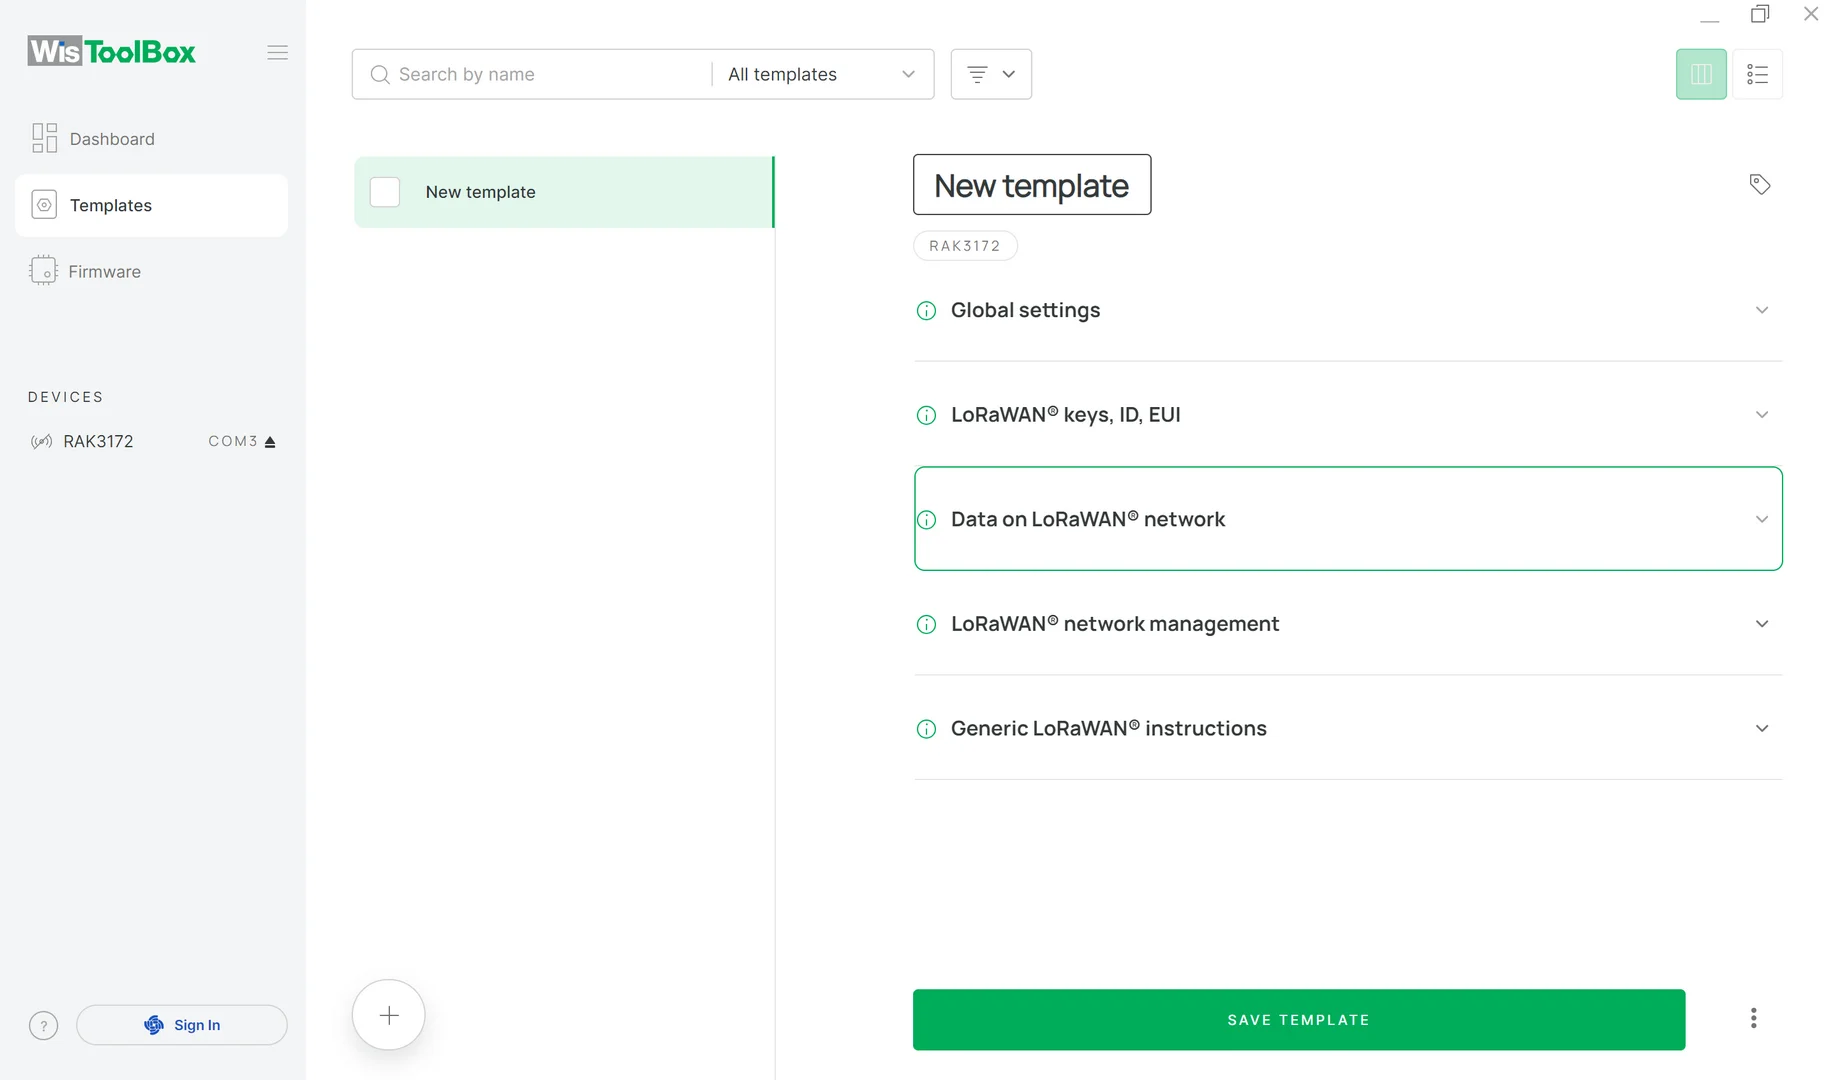 Figure 1: WisToolBox Desktop Template fill parameters
Templates can also be created on the main dashboard during device configuration.


