OpenVPN Client
OpenVPN (Open Virtual Private Network) is a type of VPN in which a server is deployed to allow both the Gateway and multiple client devices, such as PCs, phones, and other endpoints, to connect via a public IP address. This setup can be implemented using any backhaul connectivity supported by the gateway, including Ethernet, Wi-Fi, or LTE. When using LTE as the backhaul, make sure that the gateway has a static public IP address.
By connecting to the OpenVPN server from a remote client, the gateway can be securely managed from anywhere, at any time. As mentioned above, an OpenVPN server is required. Detailed instructions for deploying a server in the AWS cloud can be found in the How to Configure WisGate Edge v2 Gateways Remote Management - OpenVPN guide.
Install the OpenVPN Client Extension
To install the extension, follow the steps in Add an Extension section.
Configure the OpenVPN Client Extension
Make sure you have local network access to your gateway and connect to it to access the Web UI.
- To access the OpenVPN Client extension, click Launch.
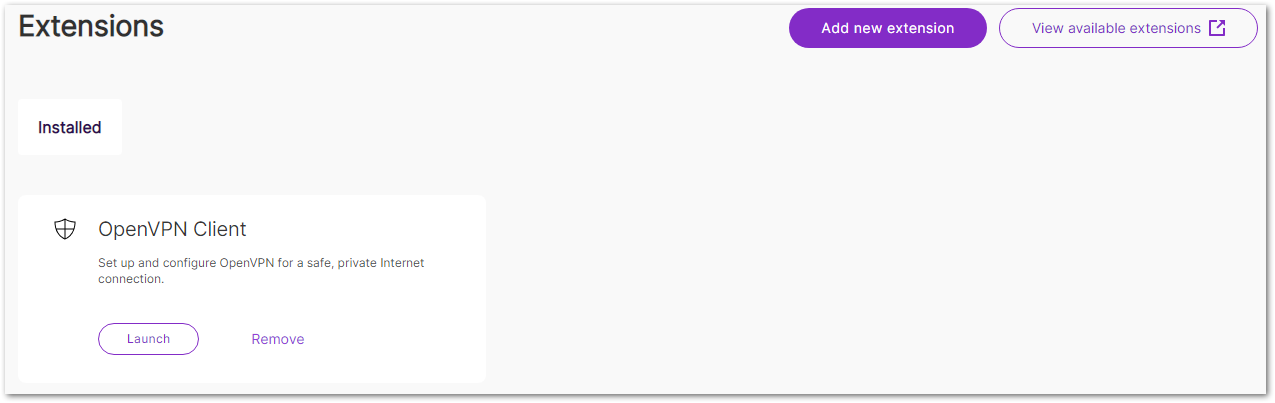 Figure 1: Launch the OpenVPN Client Extension
- Add an OpenVPN tunnel by clicking the Add tunnel button or the add one now link.
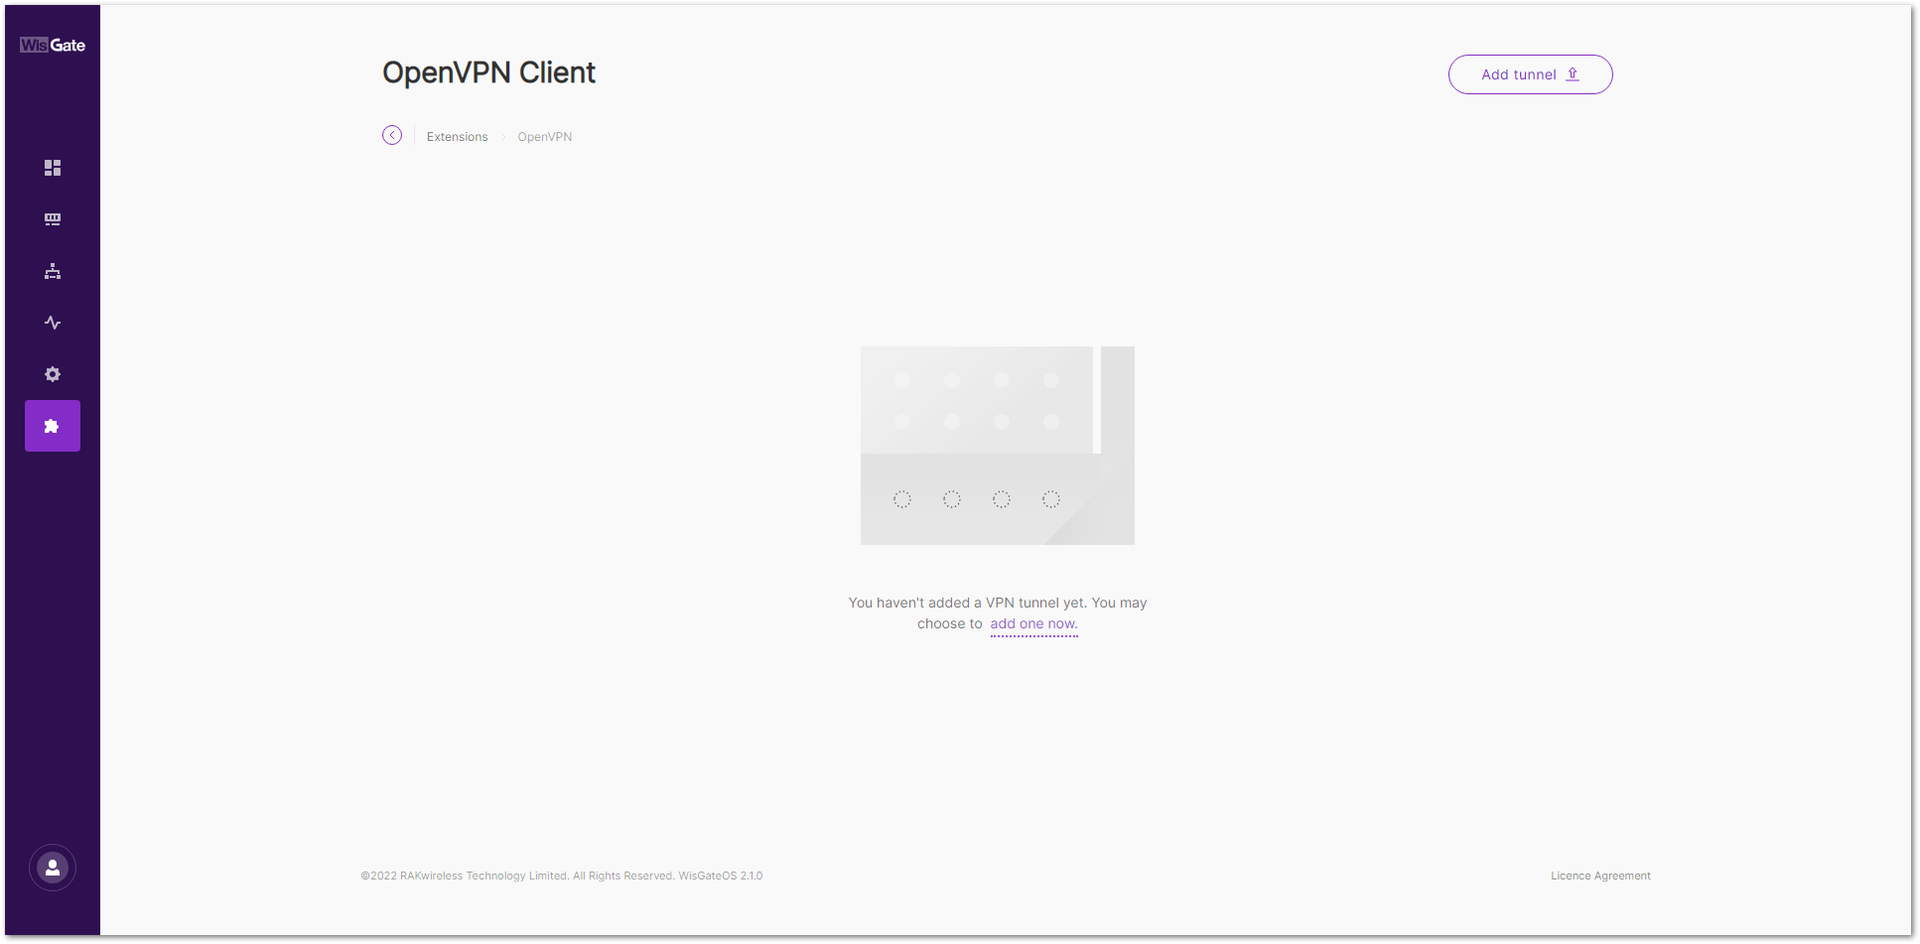 Figure 1: Add OpenVPN tunnel
- Click the choose file link and browse for the
.ovpnfile or drag and drop the.ovpnfile you created by following the How to Configure WisGate Edge v2 Gateways Remote Management - OpenVPN guide.
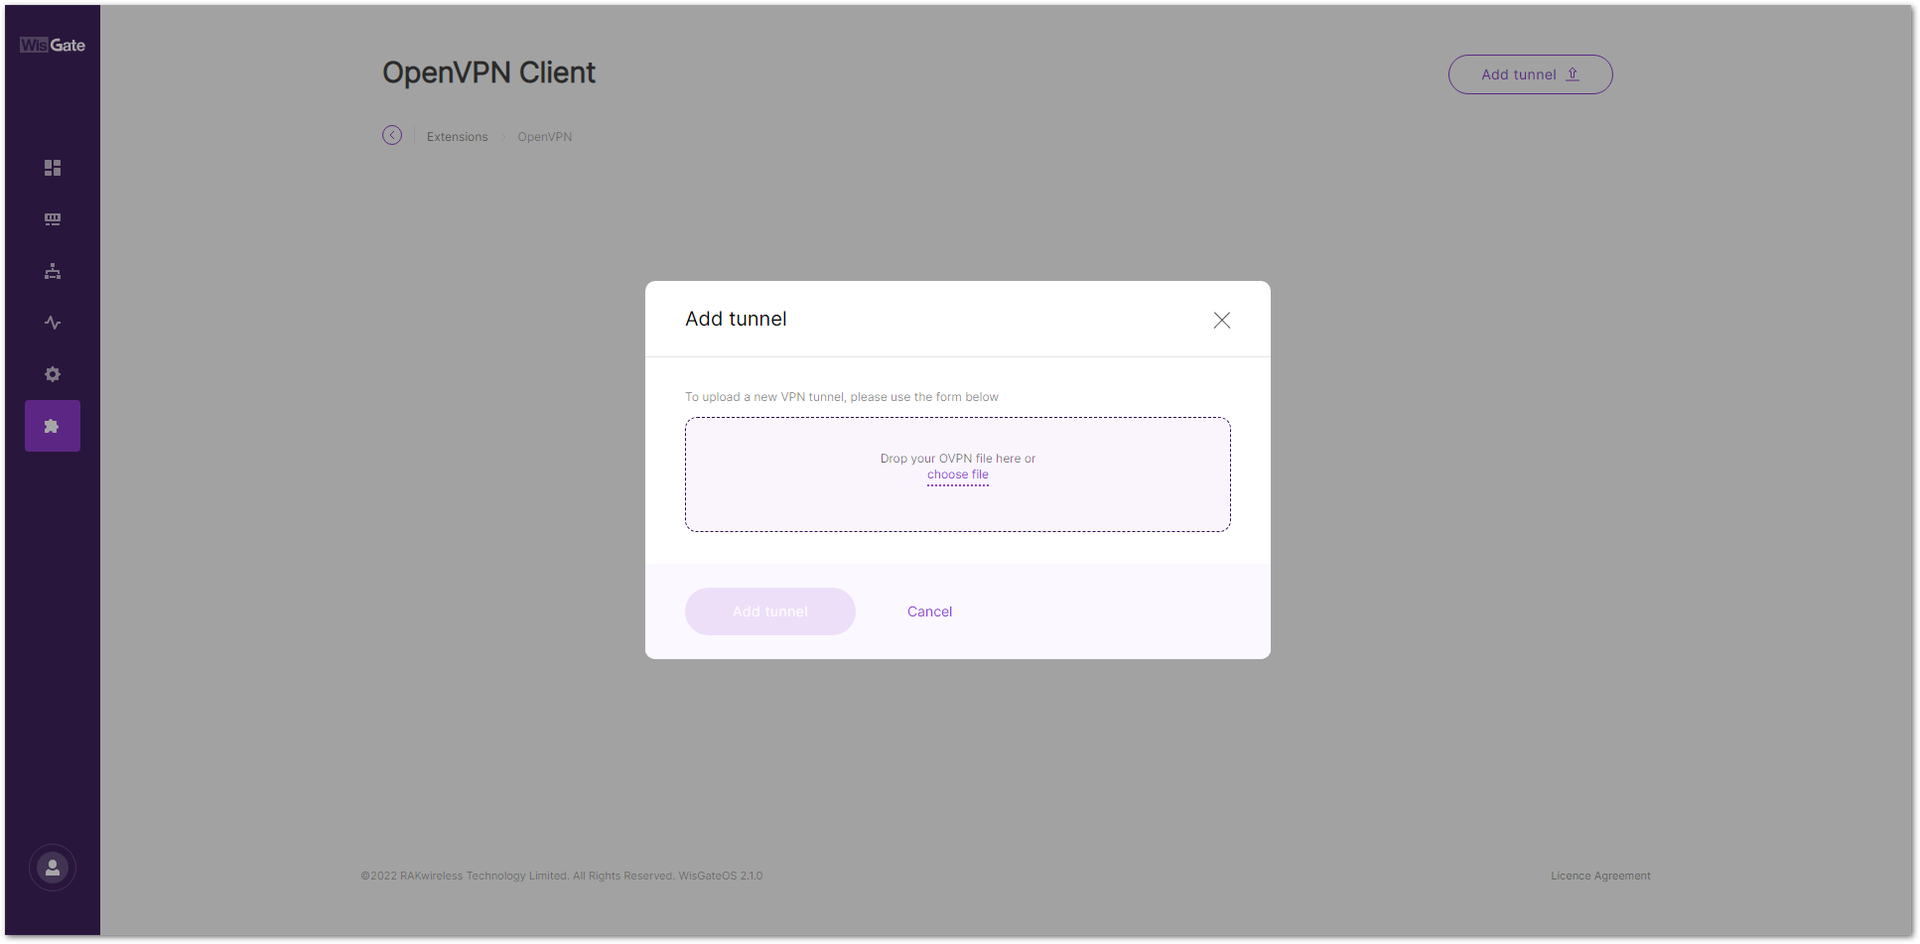 Figure 1: Add .ovpn file to the gateway
- Once the file is added, click Add tunnel to add the OpenVPN tunnel.
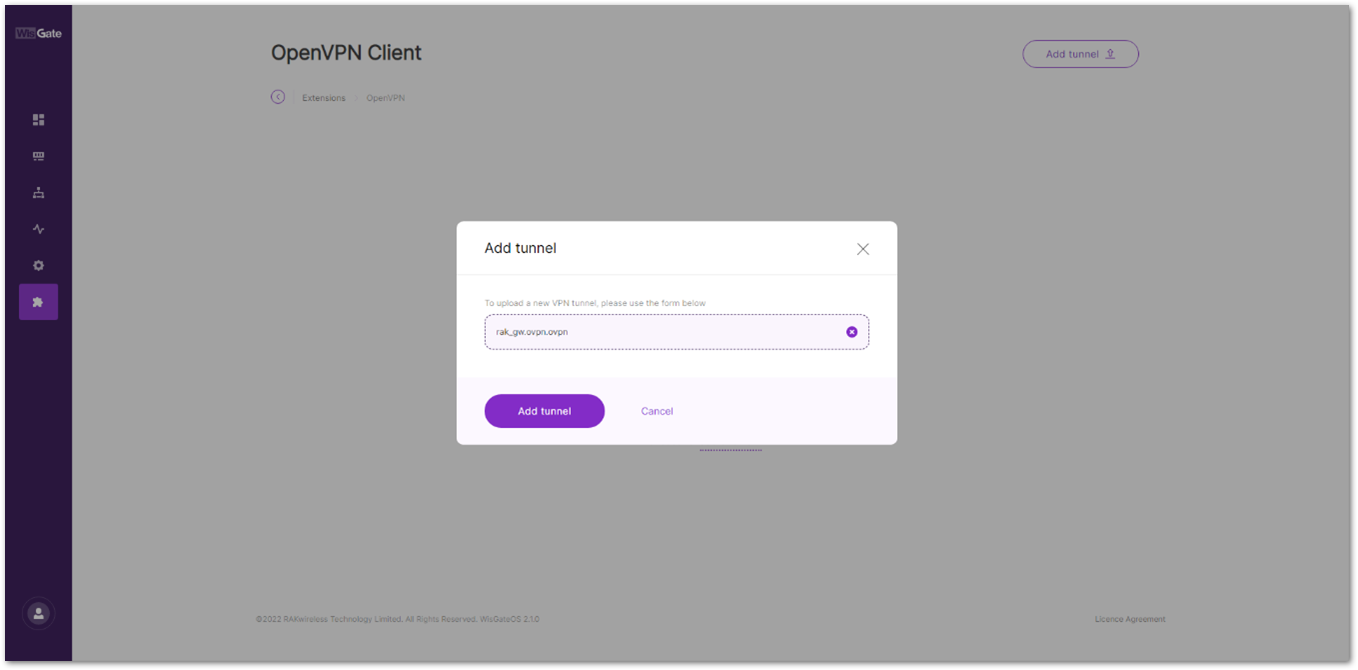 Figure 1: Add OpenVPN tunnel
When the tunnel is added successfully, a confirmation message will appear at the bottom of the screen.
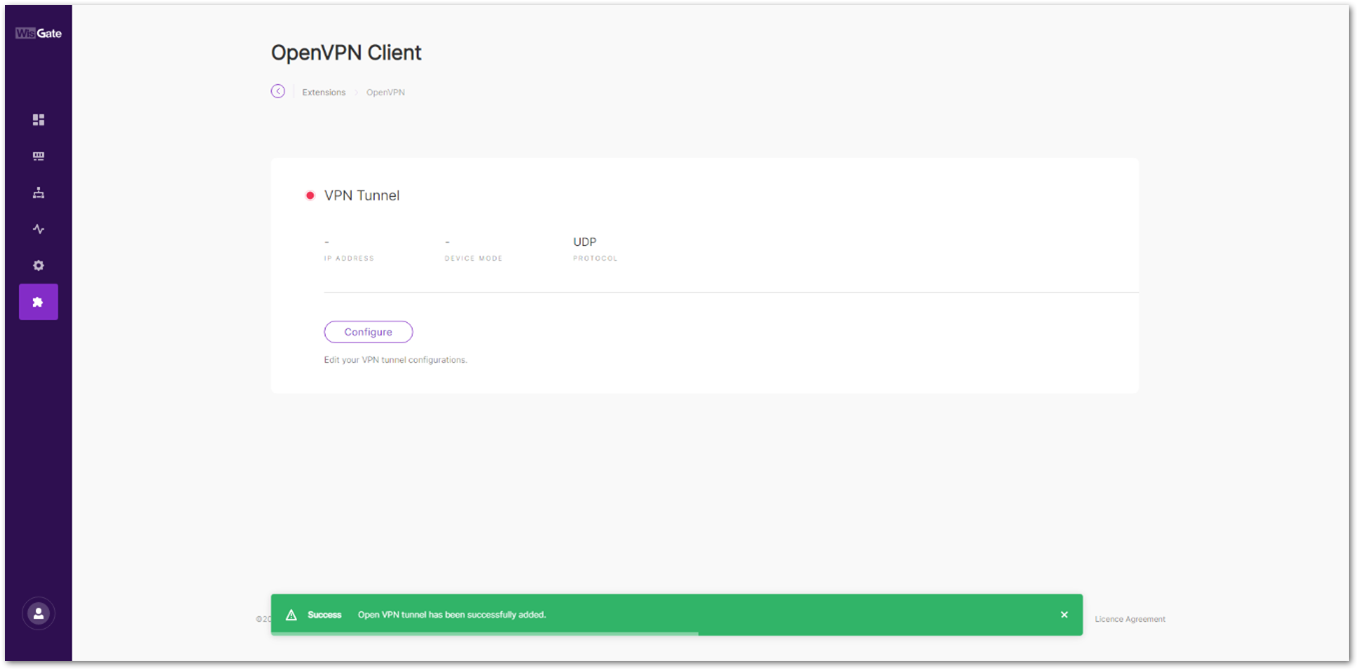 Figure 1: Successfully added tunnel
- Click the Configure button of the VPN tunnel. On the next window, toggle the Enable Connection switch to enable the OpenVPN tunnel and click Save changes.
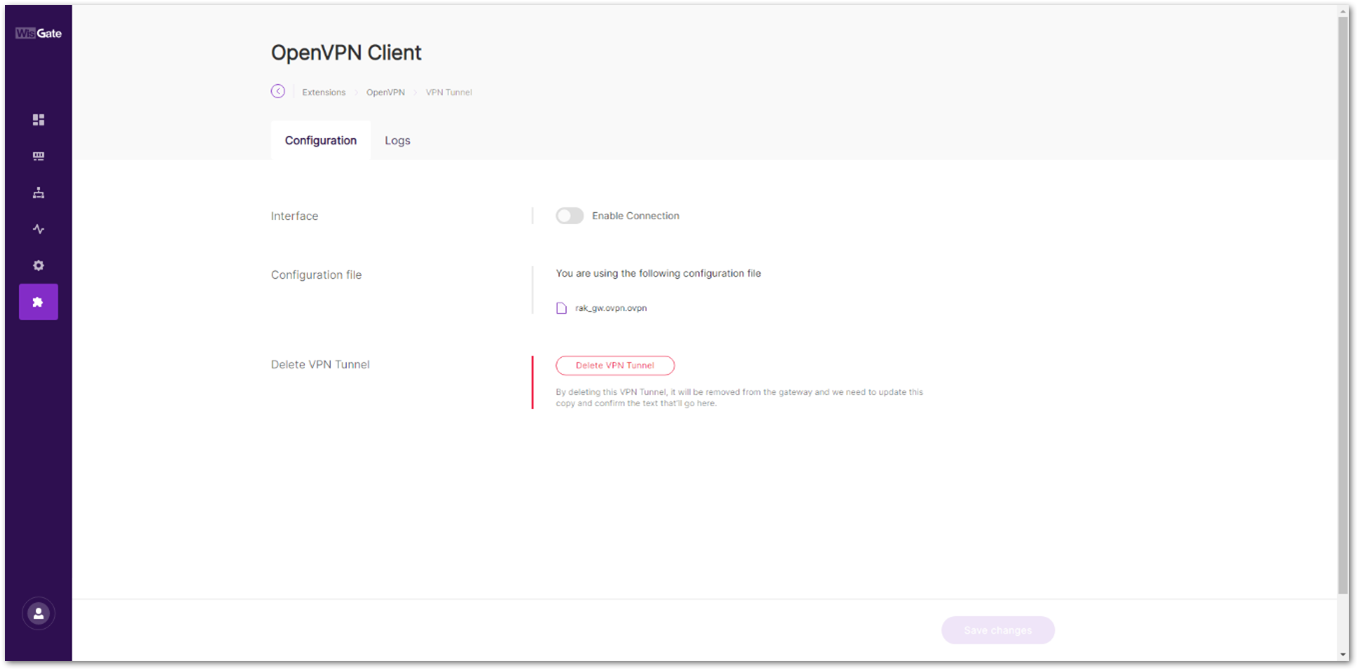 Figure 1: Start the OpenVPN tunnel
- Once the configurations are set, you can check the OpenVPN status under the Logs tab.
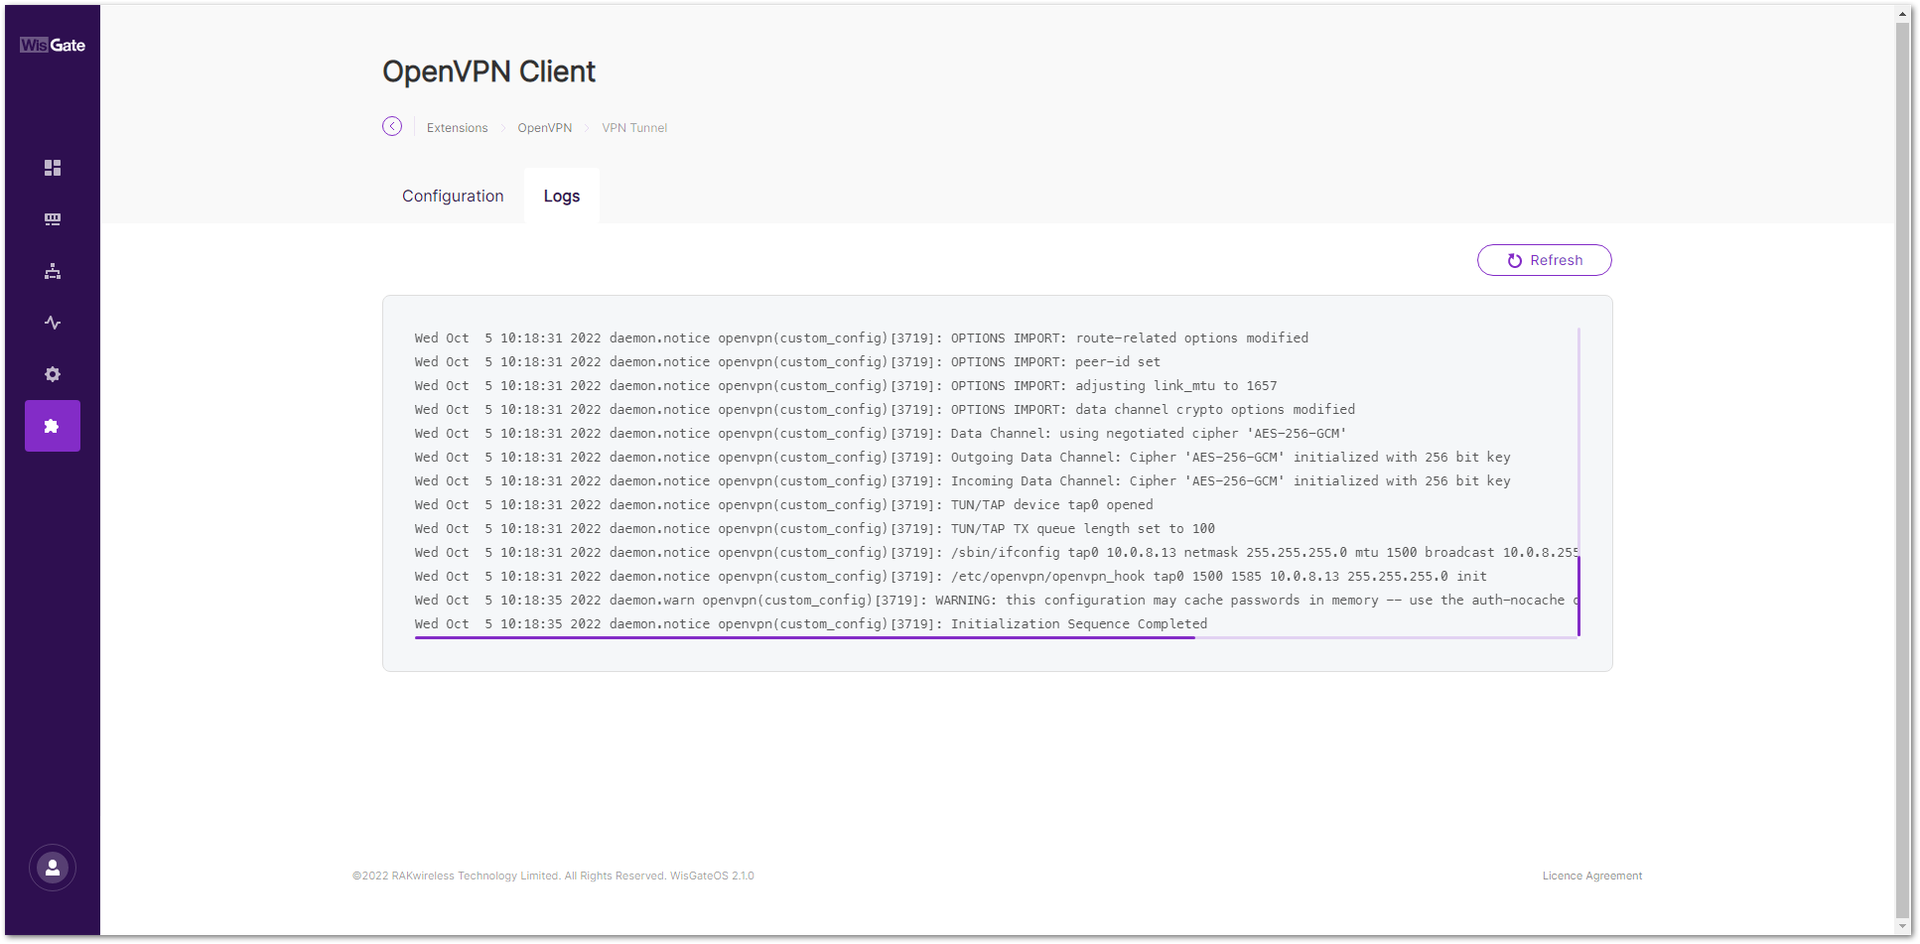 Figure 1: OpenVPN tunnel status
- You can also view the assigned IP on the OpenVPN Overview page.
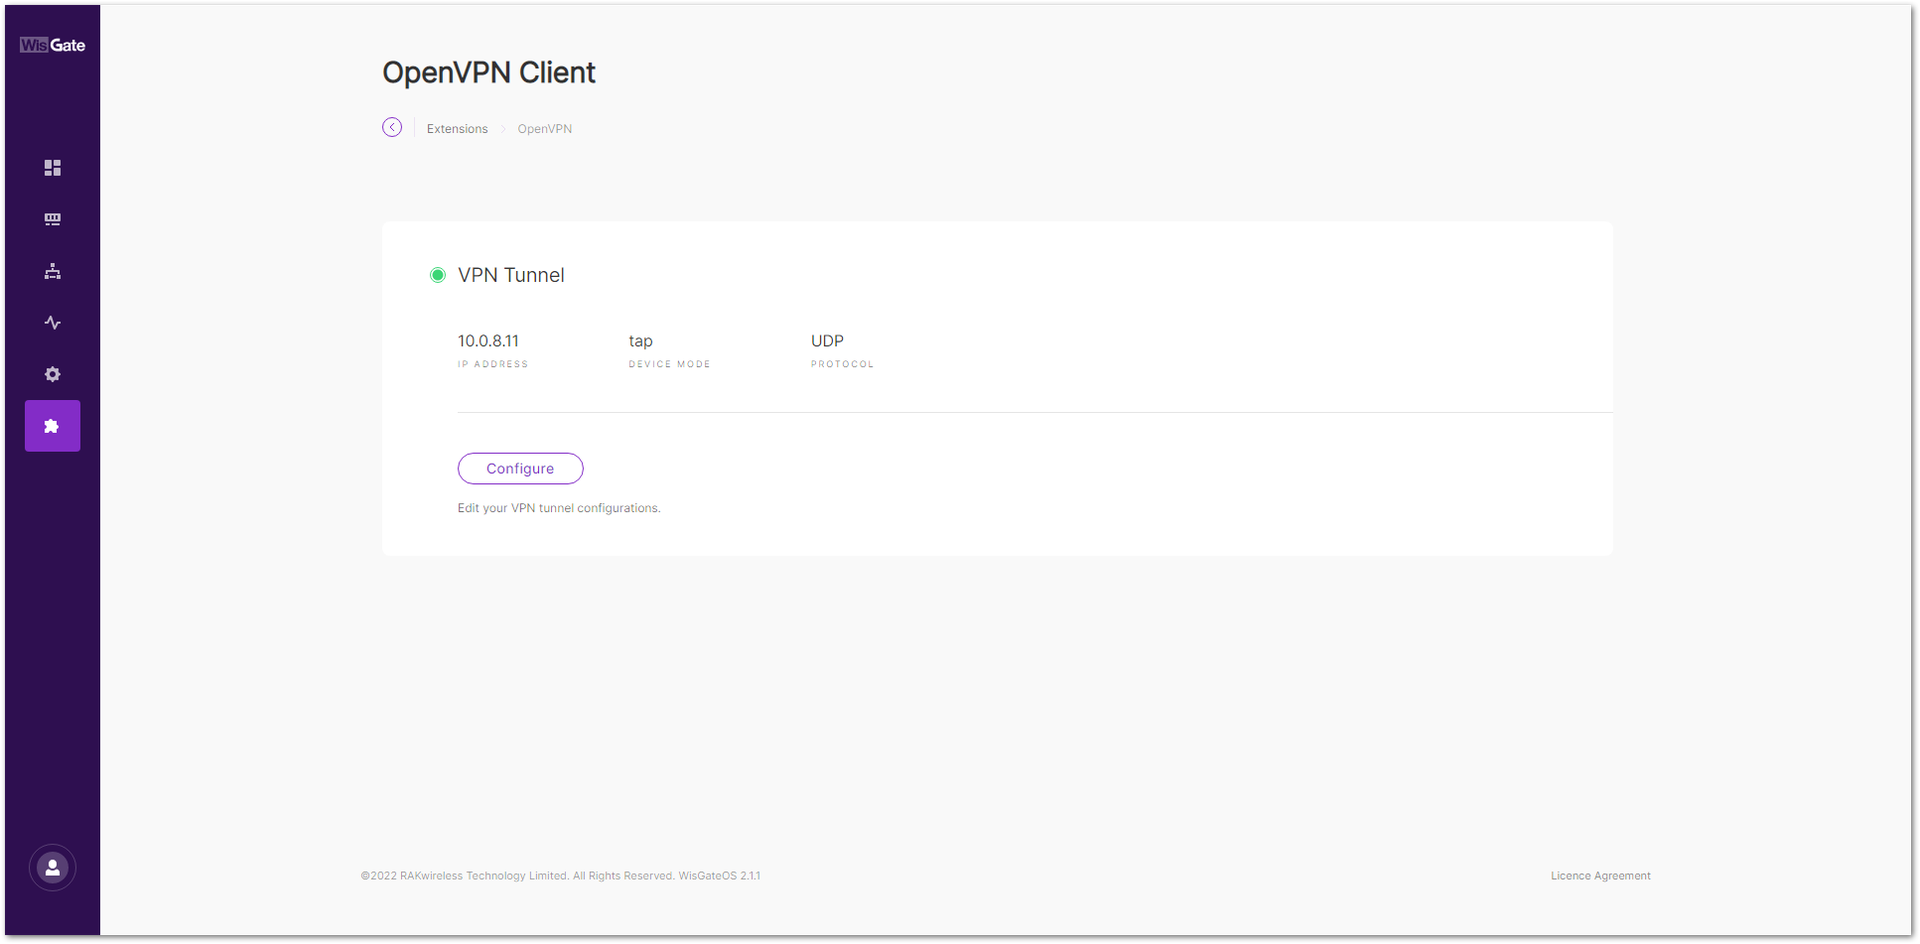 Figure 1: OpenVPN assigned IP


