WisDM Create and Manage Organizations
From the left navigation panel, click Organizations at the top to open the organization management console.
The Organizations page lists all the organizations that the current user has access to in WisDM. Each organization represents an independent management domain; typically an enterprise account, a partner instance, or a demo environment.
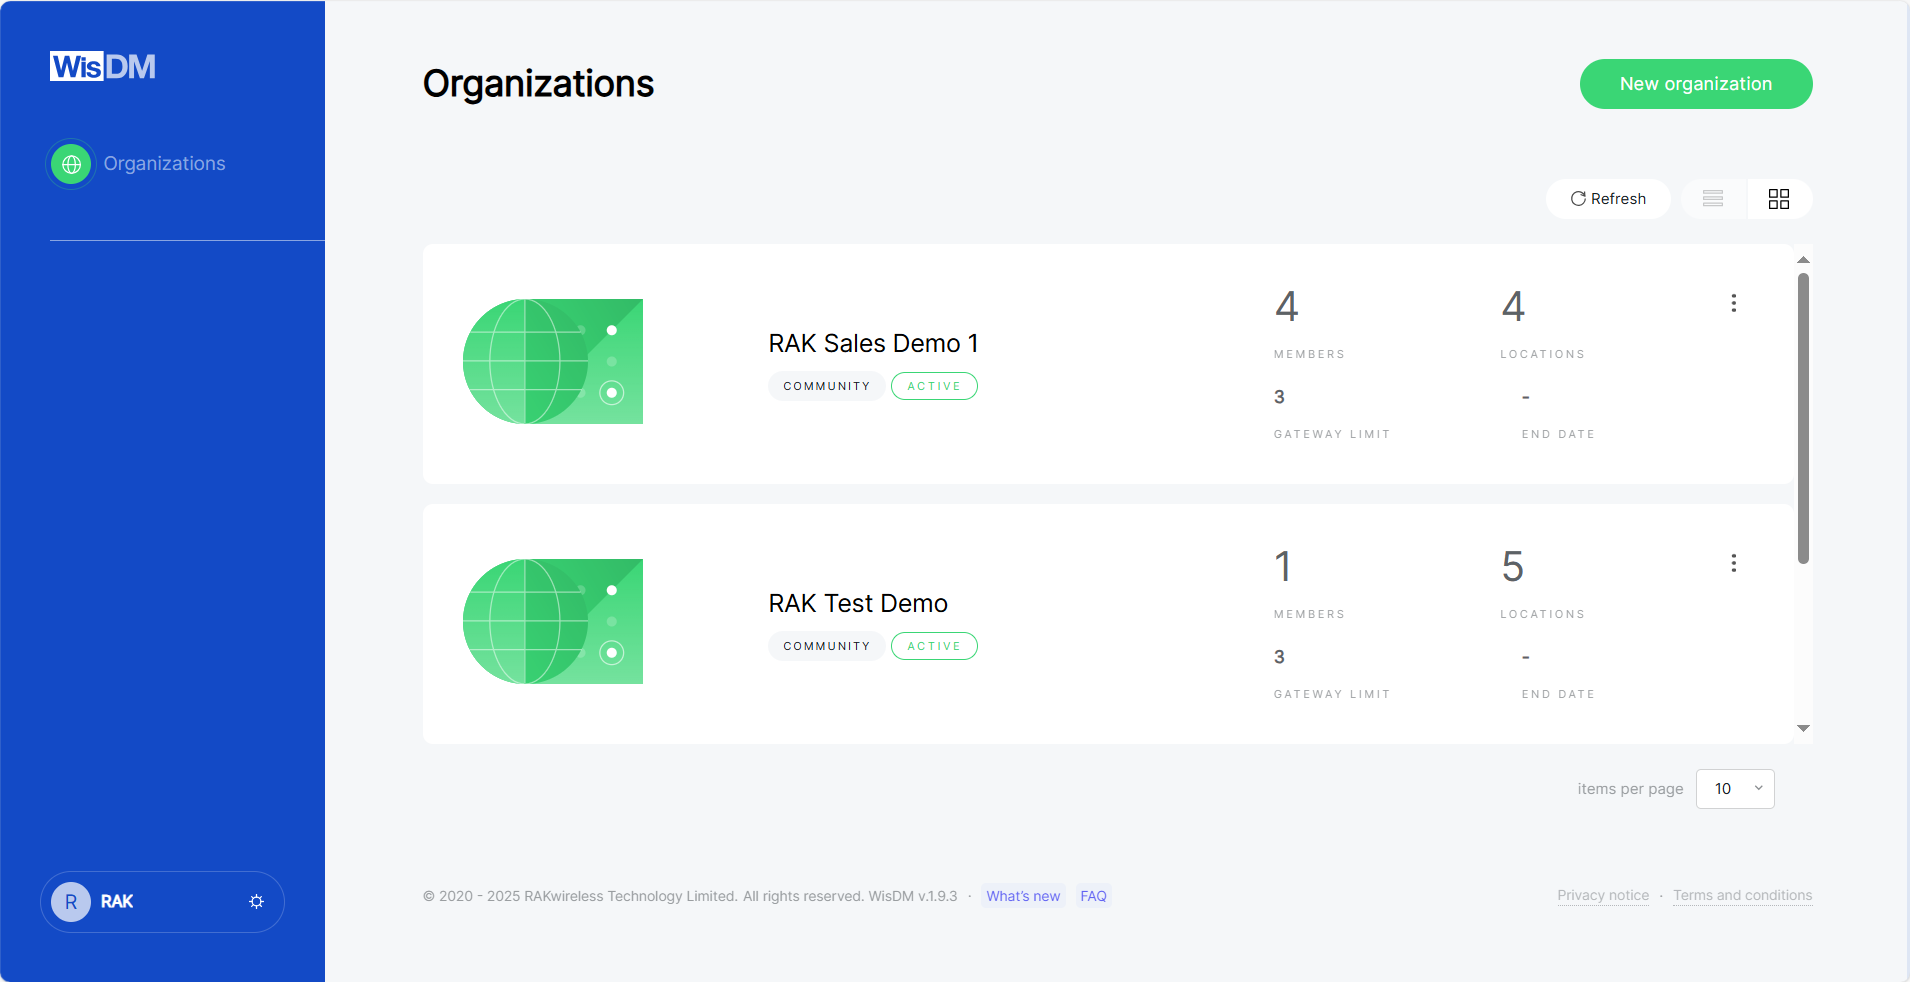 Figure 1: Organizations
Create an Organization
An Organization is the top-level workspace in WisDM. It is used to manage Locations, gateways, members, subscriptions, billing information, and organization-level settings.
Any RAK ID user can create an Organization. During creation, you need to select a subscription plan for the Organization.
Organization Creation Flow
The organization creation wizard contains four steps:
- Organization
- Subscription
- Billing
- Payment
The required steps depend on the subscription plan you select.
| Subscription Type | Required Steps | Billing Required | Payment Required |
|---|---|---|---|
| Community | Step 1: Organization + Step 2: Subscription | No | No |
| Standard / Professional / Enterprise | All 4 steps | Yes | Yes |
| On Demand | Step 1: Organization + Step 2: Subscription + Contact Support | Depends on the agreement | Depends on the agreement |
If you see the message Payment is not yet supported in your country. To learn more, contact Support., online payment is not available for your current country or region. You can create an Organization with the Community plan, or contact Support for paid or custom subscription options.
Step 1: Enter Organization Information
-
Go to Organizations.
-
Click New organization.
-
Enter the Organization information.
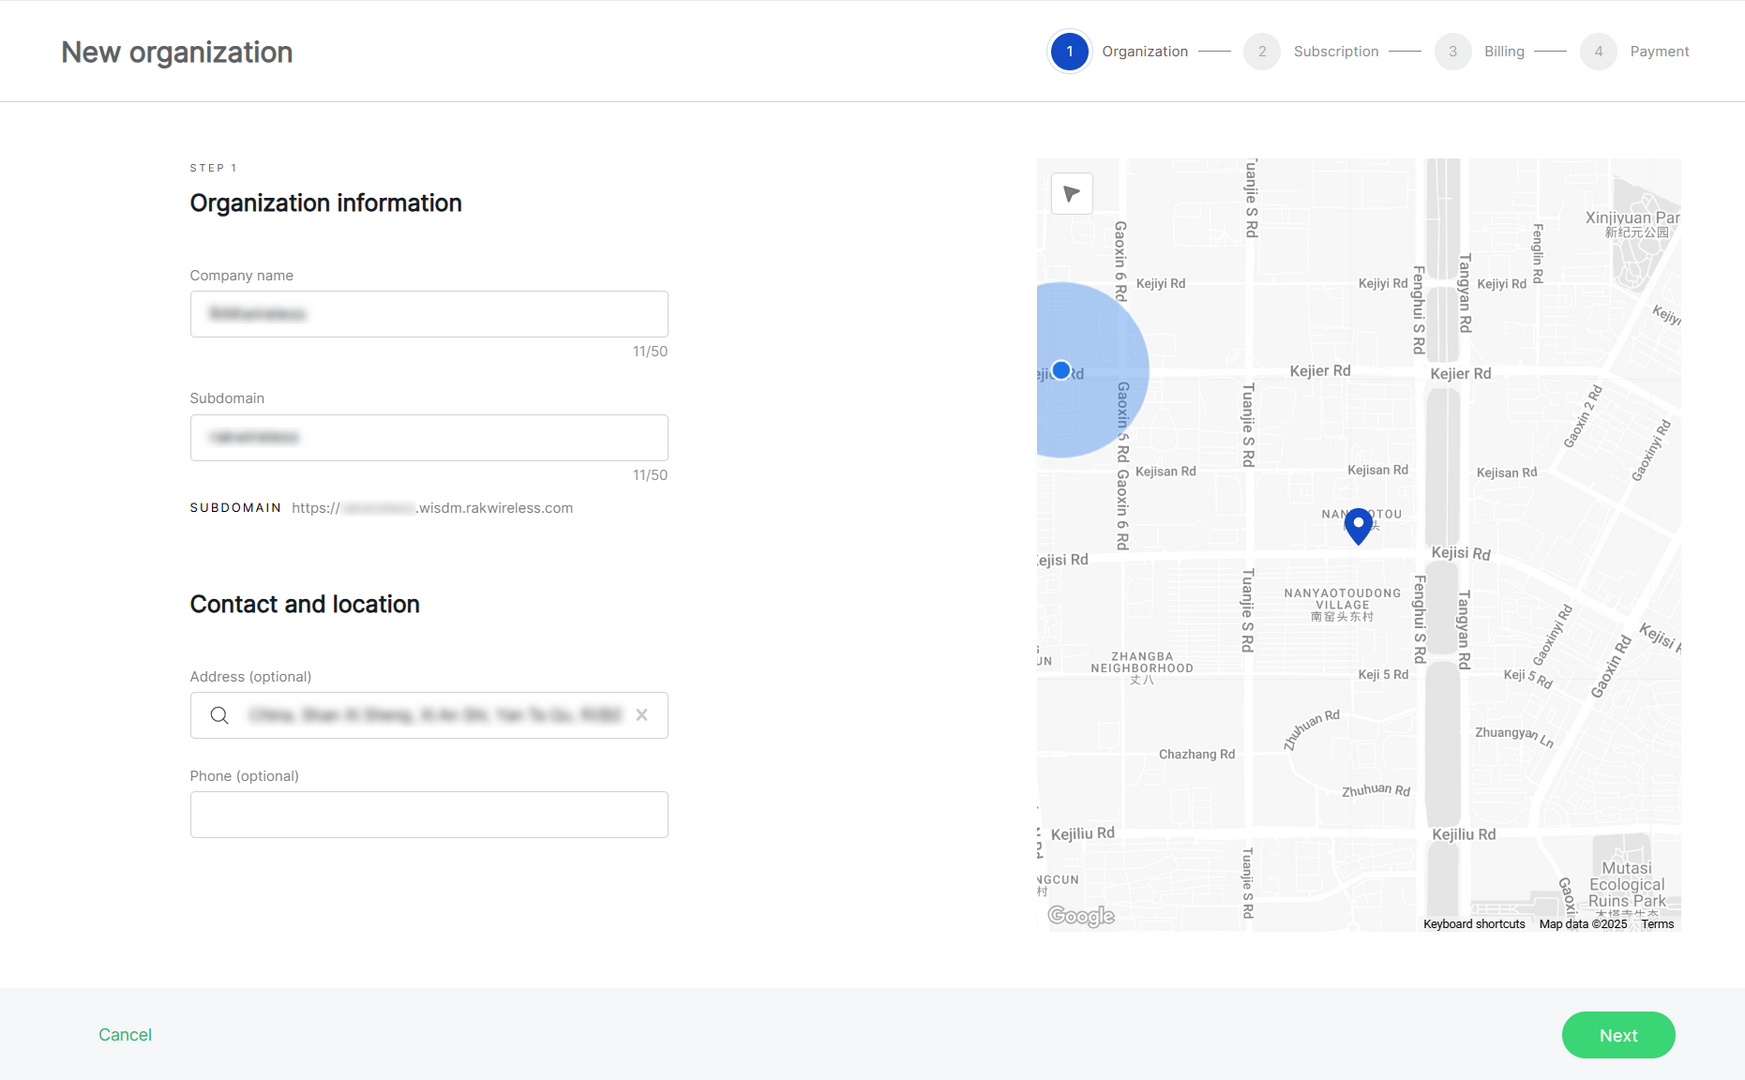 Figure 1: Create an organization
-
Company name: Enter a name, up to 50 characters.
-
Subdomain: Automatically generated based on the company name and can be customized.
-
Address (optional): Add an address by typing in the search box or selecting a location on the map.
-
Phone (optional): Optionally, provide a contact phone number.
-
-
Click Next.
Step 2: Select a Subscription Plan
In the Subscription step, select the plan that matches your deployment size.
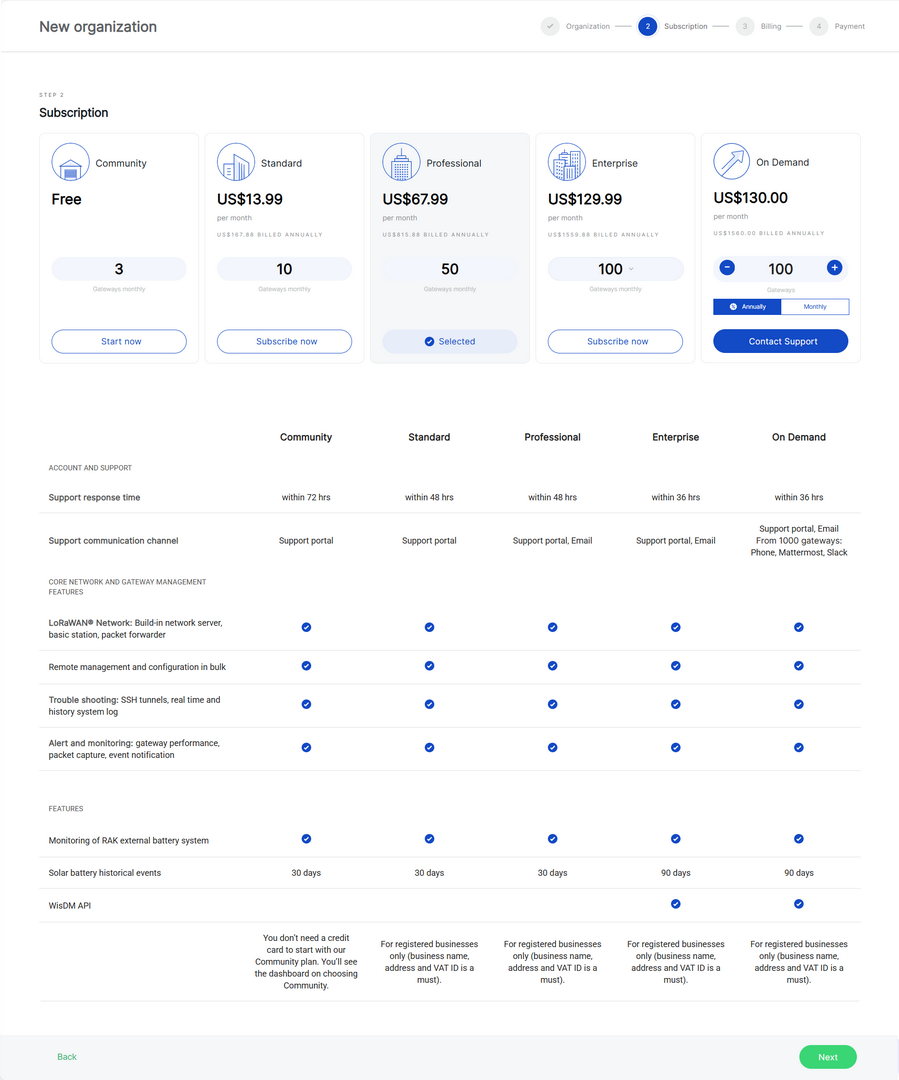 Figure 1: Subscription Plans
WisDM provides the following plan types:
| Plan | Gateway Quantity | Typical Use |
|---|---|---|
| Community | Up to 3 gateways | Free testing, proof of concept, small demos, or first-time setup. |
| Standard | 4 to 40 gateways | Small deployments that need to manage more than the Community limit. |
| Professional | 41 to 90 gateways | Medium deployments, growing projects, solution providers, or teams managing multiple sites. |
| Enterprise | 91 to 1000 gateways | Large-scale gateway fleet management with higher gateway capacity. |
| On Demand | Custom gateway quantity | Custom deployments, special commercial terms, very large projects, or cases where online payment is not available. |
The gateway quantity defines the maximum number of gateways that can be managed within the Organization. If the Organization reaches the gateway limit of the current subscription, additional gateways cannot be added until the subscription is upgraded or adjusted.
Community Plan
Use the Community plan when you want to start quickly without billing or payment.
- In the Subscription step, select Community.
- Click Start now.
- Click Next to complete the creation process.
Standard/Professional/Enterprise Plan
Use a paid plan when your deployment requires more gateways than the Community plan allows.
Paid plans include:
- Standard
- Professional
- Enterprise
To create an Organization with a paid plan:
- In the Subscription step, select a paid plan.
- Select the required gateway range if the plan provides multiple tiers.
- Click Subscribe now.
- Click Next to continue to the Billing step.
On Demand Plan
Use On Demand when your deployment requires a custom gateway quantity, special commercial terms, or support outside the standard online checkout flow.
To request an On Demand subscription:
-
In the Subscription step, select On Demand.
-
Set the required number of gateways.
-
Select the billing period, such as Annually or Monthly.
-
Click Contact Support.
-
In the On Demand Organization dialog, review the request information.
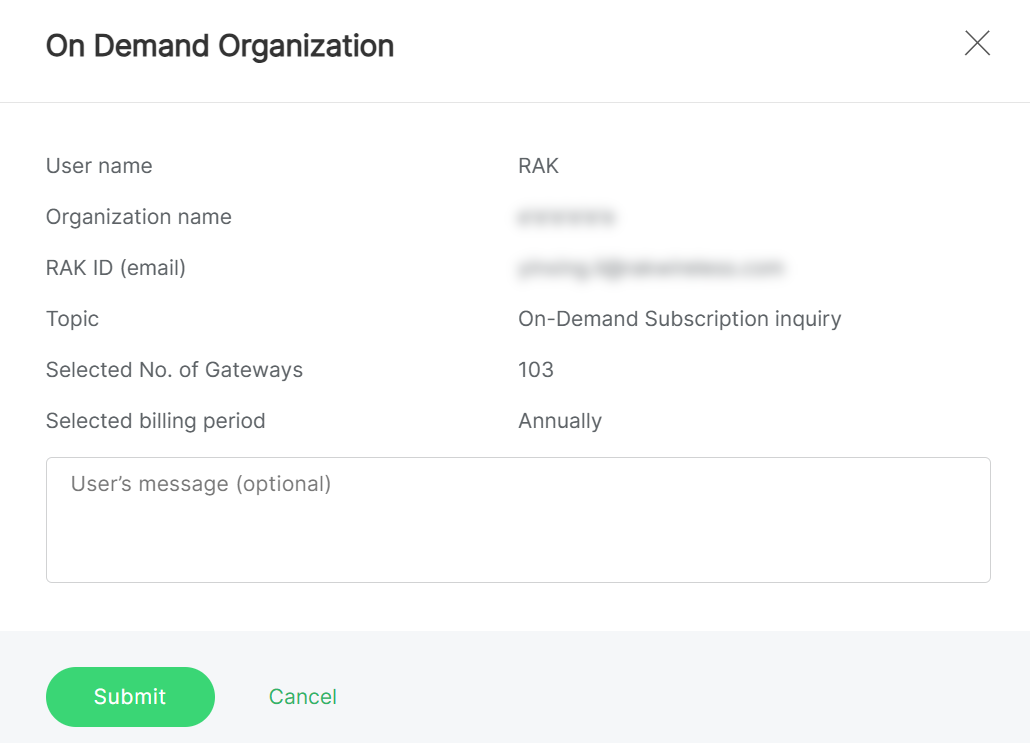 Figure 1: On Demand Organization Request
 -
Optionally enter a message for the Support team.
-
Click Submit.
The request includes information such as the user name, Organization name, RAK ID email, selected number of gateways, and selected billing period. After the request is submitted, Support will follow up with you about the subscription setup.
Step 3: Enter Billing Information
After selecting a paid plan, you will continue to the Billing step.
The Billing step is required only for paid subscriptions, such as Standard, Professional, and Enterprise. It is not required for the Community plan.
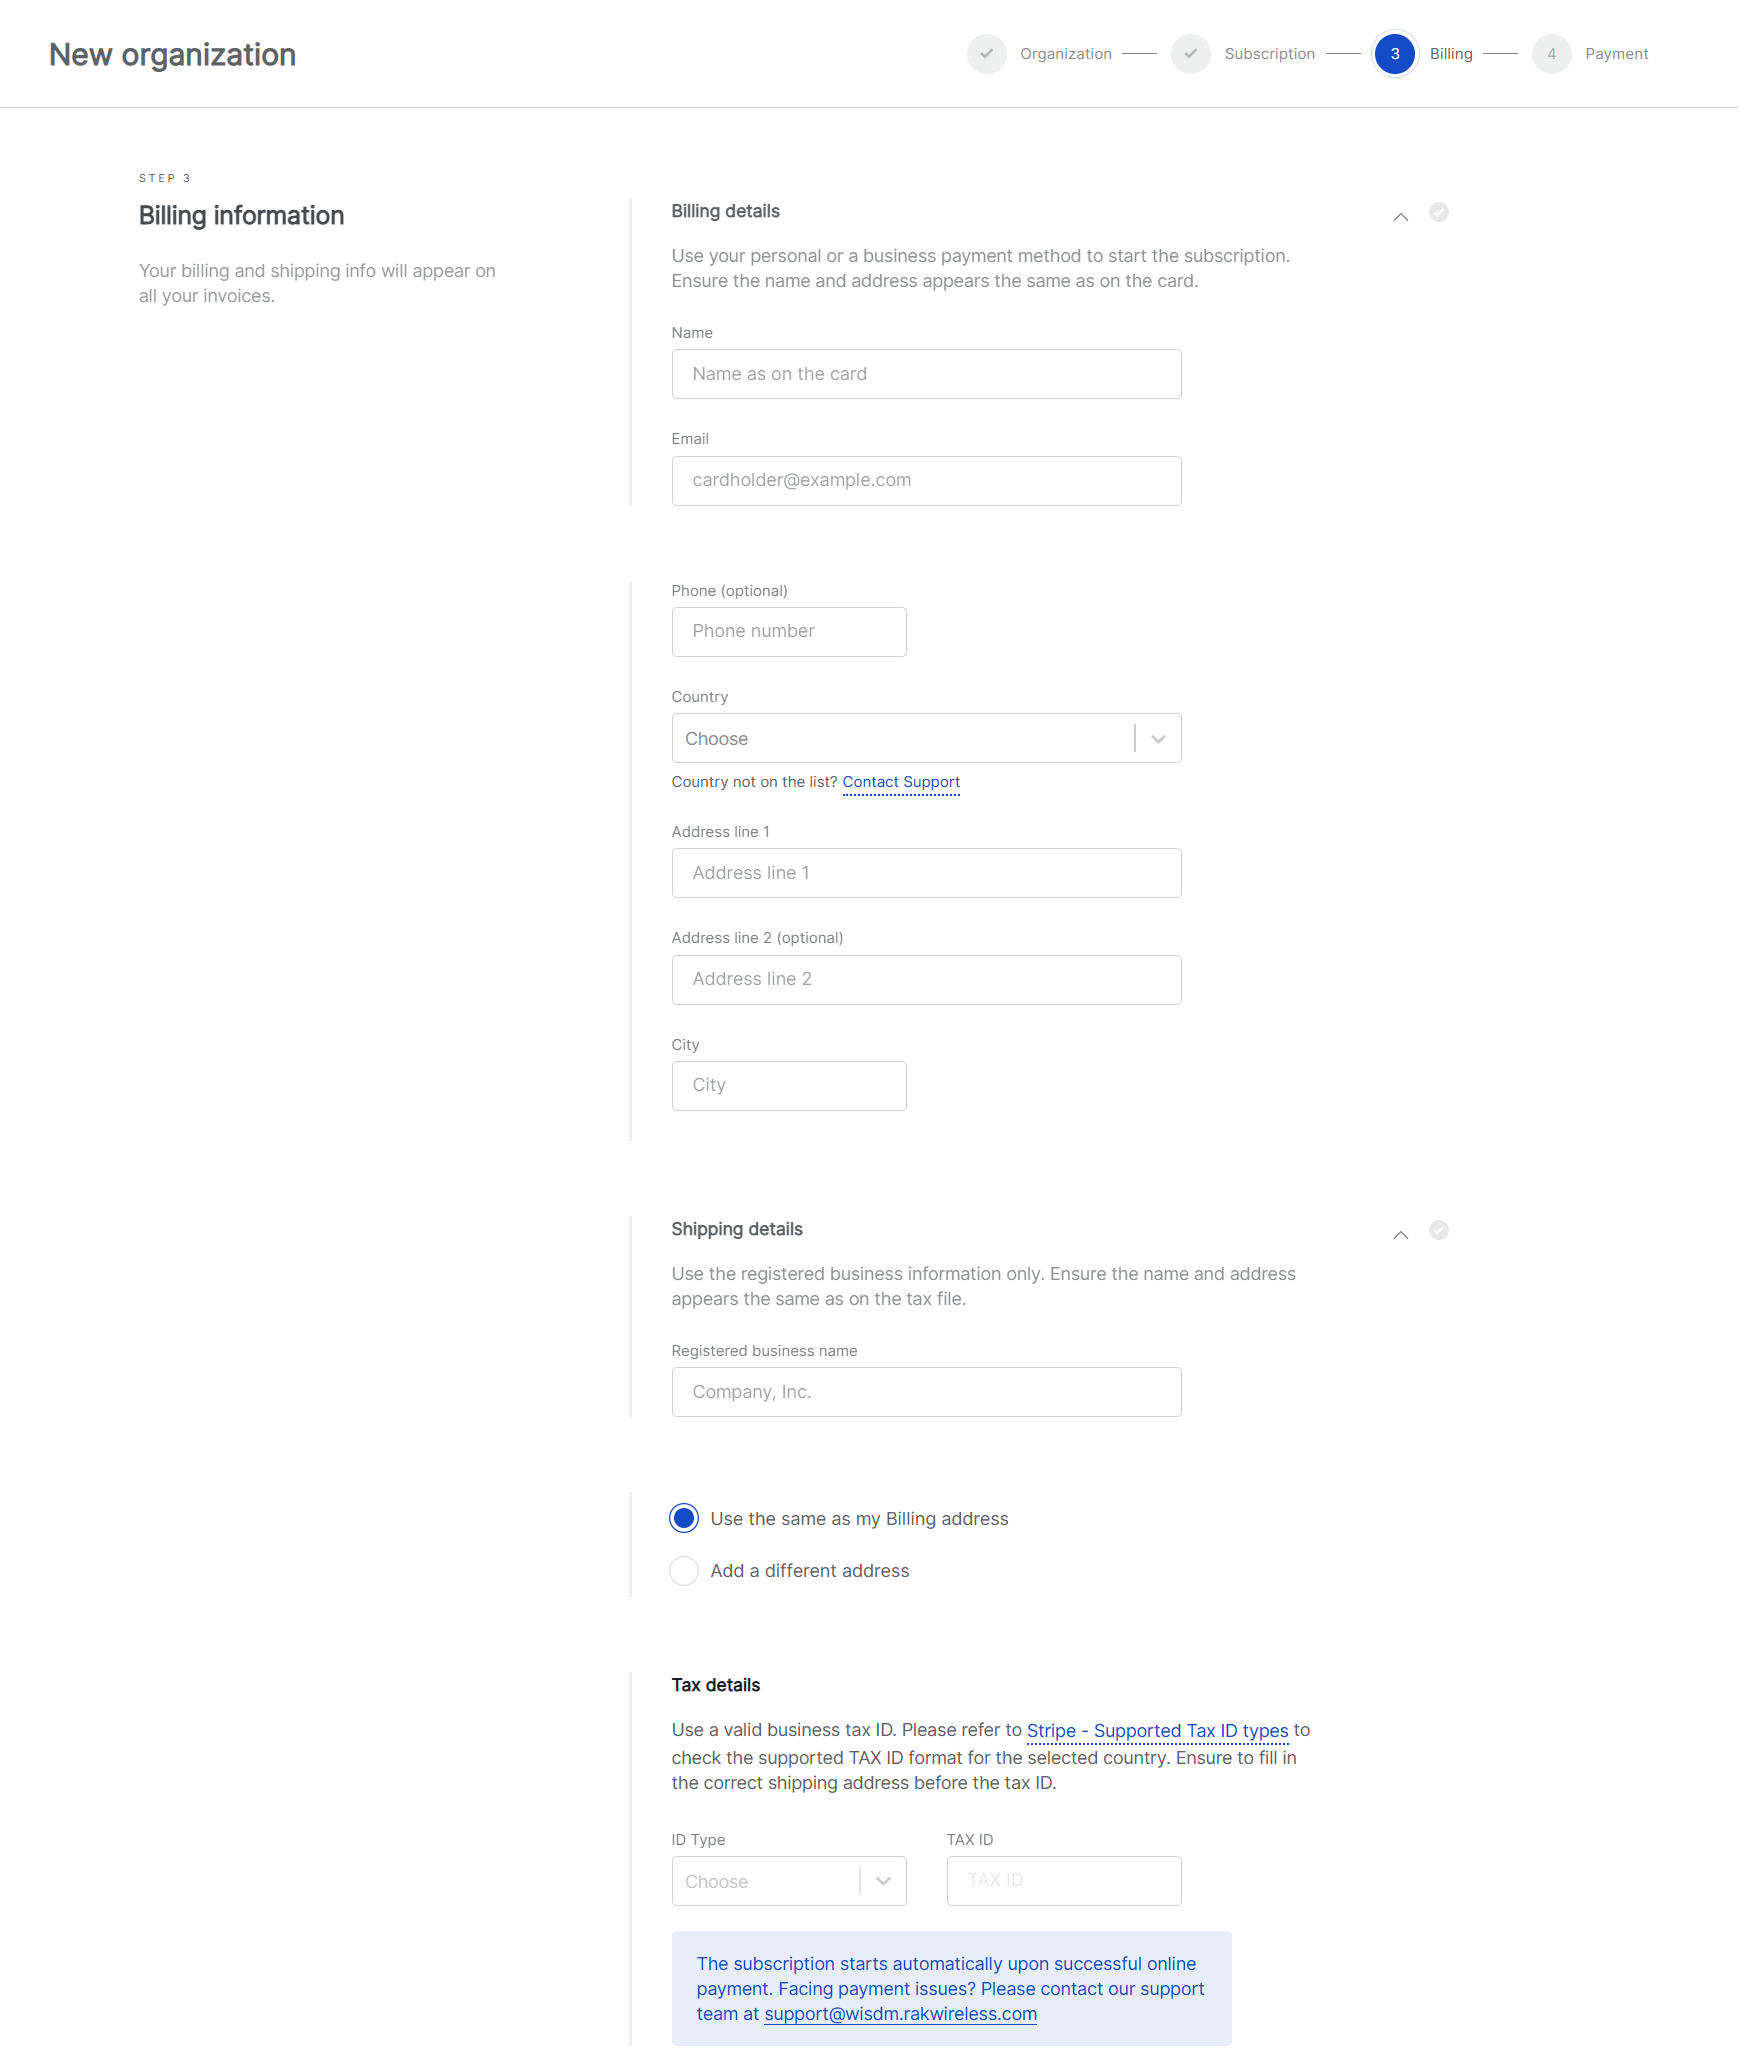 Figure 1: Billing Information
Billing information is used for payment processing and invoice generation. It includes the following sections:
| Section | Purpose |
|---|---|
| Billing details | Cardholder information used for payment. |
| Shipping details | Registered business information. |
| Tax details | Business tax information used for tax validation and invoicing. |
For paid subscriptions, a valid business TAX ID may be required. TAX ID validation depends on the selected billing country or region.
Step 4: Complete Payment
The Payment step is required only for online paid subscriptions, such as Standard, Professional, and Enterprise plans.
On the Payment information page, review the subscription summary and enter the required payment details.
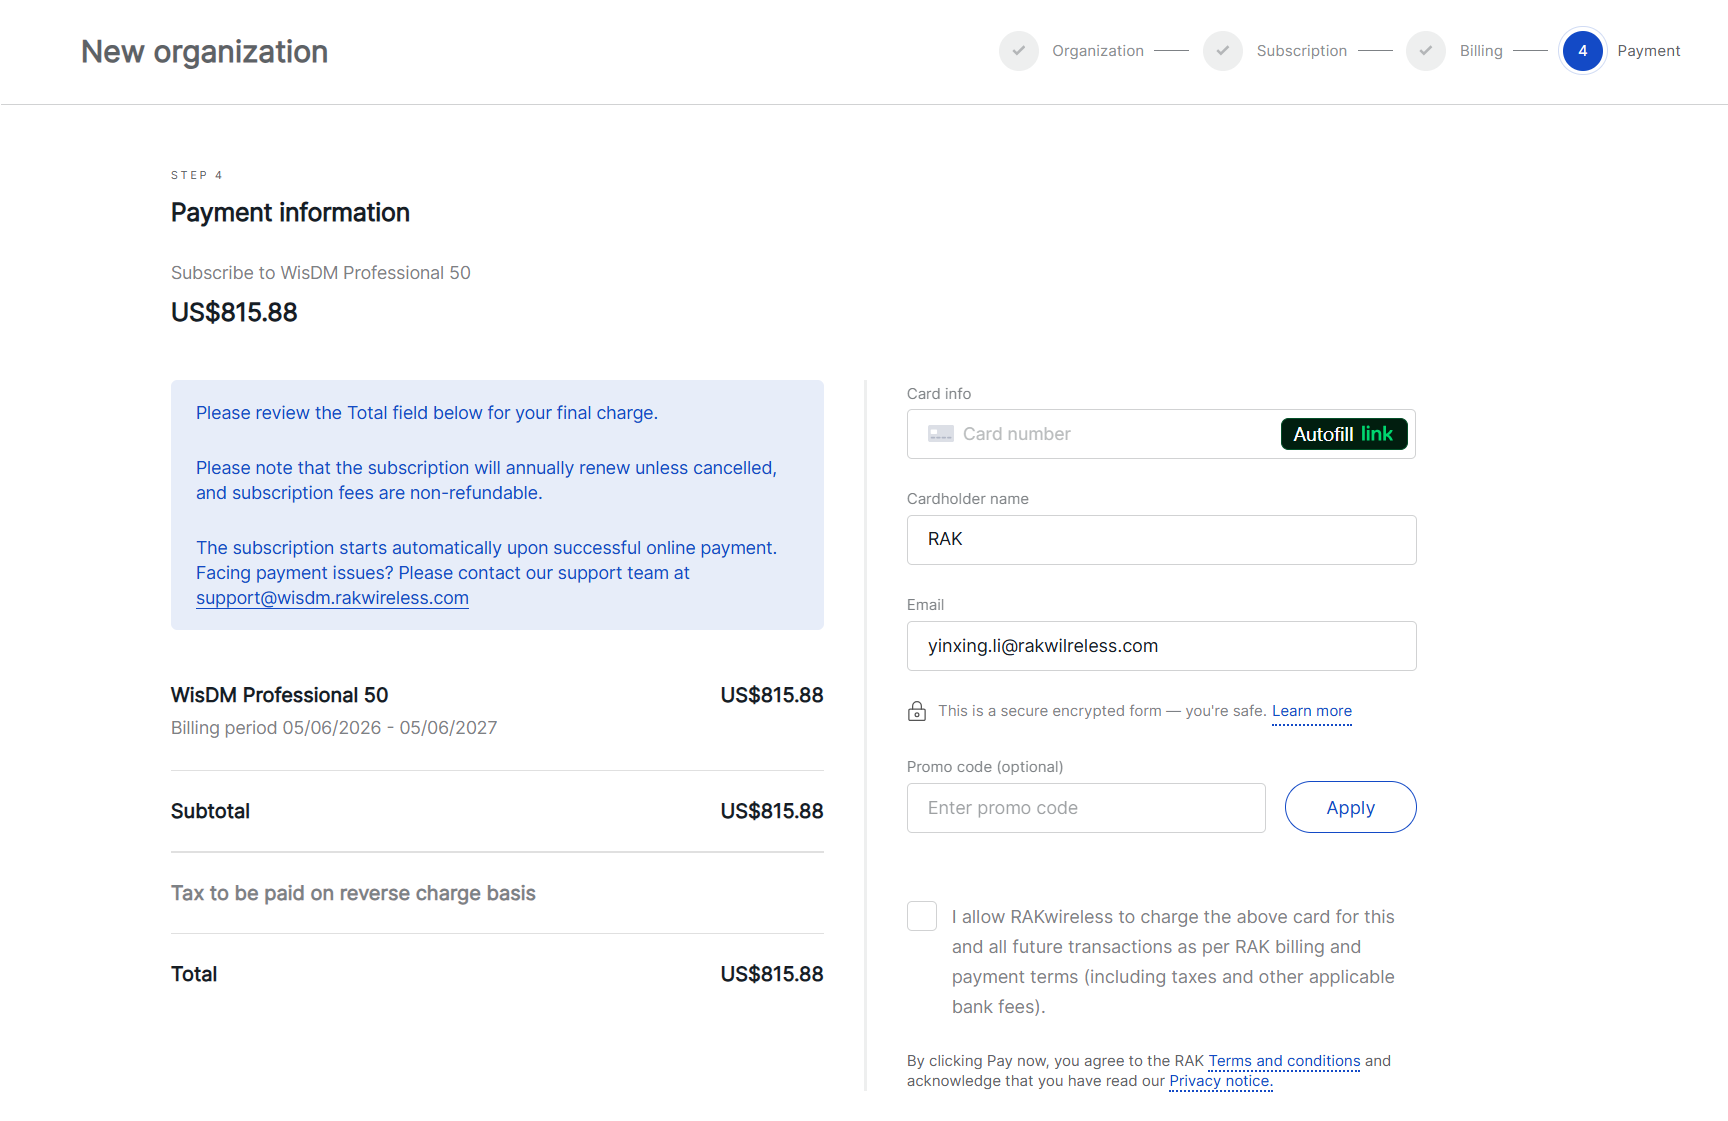 Figure 1: Payment
-
Review the charge summary on the left side of the page before entering payment information.
-
Enter or confirm the card information on the right side of the page:
-
Card number
-
Cardholder name
-
Email
-
Promo code, if available
NOTEIf you have a valid promo code, enter it in the Promo code field and click Apply before confirming the payment.
-
-
Select the authorization checkbox to allow RAKwireless to charge the card for this transaction and future subscription transactions according to the billing and payment terms.
-
By clicking Pay now, you agree to the RAK Terms and Conditions and acknowledge that you have read the Privacy Notice.
After the payment succeeds:
- The Organization is created.
- A confirmation email is sent.
- An invoice is generated and added to the billing history.
-
Paid subscriptions are billed annually unless otherwise stated. Subscription fees are non-refundable, and the subscription renews automatically unless cancelled.
-
If payment cannot be completed or you have payment-related questions, contact Support.
-
For more information about subscription plans, billing, invoices, and plan changes, see Subscription Management.
Manage Existing Organizations
Each organization card includes an actions menu that allows you to perform management operations such as opening, leaving, or deleting an organization.
Open Organization
This option opens the selected organization and navigates to its dashboard. From there, you can access Locations, Gateways, Applications, and other management features.
Leave Organization
Leaving an organization removes your WisDM account from that organization. Once you leave, you will immediately lose access to all its locations, gateways, and other associated assets.
- Any member can voluntarily leave an Organization.
- If you are the only Organization Admin with billing permissions, you must transfer your role to another member before leaving the organization.
- On the Organizations page, click the ⋮ actions menu next to the target organization.
- Select Leave organization.
- A confirmation dialog will appear, warning that you will lose access to all Organization assets.
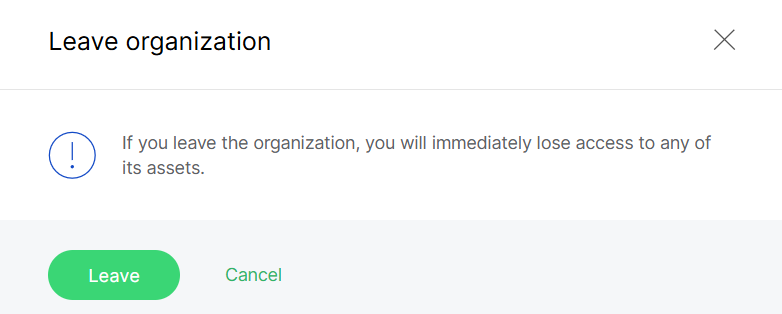 Figure 1: Confirm leaving the organization
- Click Leave to confirm.
Delete Organization
Deleting an Organization permanently removes all its data, configurations, and member access from WisDM. This action is irreversible and should only be performed by an organization Admin when the Organization is no longer needed.
- Click the actions menu next to the target Organization.
- Select Delete organization.
- Review the confirmation dialog and verify the list of data that will be deleted.
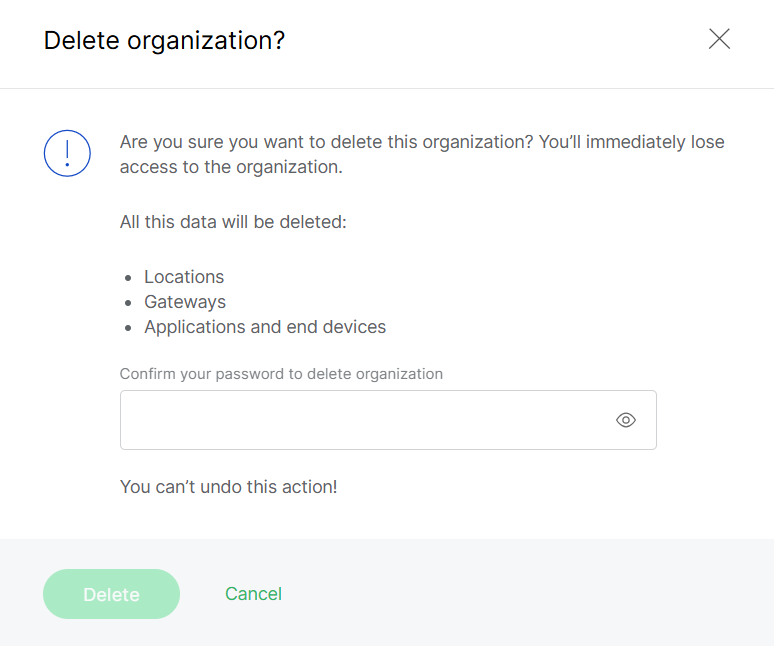 Figure 1: Delete organization confirmation
- If two-factor authentication (2FA) is enabled for your account, enter the verification code from your authenticator app.
- Click Delete to finalize the action.
Once confirmed, the Organization and all its data will be permanently deleted. WisDM support cannot restore deleted Organizations.