Add an Extension
You can install extensions in two ways:
Install from Extension Gallery
- To install an extension, access the gateway by referring to the Access the Gateway section, using the RAK7240V2 WisGate Edge Prime documentation as a reference example.
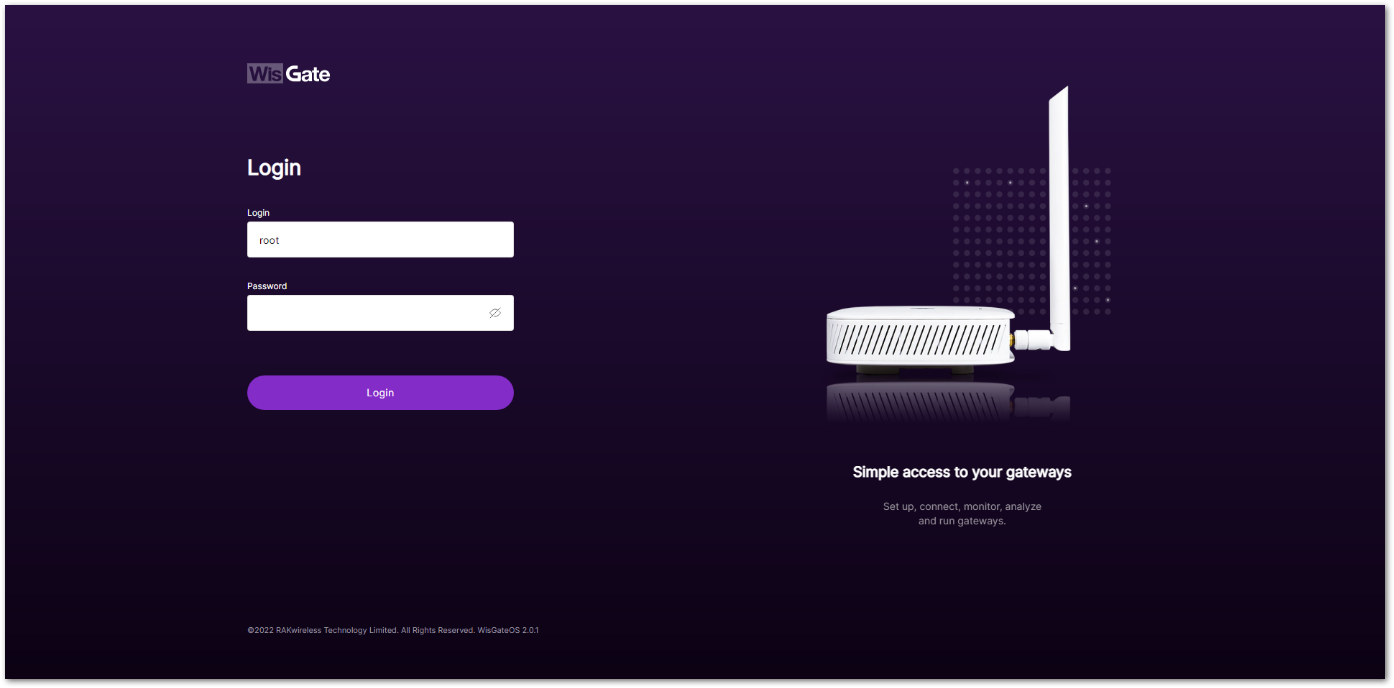 Figure 1: Login page
- Once logged in successfully, navigate to the Extensions tab (
 ).
).
NOTE
- You can click on the WisGate logo (
 ) to expand the menu on the left and see the full names of the tabs.
 - By default, no extensions are installed.
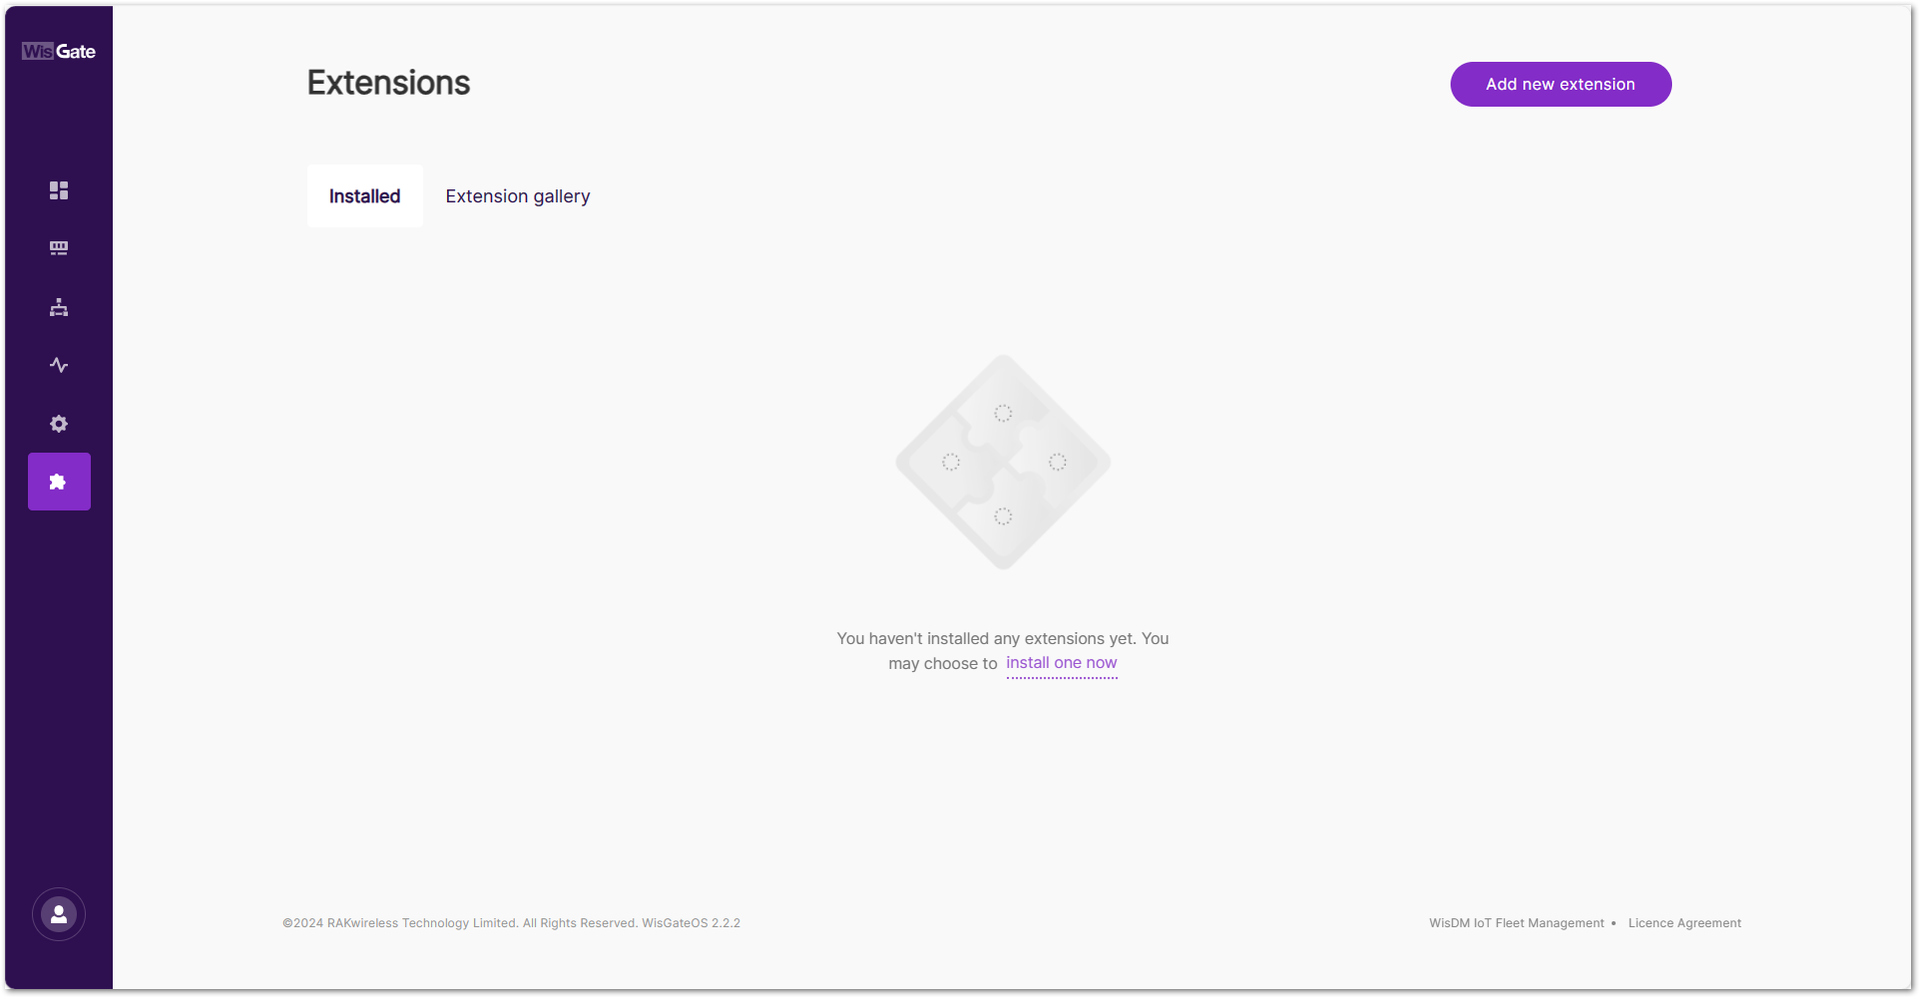 Figure 1: Extensions tab
- Proceed with the installation by clicking on the Extension gallery tab. All extensions that support WisGateOS 2 2.2.x or later will be displayed in the gallery.
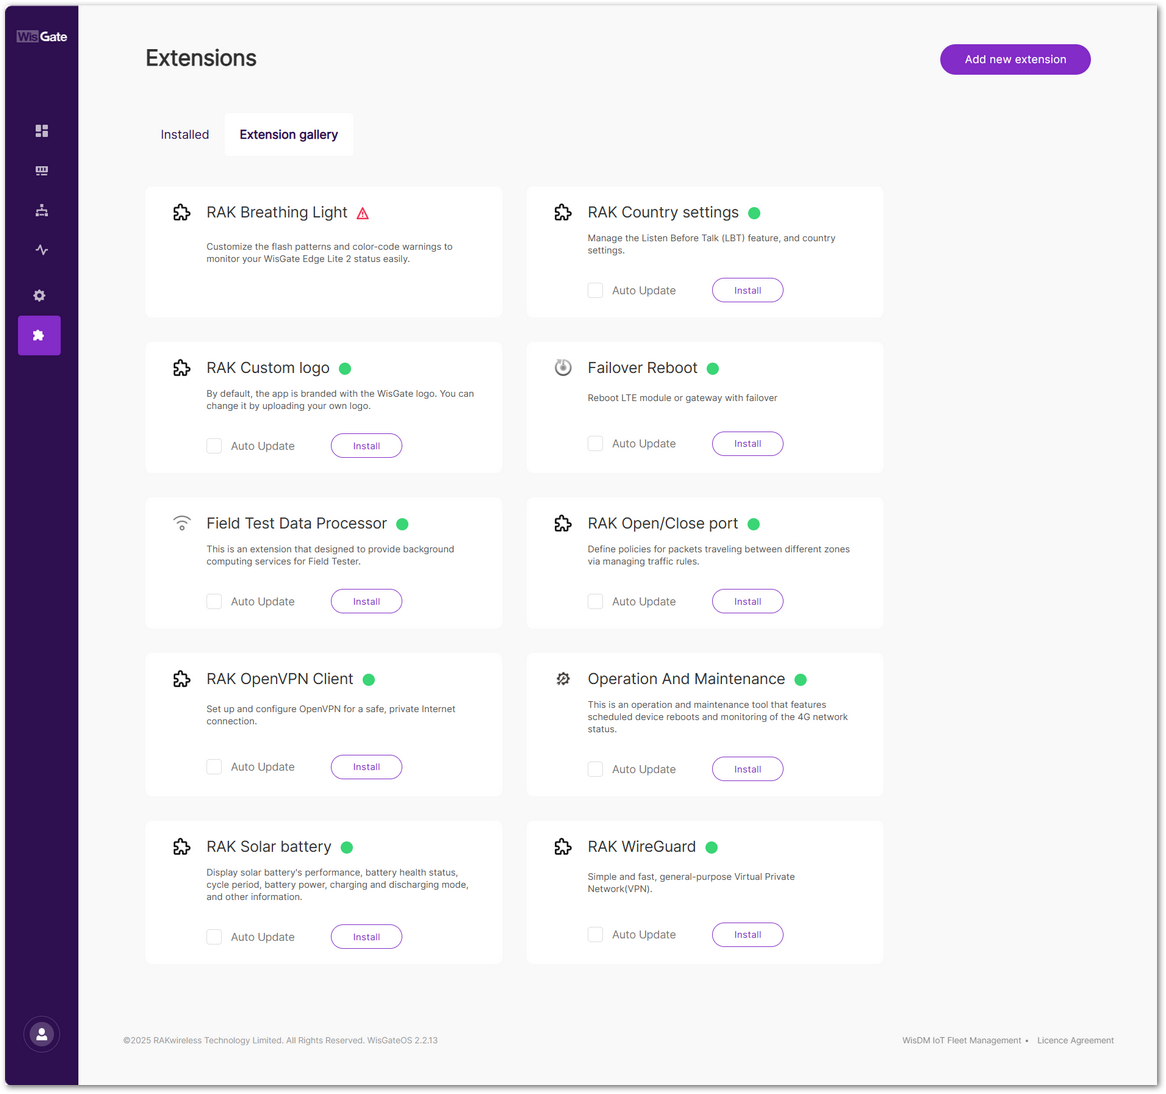 Figure 1: Extension gallery
- Select the desired extension, such as RAK OpenVPN Client, and click the Install button. The process may take a few moments to complete.
NOTE
- If the icon
 appears on the Extension tab, it means that the gateway hardware does not support the installation of this extension.
 - If the icon 🟢 appears on the Extension tab, it means that the gateway hardware supports the installation of this extension. You can choose to install this extension.
- If the Auto Update is enabled during installation, the gateway will automatically update the extension when the latest version is available.
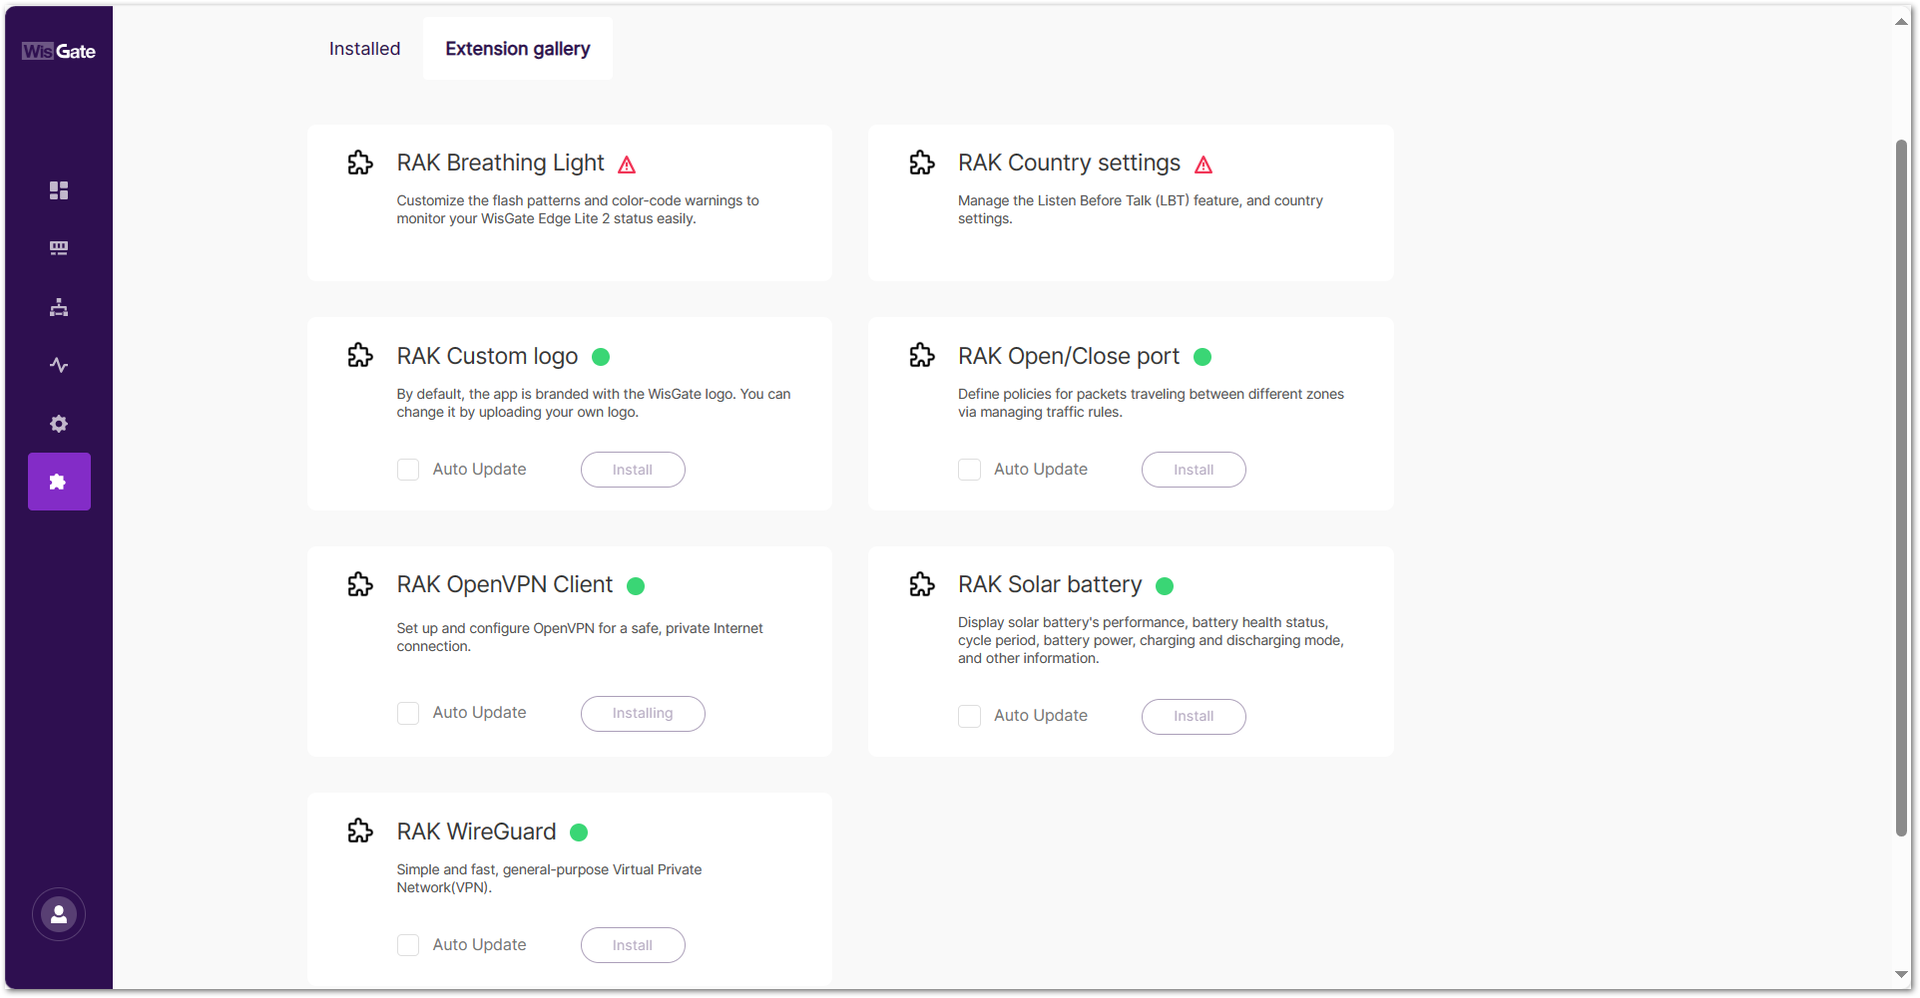 Figure 1: Installing extension
- Once installed, go to the Installed tab where the newly installed extension should now be visible.
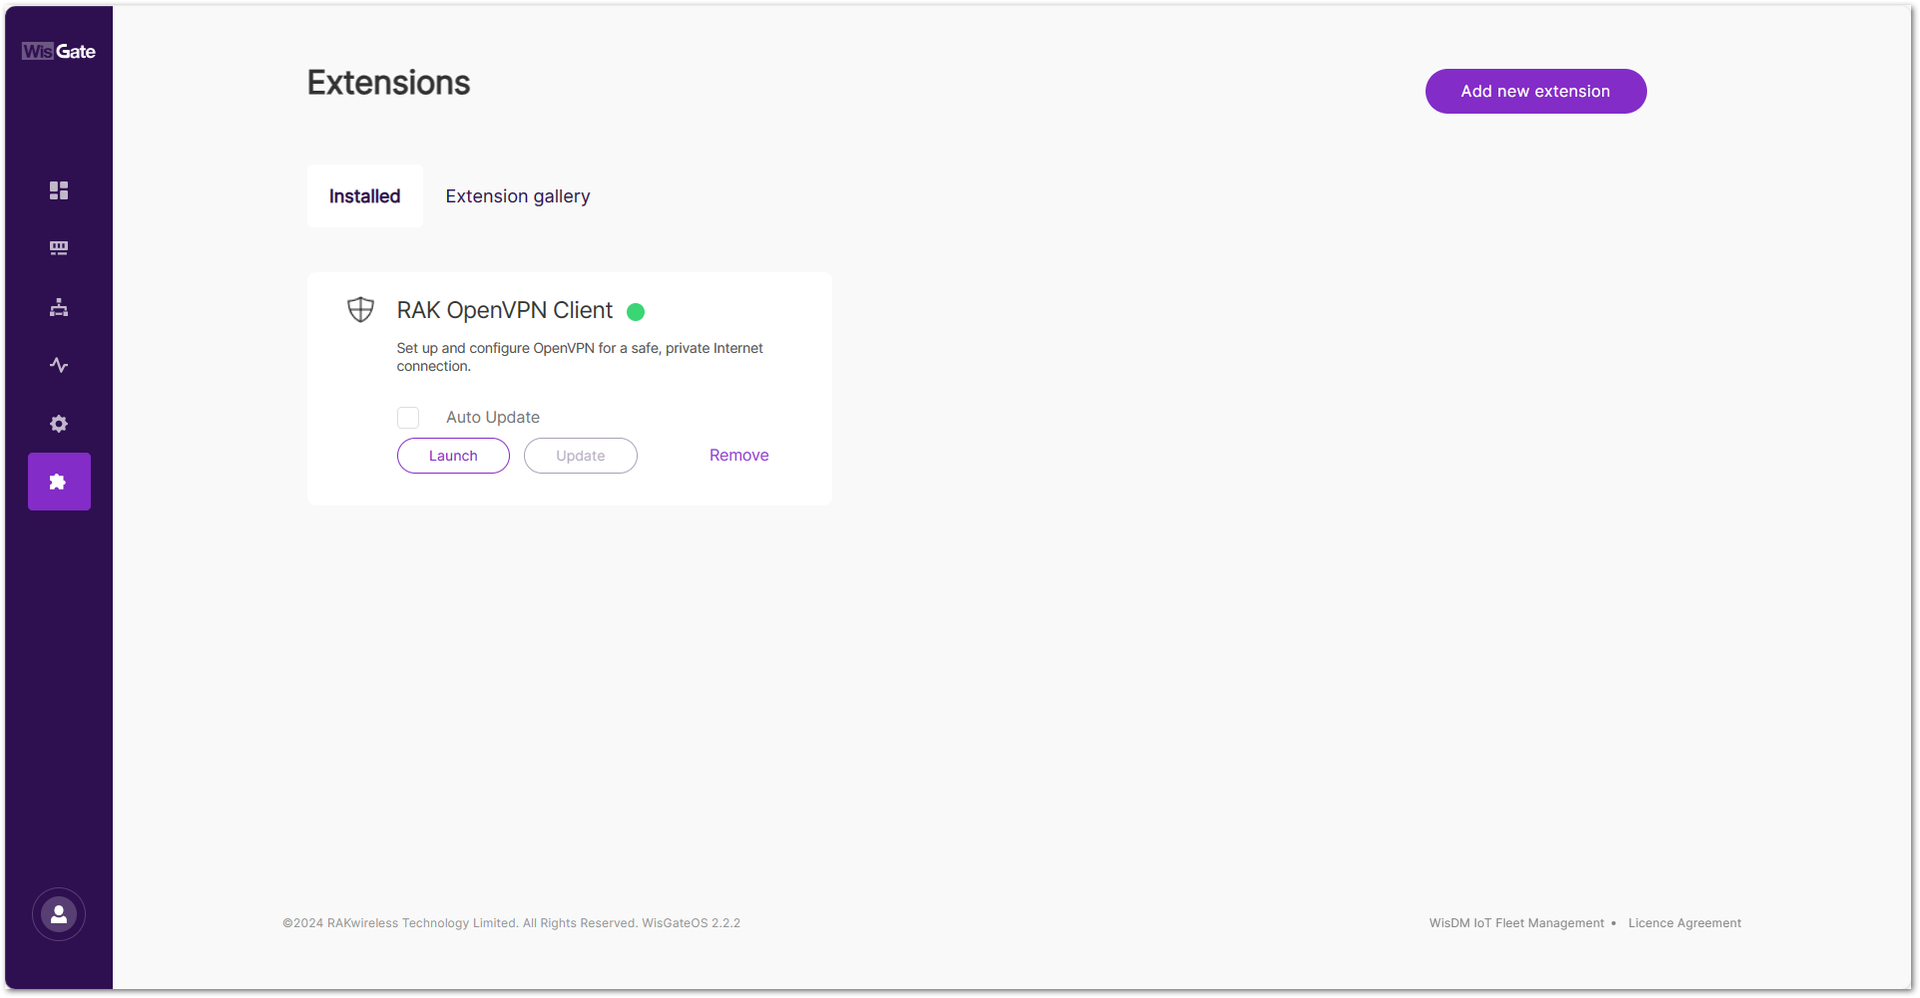 Figure 1: Installed extension
Manually Upload an Extension
In addition to the Extension Gallery, users can manually upload a custom extension package in .ipk format.
- In the Extensions tab, click Add new extension.
- Drag and drop your
.ipkfile into the upload area, or click choose file to select it manually.
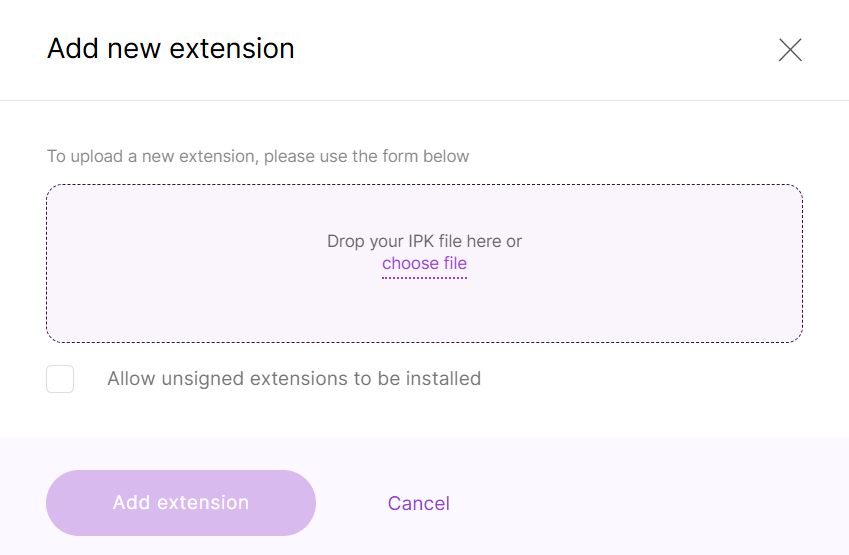 Figure 1: Add an extension file
- Check Allow unsigned extensions to be installed if you want to install an unsigned package.
- Click Add extension to complete the installation.


