WisDM Gateway System Settings
This section describes how to configure general settings for an individual gateway.
Rename Gateway
You can rename a gateway from the System Settings page. This helps you identify the gateway more easily in WisDM.
To rename a gateway:
-
Go to Gateways and select the target gateway.
-
Open the System Settings tab.
-
In the Gateway name section, enter a new name in the Name field.
 Figure 1: Rename Gateway
- Use a maximum of 32 characters.
- Use only letters, numbers, hyphens (
-), and underscores (_). - Spaces and other special characters are not supported.
-
Click Send changes to apply the change.
Renaming is not supported for gateways in Provisioning status.
Timezone Settings
The Time zone setting determines how gateway-related timestamps are displayed and reported, such as event time, log time, and status update time. You can also enable the NTP client to synchronize the gateway time with NTP servers.
To update the timezone and NTP settings:
-
Go to Gateways and select the target gateway.
-
Open the System Settings tab.
-
In the General settings section, select the required Time zone.
-
Enable or disable NTP client as needed.
-
If NTP client is enabled, configure one or more NTP server candidates.
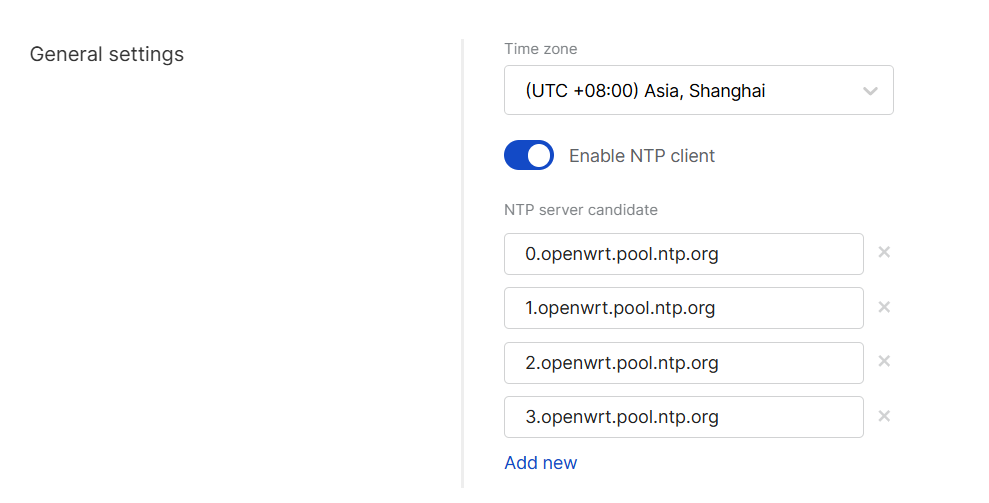 Figure 1: Timezone settings
Field Description Time zone Sets the timezone used by the gateway. This affects the time displayed for gateway events, logs, and status reports. Enable NTP client Enables or disables automatic time synchronization through NTP. NTP server candidate Defines the NTP servers used by the gateway for time synchronization. You can add multiple server candidates. -
Click Send changes to apply the change.
- If the gateway is offline, the new settings may remain pending and will be applied after the gateway comes online.
- To update timezone and NTP settings for multiple gateways, see Synchronize System Settings.
Reset Gateway Password
You can reset the local password of a gateway from System Settings. This password is used to access the gateway locally, such as logging in to the WisGateOS web interface or using SSH.
The Reset password option is available only when the following conditions are met:
- You have permission to change the gateway local password.
- The gateway is online.
- You must enable 2FA for your RAK ID from the Security section of the RAK ID Portal before resetting the gateway password.
To reset the gateway password:
-
Go to Gateways and select the target gateway.
-
Open the System Settings tab.
-
Click Reset password.
 Figure 1: Reset Password
 -
In the Reset password dialog, enter the following information:
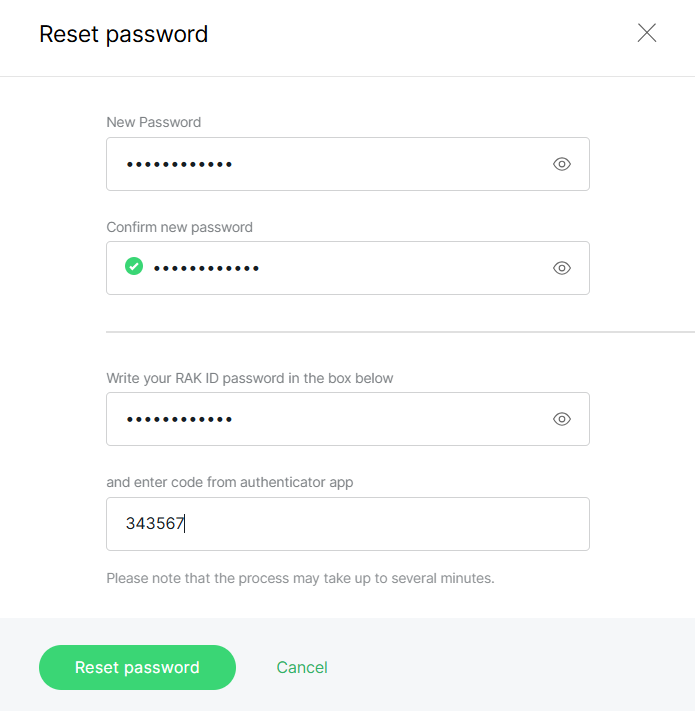 Figure 1: Configure password
Field Description New Password Enter the new local gateway password. Confirm new password Enter the new password again for confirmation. RAK ID password Enter your RAK ID password to verify your identity. Authenticator code Enter the verification code from your authenticator app. The new password must meet the following requirements:
- At least 12 characters
- At least one letter
- At least one number
- At least one special character
- Cannot start or end with a space.
-
Click Reset password to apply the change.
Log Settings
The Log Settings section defines how gateway logs are stored locally and whether they are shared externally.
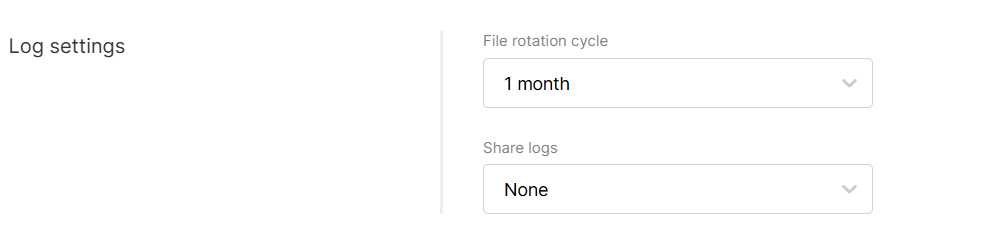 Figure 1: Log settings
- File rotation cycle: Defines how long log files are stored locally on the gateway before being overwritten. Supported values:
2 days,1 month,3 months,6 months, and12 months. - Log level: Select the gateway system log level.
- Error: Focus on faults only - critical issues causing service failure.
- Warning: Monitor irregularities - potential issues, may need attention. Includes errors and warning.
- Notice: Normal but important system events. Includes notice, errors and warnings.
- Info: Observes also normal behavior. Includes Error, Warning, Notice and Info events.
- Debug: Verbose logs incl. internal states, debug details. Includes all logs levels.
- Share logs
- None: Logs remain solely on the gateway.
- External server: Logs are sent to an external server, requiring configuration of the server's IP address and port.
- WisDM: Logs are uploaded to the WisDM cloud platform.
- WisDM log retrieval cycle: Specifies how frequently WisDM retrieves logs from the gateway. Supported values:
1 hour,2 hours,4 hours,8 hours,12 hours, and24 hours. - WisDM file rotation cycle: Indicates how long WisDM retains uploaded logs before deleting them from cloud storage. This setting applies only to logs stored on WisDM. Supported values:
1,7,14, and30days.
- WisDM log retrieval cycle: Specifies how frequently WisDM retrieves logs from the gateway. Supported values:
- Both external server and WisDM: Logs are shared with both an external server and WisDM.
- Once log sharing to WisDM is enabled, you can view uploaded files in History log.
- Higher log levels generate more detailed system logs. If log upload to WisDM or a configured external log server is enabled, especially over a cellular connection, cellular data usage will increase.
Delete Gateway
You can delete a gateway from System Settings when it is no longer needed in WisDM.
- Deleting a gateway will reset it to factory defaults, remove all configurations, including factory pre-configuration, and permanently delete the gateway and its data from WisDM. This action cannot be undone.
- Only unassigned gateways can be deleted directly. If a gateway is assigned to a Location, system will unassign the gateway first and then delete it.
To delete a gateway:
- Go to Gateways and select the target gateway.
- Open the System Settings tab.
- In the Delete gateway section, click Delete.
- In the confirmation dialog, review the warning message.
- For an unassigned gateway, click Delete.
- For an assigned gateway, click Unassign and delete. WisDM will unassign the gateway first and then delete it.